Confluent Plugin for JetBrains IDEs for Confluent Cloud
Use the Confluent Plugin for JetBrains IDEs to enhance your development experience with Confluent Cloud or other Apache Kafka® clusters.
The Confluent Plugin for JetBrains IDEs enables you to work with Kafka directly from an IntelliJ-based IDE, like IDEA. The plugin provides a comprehensive set of tools for monitoring and managing Kafka event-streaming processes.
The plugin enables you to:
Connect to Kafka clusters with support for various authentication methods
Produce and consume messages in different formats, like JSON, Avro, and Protobuf
Manage topics and monitor consumer groups
Integrate with schema registries: Confluent Schema Registry and AWS Glue Schema Registry
Use SSH tunneling and SSL connections
Integrate with Spring Boot for Kafka connections
The plugin provides a dedicated tool window with an intuitive UI for interacting with Kafka clusters, making it easier to develop and test Kafka-based applications.
Install in IntelliJ IDEA
The following steps show you how to install the Confluent Plugin for JetBrains IDEs in IntelliJ IDEA.
Open IntelliJ IDEA.
In the navigation menu, click Plugins, or press ⌘+Option+S (macOS) or CTRL+ALT+S (Windows/Linux) to open the Settings dialog, and select Plugins.
In the search text box, type “confluent” and select the Confluent plugin.
Click Install, and in the Third-Party Plugins dialog, click Accept.
Restart IntelliJ IDEA. Open an existing project or create a new project.
In the Tool window bar, click Confluent. Or, open the tool window with View > Tool Windows > Confluent.
The Confluent tool window opens.
Add a new connection to a Kafka cluster
Click + to add a new connection to a Kafka cluster.
Select Message Brokers and click +, or select Confluent Cloud and Sign in to access your clusters in Confluent Cloud from the IntelliJ plugin.
If you selected a new Kafka cluster not hosted in Confluent Cloud, click Test connection after entering details.
When the test result is Connected, click OK.
The Confluent tool window updates to show the topics in the cluster.
Create a new topic
The Confluent Plugin for JetBrains IDEs enables creating Kafka topics within the IDE.
Right-click on a cluster or the Topics tab and click + Create Topic to create a new topic.
The Create Topic dialog opens.
In the Topic name text box, enter “input_topic”.
For the Partition count and Replication factor settings, accept the default values.
Click OK.
The new topic appears in the Topics list.
Produce to a topic
The Confluent Plugin for JetBrains IDEs enables producing messages to Kafka topics within the IDE. In this step, you produce a message to the topic you created in the previous step.
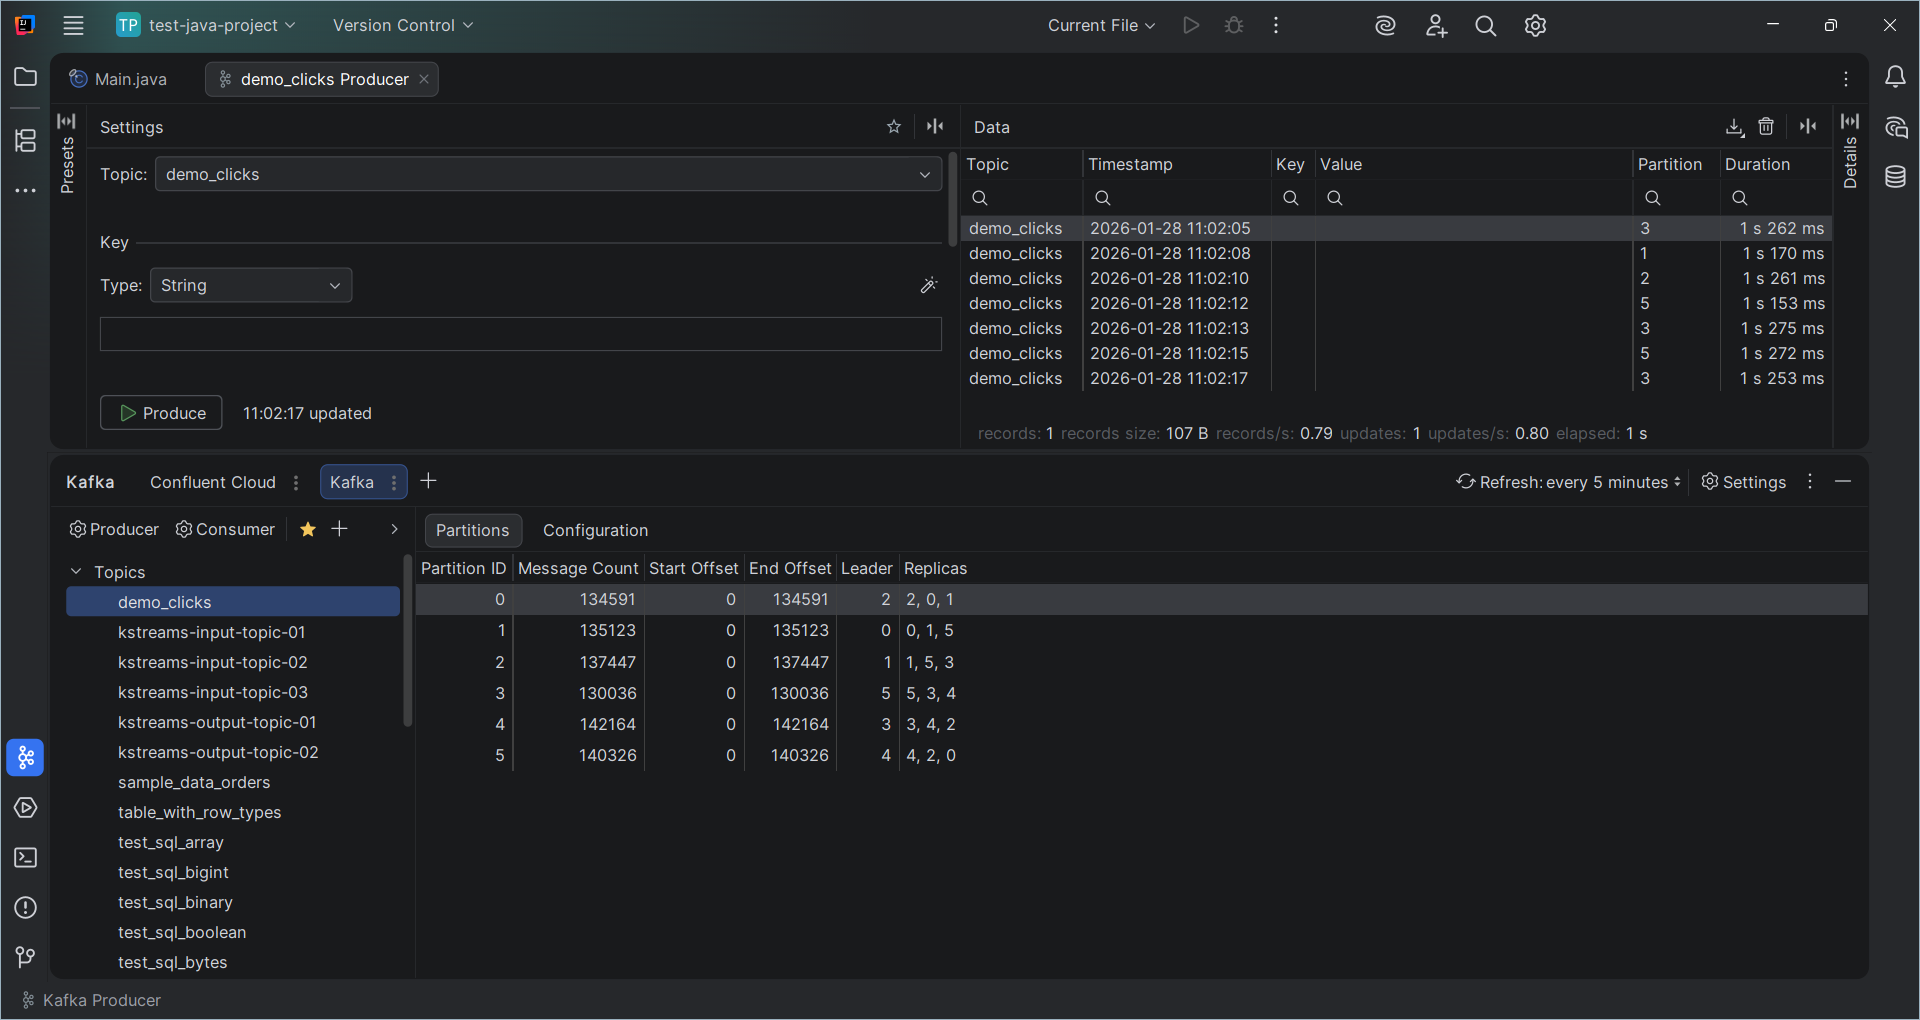
After creating a new topic, click Producer above the topic to configure and launch a producer.
A new tab opens with a corresponding Configuration section.
Select String for the key and value type.
In the Flow section, select Generate random keys and Generate random values.
Click Produce.
The Data section updates to show the message you produced.
In the Data section, double-click on the topic name.
The Details panel opens and shows the message’s Key and Value. Scroll down to see the message’s header and metadata.
Consume from a topic
The Confluent Plugin for JetBrains IDEs enables consuming messages from Kafka topics within the IDE. In this step, you consume a message from the topic you created earlier.
Click Consumer above the topic you created to configure and launch a consumer.
A new tab opens with a corresponding Configuration section.
In Range and Filters, select From the beginning and click Start Consuming.
The Consumer starts consuming messages from the topic.
Click the Producer tab, and click Produce.
Return to the Consumer tab. The Data section shows the message you produced in the previous step.
Click Stop Consuming.