Message Browser in Control Center (Legacy)
From the Messages page, you can view the data being produced to a topic. Browse message data, seek to a specific offset or timestamp by partition, and select messages you want to download.
- Prerequisites
There must be data being produced to or already present in a topic. If you don’t already have data flowing through a topic, you can use the appropriate quick start guides to get started. You can replay old data that was already produced as long as it hasn’t been compacted or deleted yet.
View and filter messages for a topic
The Message Browser feature in Control Center (Legacy) is enabled by default. With this feature, you can:
Browse a live stream of messages
Select a cluster from the navigation bar and click the Topics menu. The Topics Overview for Control Center (Legacy) appears.
In the Topics table, click the topic name link.
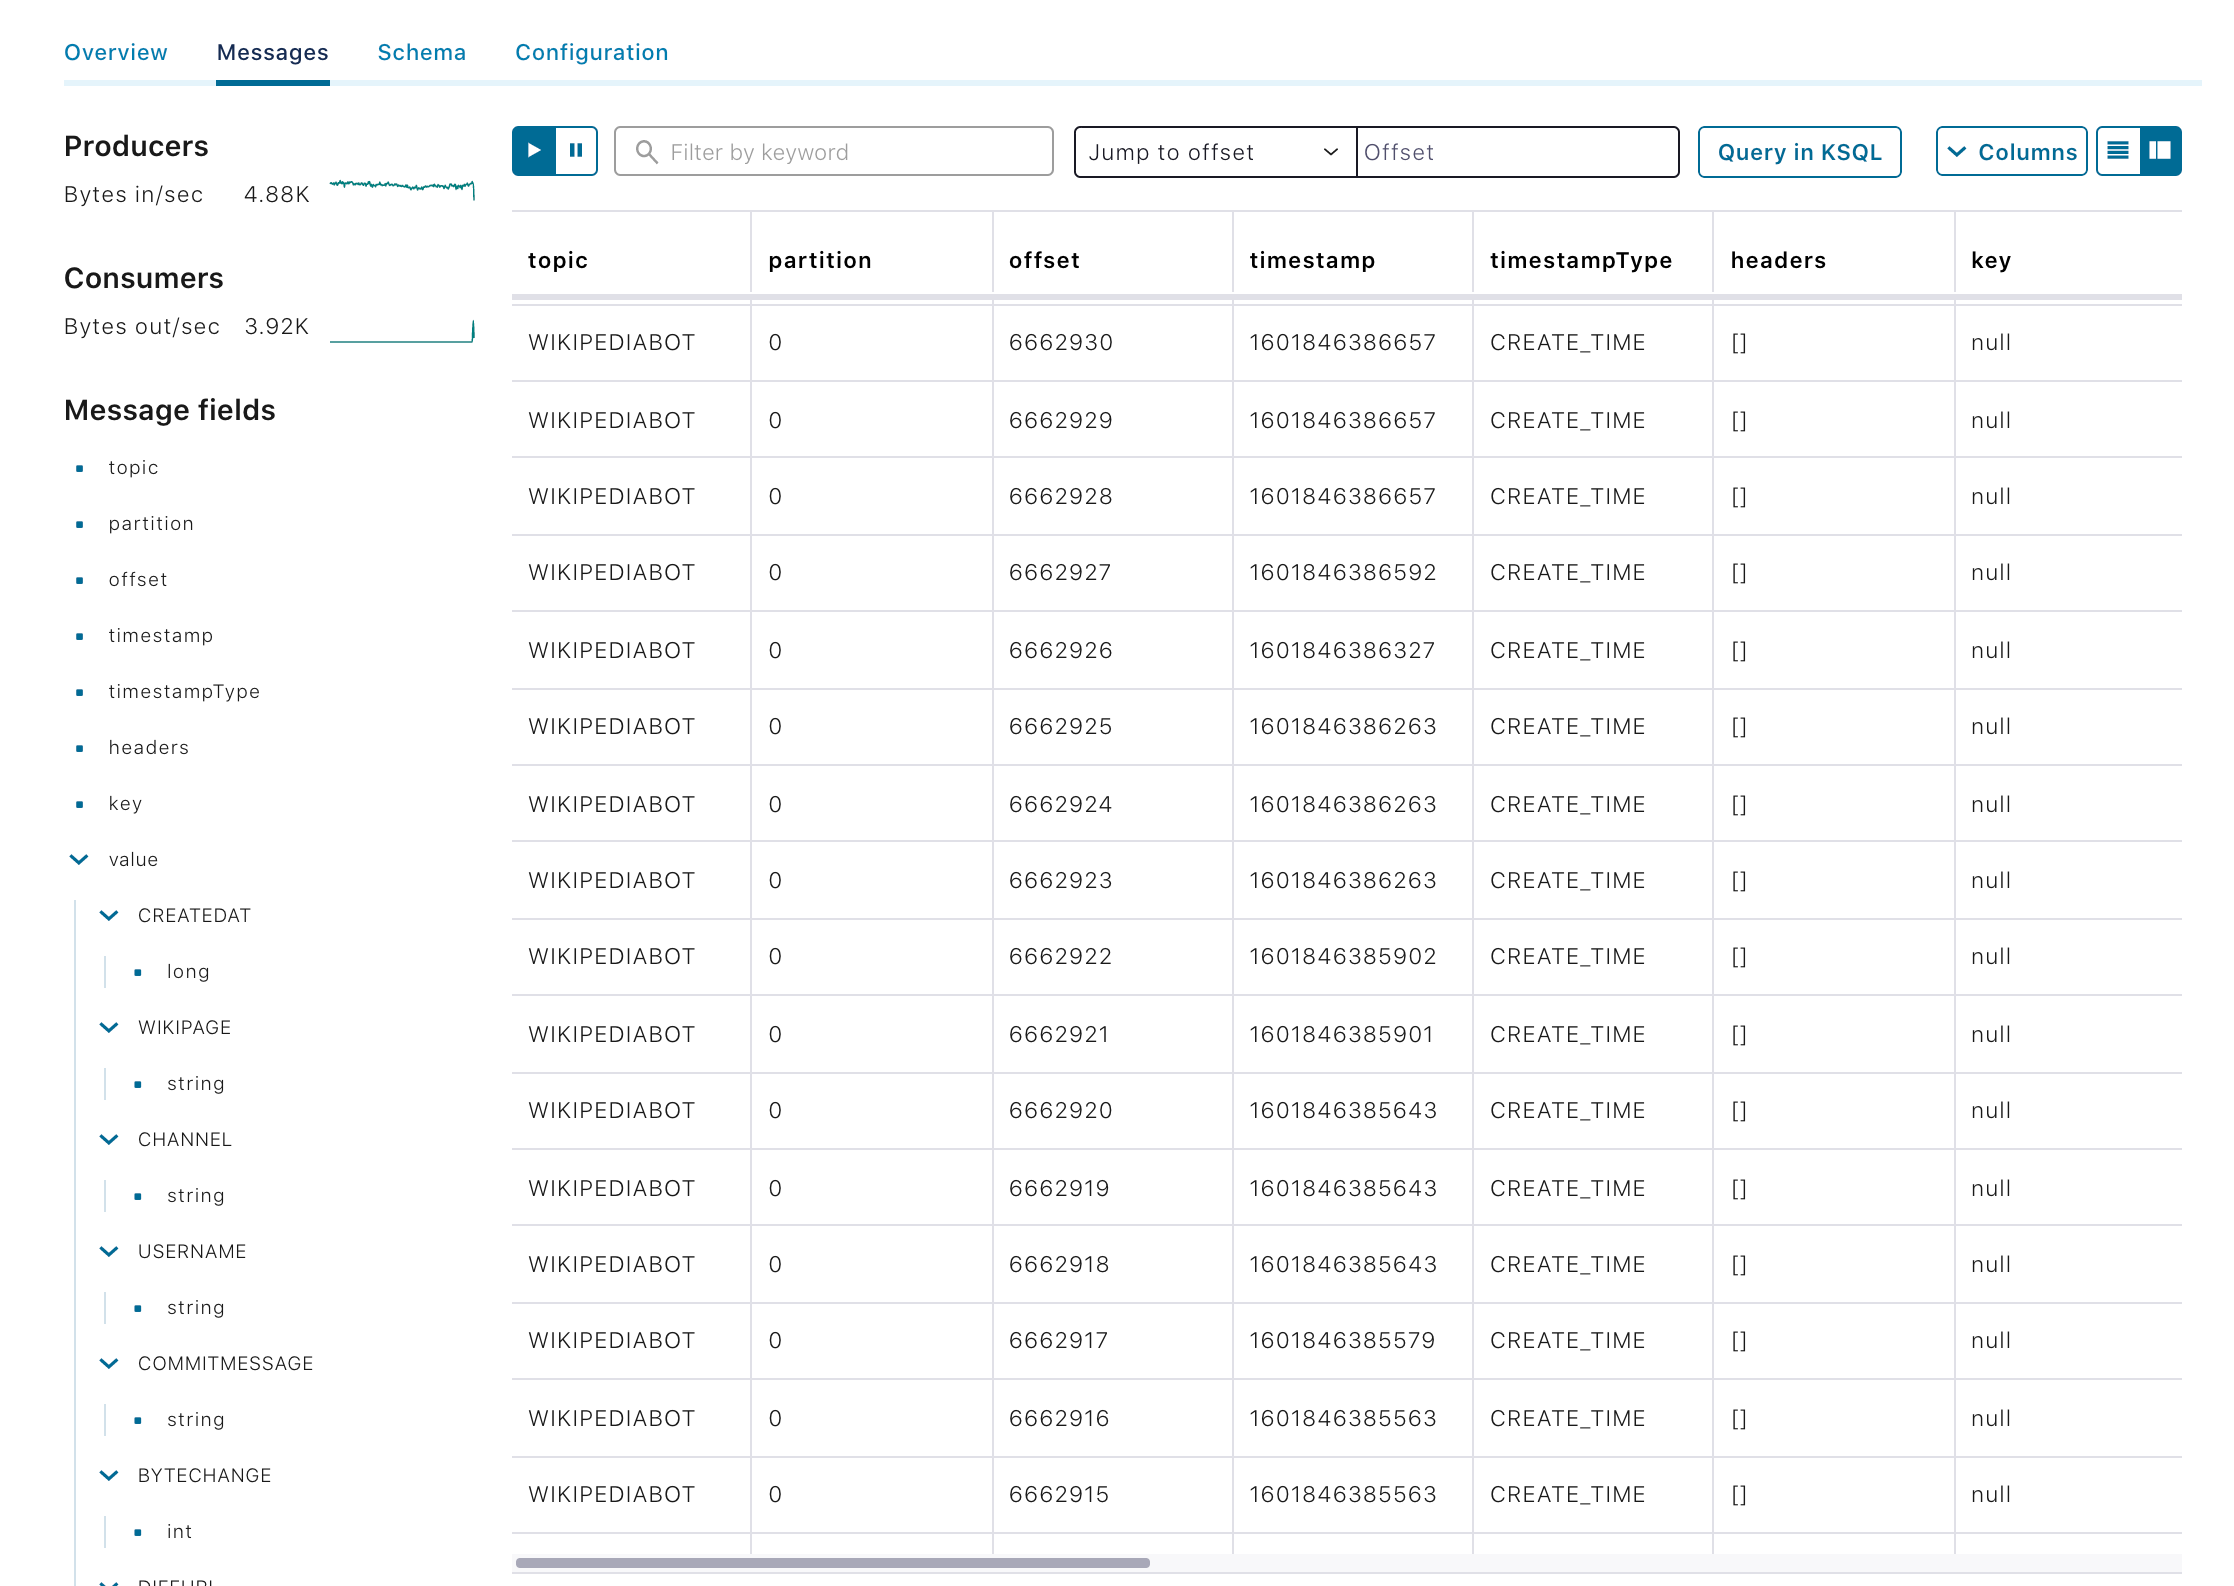
Click the Messages tab. The messages page opens in table view by default.
To browse the messages table:
Scroll vertically to see all of the available data. The newest data is displayed at the top of the table.
Click the pause icon
 to pause the scrolling of incoming messages so that you can analyze the data. Messages may still be produced to the topic; however, the message browser does not display newly consumed data while the view is paused. Click the play icon to resume displaying incoming messages.
Change layout and expand messages
You can switch between Card view and Table view, show and hide columns, and view full messages.
Click the Card view (default) or Table view
 to change the output layout.
You can show and hide columns in Table view. This can help focus on columns of interest without requiring horizontal scrolling.
Hover over the more option icon (…) and select Show/hide columns.
Select the columns you want to toggle on or off in the topic messages table. There must be populated message data for the Columns selector to appear. Note that if you jump to an offset or timestamp, the table resets to show all columns again.

Column selector topic messages view
You can browse and expand message in card view:
Use the layout selector to change to card view
Click the expand icon
 in the card view to access the contents of a message. Note the expanding the card view for a message automatically pauses the display of incoming data.
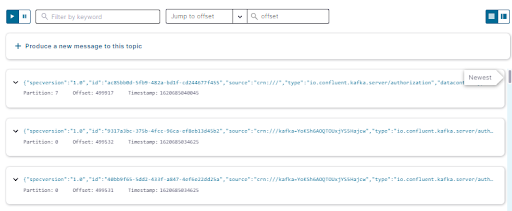
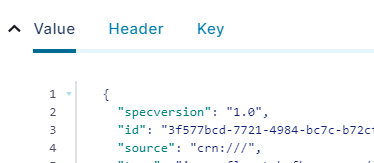
Click the Value, Header or Key tab to display that section of the message.
Click the play icon to collapse the expanded cards views and resume displaying incoming data.
Filter by keyword
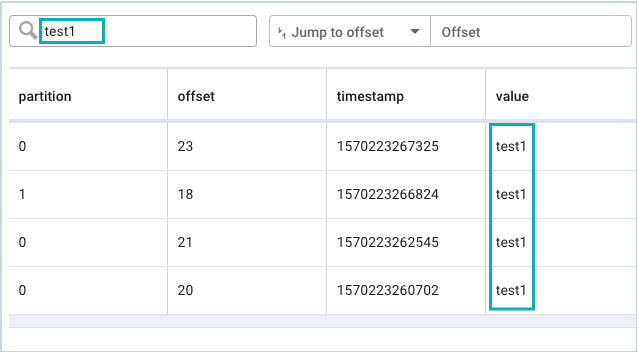
To filter the results, enter filter criteria in the Filter by keyword box. Note that only prefix searching is currently supported. You can search for the beginning portion of a keyword. The search keyword must be the first substring in a column item. The filter matches the search string across any of the columns.
Prefix search for topic messages by keyword of value
Jump to an offset
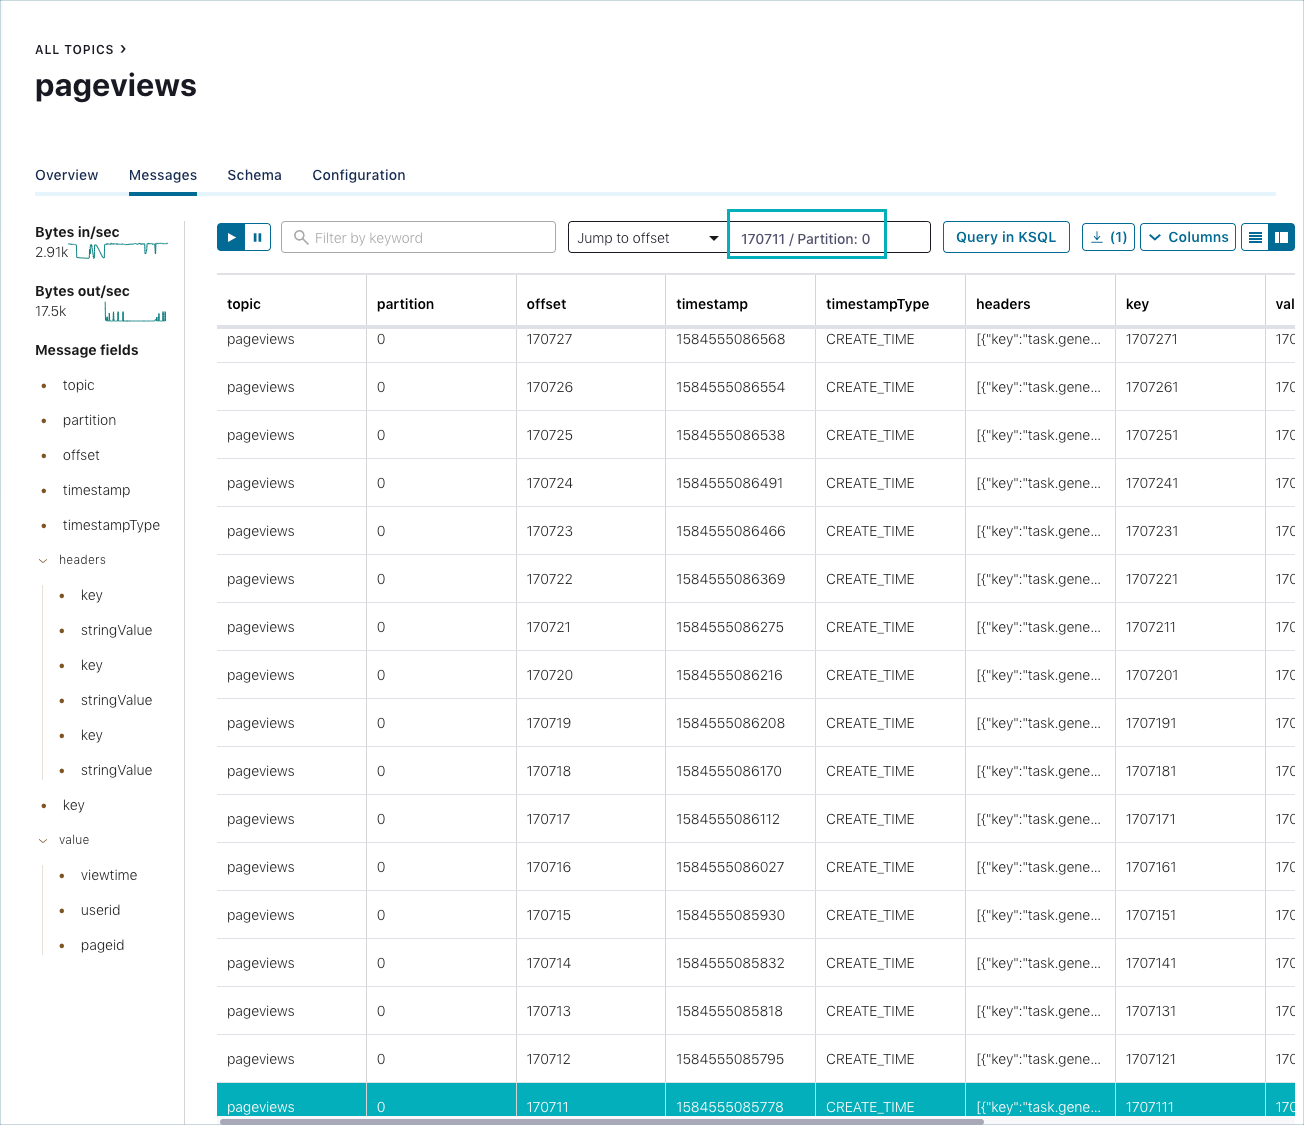
To jump to a message offset, click the Jump to offset menu and enter the offset and partition. Messages are displayed in the message browser pane starting from the desired offset, and continue to feed in at the top of the message browser pane.
The record at the offset is highlighted and preselected for download.
Jump to a date and time
The Jump to time search option searches for the earliest offset where the timestamp was first recorded. Even if there are multiple data points associated with a timestamp, the search goes to the earliest offset. Messages are displayed in the message browser pane starting from the desired time, and continue to feed in at the top of the browser pane. Manually select any messages you want to download.
To jump to a specific date and time:
Click the Jump to time menu.
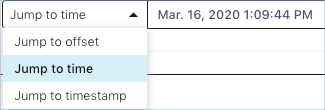
Click the default current date and time box to open a calendar.

Select a partition. Note that you must select a partition before trying to adjust the time or apply the new date and time.
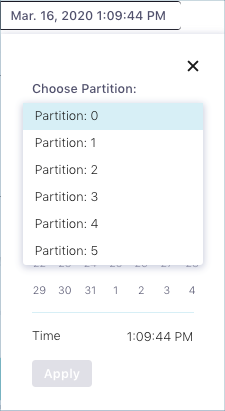
Click a calendar date. Use the arrows to go forward or back and select a month and day.
Click the time box to adjust the time in hours, minutes, seconds, and AM or PM.
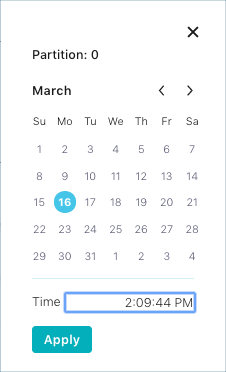
Click Apply.
Jump to a timestamp
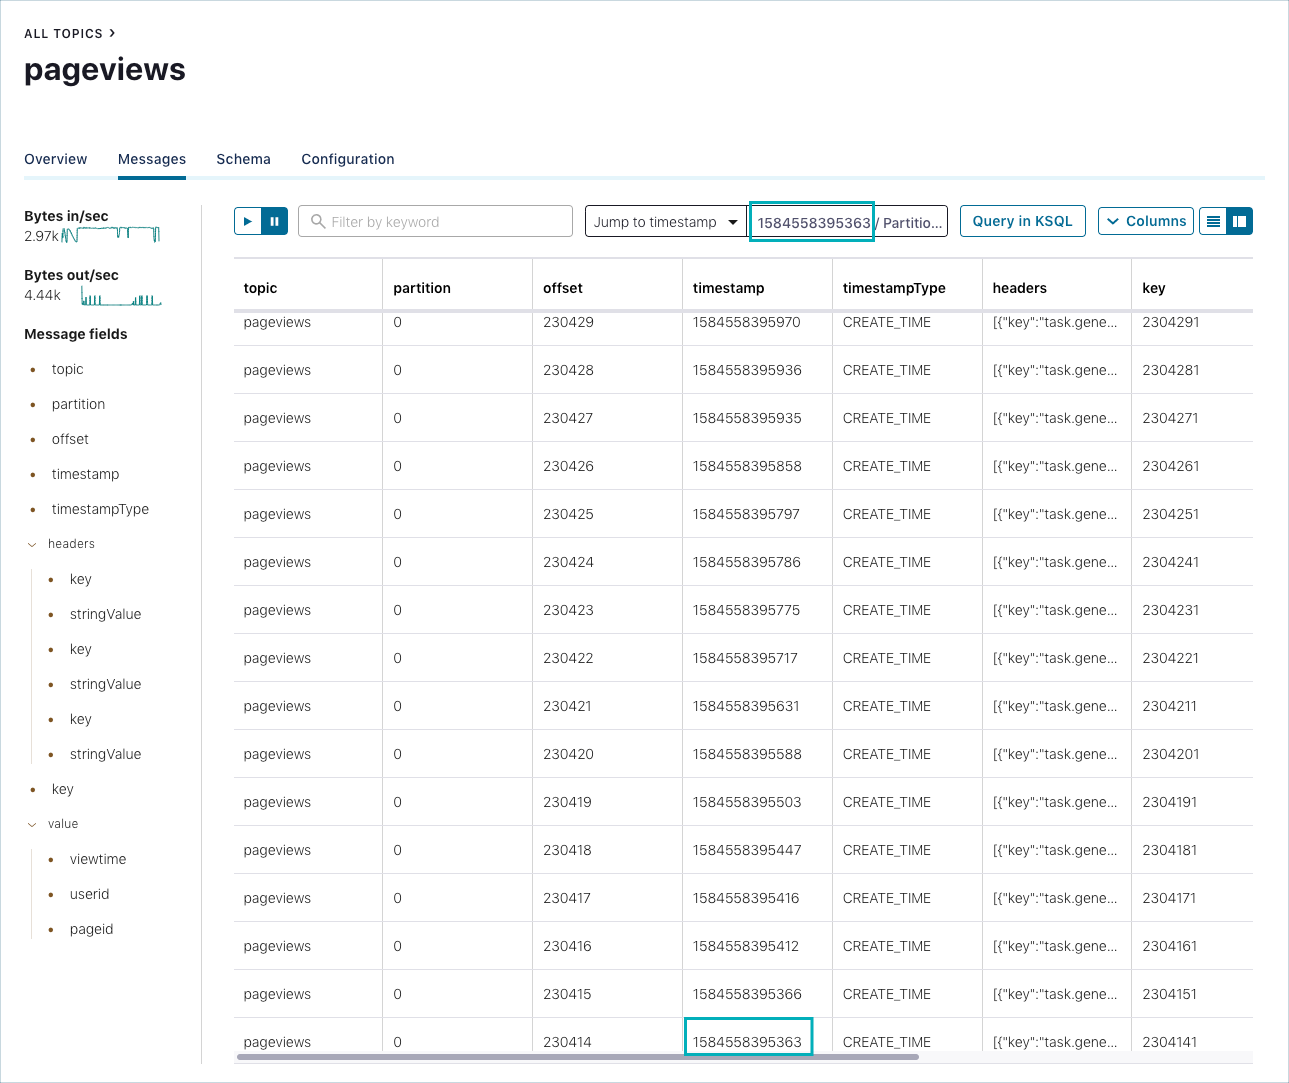
To jump to a message timestamp, click the Jump to timestamp menu and enter the timestamp and partition.
The timestamp is displayed in microseconds. Enter your time of interest in milliseconds into the timestamp box and selected partition.
Tip
Use a timestamp converter to convert the timestamp into a human-readable date and time.
The Jump to time search option searches for the earliest offset where the timestamp was first recorded. Even if there are multiple data points associated with a timestamp, the search goes to the earliest offset. Messages are displayed in the message browser pane starting from the desired time, and continue to feed in at the top of the browser pane. Manually select any messages you want to download.
Produce a new message to a topic
You can manually produce a new message to a topic using the Produce a new message to this topic window.
Download selected topic messages
Download selected rows of messages in JSON or CSV format.
Select one or more contiguous rows using the shift key or non-contiguous rows using the command key. Once you have selected messages, the download button displays, and you can select the download formats: JSON or CSV.
Note that when you jump to an offset, date/time, or timestamp, the record at the offset is highlighted and preselected for download.
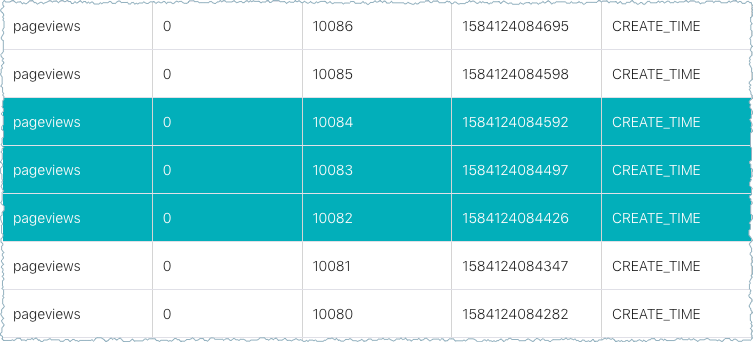
Click the Download. Downloaded files are named with the following convention:
messagesfollowed by an underscore (_).The topic name, followed by an underscore (_).
The number of downloaded topics.
The suffix of the selected format(s).
For example, downloading two messages from the
confluent-audit-logtopic for both JSON and CSV results inmessages_confluent-audit-log_2.csvandmessages_confluent-audit-log_2.jsonfile downloads.Example contents for a JSON file from the pageviews topic:
[
   {
      "topic":"pageviews",
      "partition":0,
      "offset":238156,
      "timestamp":1561686540691,
      "timestampType":"CREATE_TIME",
      "headers":[

      ],
      "key":"2364041",
      "value":{
         "viewtime":2364041,
         "userid":"User_3",
         "pageid":"Page_25"
      }
   },
   {
      "topic":"pageviews",
      "partition":0,
      "offset":238155,
      "timestamp":1561686540662,
      "timestampType":"CREATE_TIME",
      "headers":[

      ],
      "key":"2364031",
      "value":{
         "viewtime":2364031,
         "userid":"User_1",
         "pageid":"Page_12"
      }
   },
   {
      "topic":"pageviews",
      "partition":0,
      "offset":238154,
      "timestamp":1561686540593,
      "timestampType":"CREATE_TIME",
      "headers":[

      ],
      "key":"2364021",
      "value":{
         "viewtime":2364021,
         "userid":"User_4",
         "pageid":"Page_21"
      }
   }
]
Enable and disable message browsing in Control Center (Legacy)
The topic inspection feature is enabled by default in Control Center (Legacy). The feature can be disabled if an organization does not want any users to access the feature. After disabling the feature, the Messages tab is no longer visible in the Control Center (Legacy) UI.
To disable the topic inspection feature in Control Center (Legacy):
Set the
confluent.controlcenter.topic.inspection.enableoption in yourcontrol-center.propertiesfile tofalse.... confluent.controlcenter.topic.inspection.enable=false ...
Note
Make the change in the appropriate Control Center (Legacy) properties file or files configured for your environments, including
control-center-dev.propertiesorcontrol-center-production.properties. The properties files are located in/path-to-confluent/etc/confluent-control-center/. For more informatin, see Control Center (Legacy) Properties File.Restart Control Center (Legacy) and pass in the properties file for the configuration to take effect. For more information about restarting Control Center (Legacy) and passing in its properties files, see Control Center (Legacy) Properties File.
./bin/control-center-stop
./bin/control-center-start ../etc/confluent-control-center/control-center.properties
Tip
If you are using a Confluent Platform development environment with a Confluent CLI, stop and start as follows:
confluent local services control-center stop
confluent local services control-center start ../etc/confluent-control-center/control-center-dev.properties
To re-enable the topic feature, set the option back to
trueand restart Control Center (Legacy) with the updated properties file.
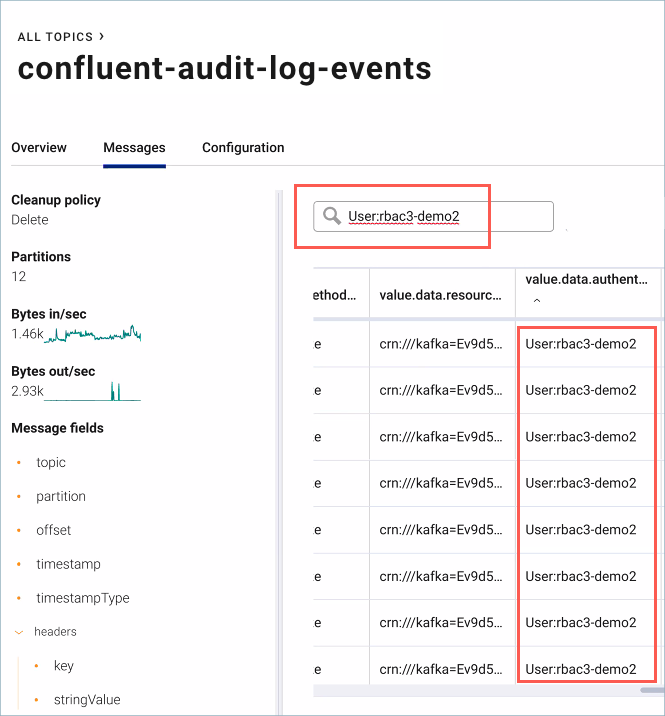
Search audit log
When you are searching the audit log for user activity in the message browser, you must use the format User:<username>. To navigate to the audit log, click Cluster > Topics > confluent-audit-log-events > Messages tab.
