
Amazon Kinesis Source Connector for Confluent Platform
The Kafka Connect Kinesis Source connector is used to pull data from Amazon Kinesis and persist the data to an Apache Kafka® topic.
Features
At least once delivery
This connector guarantees that records are delivered at least once to the Kafka topic. If the connector restarts, there may be some duplicate records in the Kafka topic.
Client-side encryption
This connector supports Client-Side Field Level Encryption (CSFLE) and Client-Side Payload Encryption (CSPE). For more information, see Manage Client-Side Encryption.
Install the Kinesis connector
You can install this connector by using the confluent connect plugin install command, or by manually downloading the ZIP file.
Prerequisites
You must install the connector on every machine where Connect will run.
Java 8+. Note that Java 8 is deprecated in versions 7.2 and later of Confluent Platform. For more details, view Java compatibility with Confluent Platform by version.
An installation of the Confluent Hub Client. Note that this is installed by default with Confluent Enterprise.
An installation of the latest (
latest) connector version.
Install the connector using the Confluent CLI
To install the latest connector version, navigate to your Confluent Platform installation directory and run the following command:
confluent connect plugin install confluentinc/kafka-connect-kinesis:latest
You can install a specific version by replacing latest with a version number as shown in the following example:
confluent connect plugin install confluentinc/kafka-connect-kinesis:2.0.0
Install the connector manually
Download and extract the ZIP file for your connector and then follow the manual connector installation instructions.
License
You can use this connector for a 30-day trial period without a license key.
After 30 days, you must purchase a connector subscription which includes Confluent enterprise license keys to subscribers, along with enterprise-level support for Confluent Platform and your connectors. If you are a subscriber, you can contact Confluent Support for more information.
For license properties, see Confluent Platform license. For information about the license topic, see License topic configuration.
Configuration properties
For a complete list of configuration properties for this connector, see Configuration Reference for Amazon Kinesis Source Connector for Confluent Platform.
For an example of how to get Kafka Connect connected to Confluent Cloud, see Connect Self-Managed Kafka Connect to Confluent Cloud.
Upgrading to Version 2.x
Starting with version 2.x, the Amazon Kinesis Source connector uses the AWS SDK v2, upgrading from v1. This upgrade is not backward-compatible with versions 1.x. If you use any custom or built-in AWS credentials providers, you must update your implementation to ensure compatibility with the new AWS SDK v2.
Follow the steps below based on the type of credentials provider your implementation uses.
Custom credentials provider
Update the credentials provider interface: If you have implemented a custom credentials provider, you must update your code to implement the new AWS SDK v2 interface.
Old interface: com.amazon.auth.AWSCredentialsProvider
New interface: software.amazon.awssdk.auth.credentials.AwsCredentialsProvider
Set a new instantiation method: The connector no longer uses a default no-argument constructor to create an instance of your custom provider. Instead, your credentials provider class must now implement a static, no-argument
create()method that returns a new instance of your provider.
AWS built-in credentials provider
Use the v2 equivalent: If you use a credentials provider built into the AWS SDK itself, you must ensure you use the v2 equivalent of that provider.
Use the
create()method: This provider must implement a static, no-argumentcreate()method that returns a new provider instance.
Default credentials provider
Review changes to the default chain: The default credentials provider chain in the AWS SDK v2 has changed the order in which it searches for credentials. The SDK v2 version now checks for system properties before checking for environment variables. This change may affect your connector’s authentication if you previously relied on environment variables and also have system properties set.
For more information about credentials provider migration, see Credentials provider changes for AWS SDK v2.
Usage notes
The default credentials provider is DefaultCredentialsProvider. For more information, see the AWS documentation.
Examples
Streaming ETL Demo
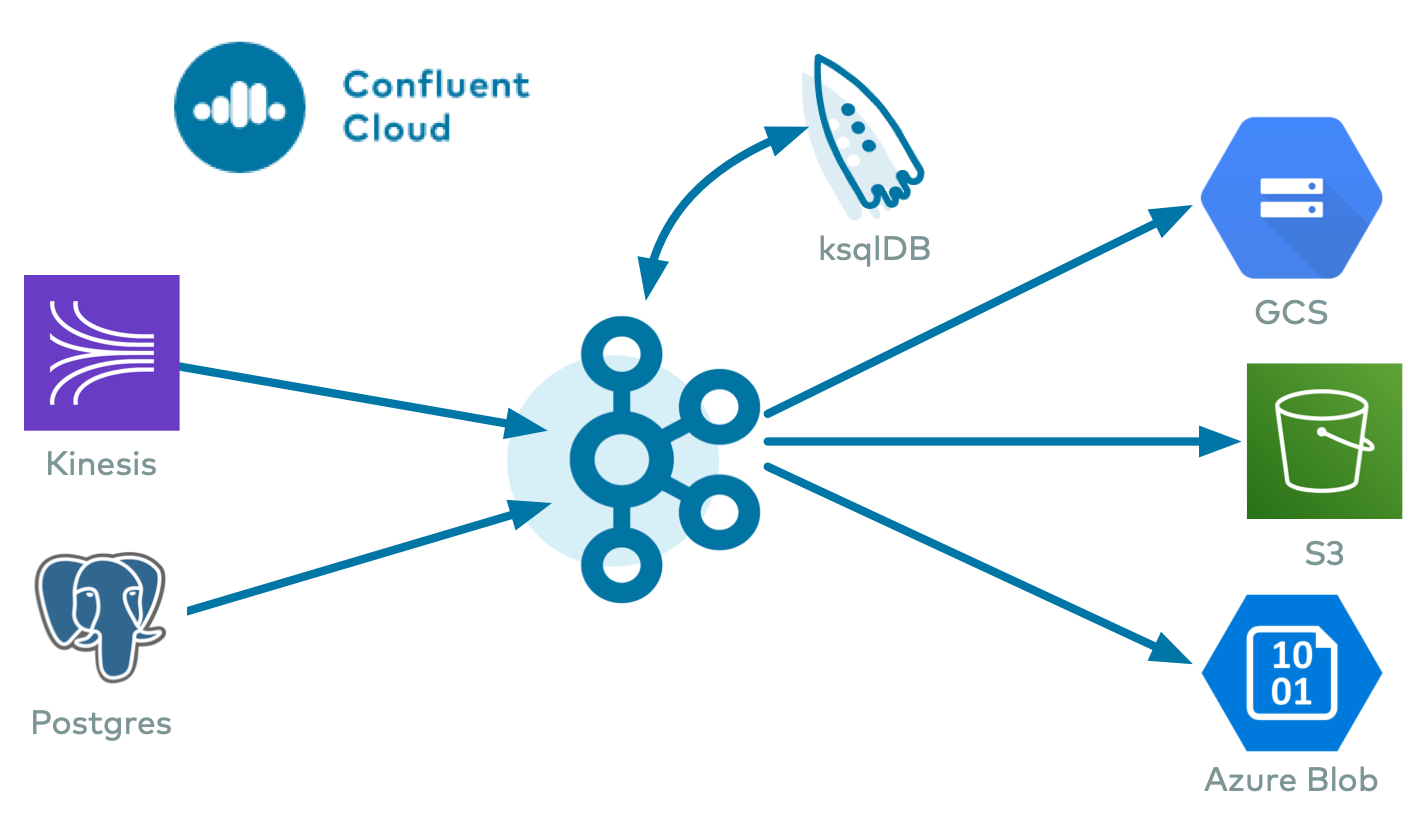
To evaluate the Kafka Connect Kinesis Source connector, AWS S3 Sink connector, Azure Blob Sink connector, and the Google Cloud Storage (GCS) Sink connector in an end-to-end streaming deployment, refer to the Cloud ETL demo on GitHub. This demo also allows you to evaluate the real-time data processing capabilities of ksqlDB.
Property-based example
This configuration is used typically along with standalone workers.
name=KinesisSourceConnector1
connector.class=io.confluent.connect.kinesis.KinesisSourceConnector
tasks.max=1
aws.access.key.id=< Optional Configuration >
aws.secret.key.id=< Optional Configuration >
kafka.topic=< Required Configuration >
kinesis.stream=< Required Configuration >
kinesis.region=< Optional Configuration - defaults to US_EAST_1 >
confluent.topic.bootstrap.servers=localhost:9092
confluent.topic.replication.factor=1
REST-based example
This configuration is used typically along with distributed workers. Write the following JSON to connector.json, configure all of the required values, and use the command below to post the configuration to one the distributed connect worker(s). For more information, see Kafka Connect REST API
Connect distributed REST-based example:
  {
    "config" : {
      "name" : "KinesisSourceConnector1",
      "connector.class" : "io.confluent.connect.kinesis.KinesisSourceConnector",
      "tasks.max" : "1",
      "aws.access.key.id" : "< Optional Configuration >",
      "aws.secret.key.id" : "< Optional Configuration >",
      "kafka.topic" : "< Required Configuration >",
      "kinesis.stream" : "< Required Configuration >"
    }
  }
Use curl to post the configuration to one of the Kafka Connect Workers. Change http://localhost:8083/ the endpoint of one of your Kafka Connect worker(s).
Create a new connector:
curl -s -X POST -H 'Content-Type: application/json' --data @connector.json http://localhost:8083/connectors
Update an existing connector:
curl -s -X PUT -H 'Content-Type: application/json' --data @connector.json http://localhost:8083/connectors/KinesisSourceConnector1/config
Quick start
The Kinesis connector is used to import data from Kinesis streams, and write them into a Kafka topic. Before you begin, create a Kinesis stream and have a user profile with read access to it.
Preliminary setup
After you have installed the latest connector version, complete the following steps:
Use the Confluent CLI to restart Connect (adding a new connector plugin requires restarting Connect).
confluent local services connect stop && confluent local services connect start
Your output should resemble:
Using CONFLUENT_CURRENT: /Users/username/Sandbox/confluent-snapshots/var/confluent.NuZHxXfq
Starting Zookeeper
Zookeeper is [UP]
Starting Kafka
Kafka is [UP]
Starting Schema Registry
Schema Registry is [UP]
Starting Kafka REST
Kafka REST is [UP]
Starting Connect
Connect is [UP]
Check if the Kinesis plugin has been installed correctly and picked up by the plugin loader:
curl -sS localhost:8083/connector-plugins | jq .[].class | grep kinesis
"io.confluent.connect.kinesis.KinesisSourceConnector"
Kinesis setup
You can use the AWS Management Console to set up your Kinesis stream, or by completing the following steps:
Sign up for an AWS account.
Set up your AWS credentials. Ensure you set the following permissions in your AWS Kinesis policy:
"Action": [ "kinesis:DescribeStream", "kinesis:GetShardIterator", "kinesis:GetRecords" ]
aws kinesis create-stream --stream-name my_kinesis_stream --shard-count 1
Insert records into your stream.
aws kinesis put-record --stream-name my_kinesis_stream --partition-key 123 --data test-message-1
The previous example shows that a record containing partition key
123and texttest-message-1is inserted into a stream,my_kinesis_stream.
Source connector configuration
Start the services using the Confluent CLI:
confluent local start
Create a configuration file named
kinesis-source-config.jsonwith the following contents.{ "name": "kinesis-source", "config": { "connector.class": "io.confluent.connect.kinesis.KinesisSourceConnector", "tasks.max": "1", "kafka.topic": "kinesis_topic", "kinesis.region": "US_WEST_1", "kinesis.stream": "my_kinesis_stream", "confluent.license": "", "name": "kinesis-source", "confluent.topic.bootstrap.servers": "localhost:9092", "confluent.topic.replication.factor": "1" } }The important configuration parameters used here are:
kinesis.stream.name: The Kinesis Stream to subscribe to.
kafka.topic: The Kafka topic in which the messages received from Kinesis are produced.
tasks.max: The maximum number of tasks that should be created for this connector. Each Kinesis shard is allocated to a single task. If the number of shards specified exceeds the number of tasks, the connector throws an exception and fails.
kinesis.region: The region where the stream exists. Defaults to
US_EAST_1if not specified.You may pass your AWS credentials to the Kinesis connector through your source connector configuration. To pass AWS credentials in the source configuration set the aws.access.key.id and the aws.secret.key.id parameters.
"aws.acess.key.id":<your-access-key>
"aws.secret.key.id":<your-secret-key>
Run the following command to start the Kinesis Source connector.
confluent local load source-kinesis --config source-kinesis-config.json
Run the following command to check that the connector started successfully by viewing the Connect worker’s log:
confluent local services connect log
Start a Kafka Consumer in a separate terminal session to view the data exported by the connector into the Kafka topic
bin/kafka-console-consumer.sh --bootstrap-server localhost:9092 --topic kinesis_topic --from-beginning
Stop the Confluent services using the following command:
confluent local stop
Remove unused resources
Delete your stream and clean up resources to avoid incurring any unintended charges.
aws kinesis delete-stream --stream-name my_kinesis_stream
Kinesis Credentials
The Kinesis connector supports multiple ways to configure AWS credentials. Choose one of the following methods:
AWS Credentials
By default, the Kinesis connector looks for Kinesis credentials in the following locations and in the following order:
The
AWS_ACCESS_KEY_IDandAWS_SECRET_ACCESS_KEYenvironment variables accessible to the Connect worker processes where the connector will be deployed. These variables are recognized by the AWS CLI and all AWS SDKs (except for the AWS SDK for .NET). You use export to set these variables.export AWS_ACCESS_KEY_ID=<your_access_key_id> export AWS_SECRET_ACCESS_KEY=<your_secret_access_key>
The
AWS_ACCESS_KEYandAWS_SECRET_KEYcan be used instead, but are not recognized by the AWS CLI.The
aws.accessKeyIdandaws.secretKeyJava system properties on the Connect worker processes where the connector will be deployed. However, these variables are only recognized by the AWS SDK for Java and are not recommended.The
~/.aws/credentialsfile located in the home directory of the operating system user that runs the Connect worker processes. These credentials are recognized by most AWS SDKs and the AWS CLI. Use the following AWS CLI command to create the credentials file:aws configure
You can also manually create the credentials file using a text editor. The file should contain lines in the following format:
[default]
aws_access_key_id = <your_access_key_id>
aws_secret_access_key = <your_secret_access_key>
Note that when creating the credentials file, you must ensure the following
The user creating the credentials file is the same user that runs the Connect worker processes.
The credentials file is in this user’s home directory.
Without satisfying the previous conditions, the connector will not be able to find the credentials. For more details, see AWS Credentials File Format.
Choose one of the previous conditions to define the AWS credentials that the Kinesis connector will use, verify the credentials implementation is set correctly, and then restart all of the Connect worker processes.
Confluent recommends using either environment variables or a credentials file because they are the most straightforward, and can be checked using the AWS CLI tool before running the connector.
All Kinesis connectors run in a single Connect worker cluster and use the same credentials. For more control over other credential configuration options, see Default Credentials Provider, Trusted Account Credentials (IAM Roles), or Custom Credentials Provider sections.
Important
If you configure one of the AWS key and AWS secret key implementations (as previously mentioned), credentials cannot also be supplied through the following Default Credentials Provider, Trusted Account Credentials (IAM Roles), or Custom Credentials Provider. Attempting to provide credentials using multiple implementations will cause authentication failure.
Default Credentials Provider
A credentials provider is a Java class that implements the software.amazon.awssdk.auth.credentials.AwsCredentialsProvider interface in the AWS Java library and returns AWS credentials from the environment. By default, the Kinesis connector configuration property kinesis.credentials.provider.class uses the software.amazon.awssdk.auth.credentials.DefaultCredentialsProvider class. This class and interface implementation chains together five other credential provider classes.
The software.amazon.awssdk.auth.credentials.DefaultCredentialsProvider implementation looks for credentials in the following order:
Environment variables using the software.amazon.awssdk.auth.credentials.EnvironmentVariableCredentialsProvider class implementation. This implementation uses environment variables
AWS_ACCESS_KEY_IDandAWS_SECRET_ACCESS_KEY. Environment variablesAWS_ACCESS_KEYandAWS_SECRET_KEYare also supported by this implementation; however, these two variables are only recognized by the AWS SDK for Java and are not recommended.Java system properties using the software.amazon.awssdk.auth.credentials.SystemPropertyCredentialsProvider class implementation. This implementation uses Java system properties
aws.accessKeyIdandaws.secretKey.Credentials file using the software.amazon.awssdk.auth.credentials.ProfileCredentialsProvider class implementation. This implementation uses a credentials file located in the path
~/.aws/credentials. This credentials provider can be used by most AWS SDKs and the AWS CLI. Use the following AWS CLI command to create the credentials file:aws configure
You can also manually create the credentials file using a text editor. The file should contain lines in the following format:
[default]
aws_access_key_id = <your_access_key_id>
aws_secret_access_key = <your_secret_access_key>
Note that when creating the credentials file, you must ensure the following
The user creating the credentials file is the same user that runs the Connect worker processes.
The credentials file is in this user’s home directory.
Without satisfying the previous conditions, the connector will not be able to find the credentials. For more details, see the AWS Credentials File Format.
Trusted Account Credentials (IAM Roles)
This connector can assume a role and use credentials from a separate trusted account. This is a default feature provided with recent versions of this connector that include an updated version of the AWS SDK.
Important
You cannot use assumed role credentials to access AWS through a proxy server without first passing environment variables or system properties. This is due to an AWS SDK limitation.
After you create the trust relationship, an IAM user or an application from the trusted account can use the AWS Security Token Service (AWS STS)AssumeRole API operation. This operation provides temporary security credentials that enable access to AWS resources for the connector. For details, see Creating a Role to Delegate Permissions to an IAM User.
- Example:
Profile in ~/.aws/credentials:

[default]
role_arn=arn:aws:iam::037803949979:role/kinesis_cross_account_role
source_profile=staging
role_session_name = OPTIONAL_SESSION_NAME

[staging]
aws_access_key_id = <STAGING KEY>
aws_secret_access_key = <STAGING SECRET>
To allow the connector to assume a role with the right permissions, set the Amazon Resource Name (ARN) for this role. Additionally, you must choose between source_profile or credential_source as the way to get credentials that have permission to assume the role, in the environment where the connector is running.
Note
When setting up trusted account credentials, be aware that the approach of loading profiles from both ~/.aws/credentials and ~/.aws/config does not work when configuring this connector. Assumed role settings and credentials must be placed in the ~/.aws/credentials file.
Custom Credentials Provider
You can configure the Kinesis connector to use a custom credentials provider, instead of the default one provided in the connector. To do this, you need to implement a custom credentials provider, build it as a JAR file, and deploy the JAR file to use the custom provider. By default, the Kinesis connector configuration property kinesis.credentials.provider.class uses the software.amazon.awssdk.auth.credentials.DefaultCredentialsProvider class.
Complete the following steps to use a custom credentials provider:
Set a custom credentials provider class: Set the
kinesis.credentials.provider.classproperty to a class that implements thecom.amazonaws.auth.AWSCredentialsProviderinterface. Configure the class to the fully qualified name of your custom credentials provider class.Configure additional settings (Optional): For additional configuration, prefix the configuration keys with
kinesis.credentials.provider.. If your custom credentials provider needs to accept additional configuration, implement theorg.apache.kafka.common.Configurableinterface that lets the connector receive configurations that are prefixed withkinesis.credentials.provider..Package your provider: Once your custom credentials provider class is implemented, package it into a JAR file.
Copy the JAR file to Connect Worker: Copy the built JAR file to the
share/java/kafka-connect-kinesisdirectory on all Connect workers. This step ensures that the Kinesis connector can access and use your custom credentials provider.Restart Connect workers: After copying the JAR file, restart all Connect workers to ensure they pick up the new credentials provider.
Important
When using a custom credentials provider, do not include the aws.access.key.id and aws.secret.key.id in the connector configuration file. If these parameters are included, they will override the custom credentials provider class.