View Messages Using Control Center (Legacy) for Confluent Platform
In Confluent Control Center (Legacy), message browser enables you to view, produce, and download messages produced to a topic. You can browse message data across all partitions, seek data from specific offsets or timestamps by partition, and produce and download messages. Messages can be produced with or without a schema. Messages with a schema can be validated by message browser before you produce them to the topic.
Considerations:
By default, message browser displays newer data at the top of the messages pane.
Filter across any of the available columns.
You can only filter results that are displayed. To add more results to the current display, increase the maximum results, manipulate the start time, or add partitions.
In Confluent Control Center (Legacy), message browser displays only the default schema for messages that have multiple schemas.
Only TopicNameStrategy schemas are used to deserialize messages.
Non-compacted topics show a tile for Total messages while compacted topics show a tile for Storage.
Prerequisites:
You must have data being produced to a topic or already present in a topic to use message browser.
Messages cannot be viewed if LDAP Basic Auth is implemented and the user is a member of a restricted group. If users need to view messages, consider using RBAC instead of LDAP Basic Auth.
Inspect topics
Message browser enables you to inspect topic details and browse messages. If you don’t have data in the topic, use the built-in produce new message feature to send a message to the topic. You can replay old data that was already produced as long as it hasn’t been compacted or deleted yet.
To browse messages and inspect topics:
Select a cluster.
Select Topics in the navigation menu. The Topics page appears.
Select the topic you want to inspect.
Select Messages. The Messages page displays messages for the topic.
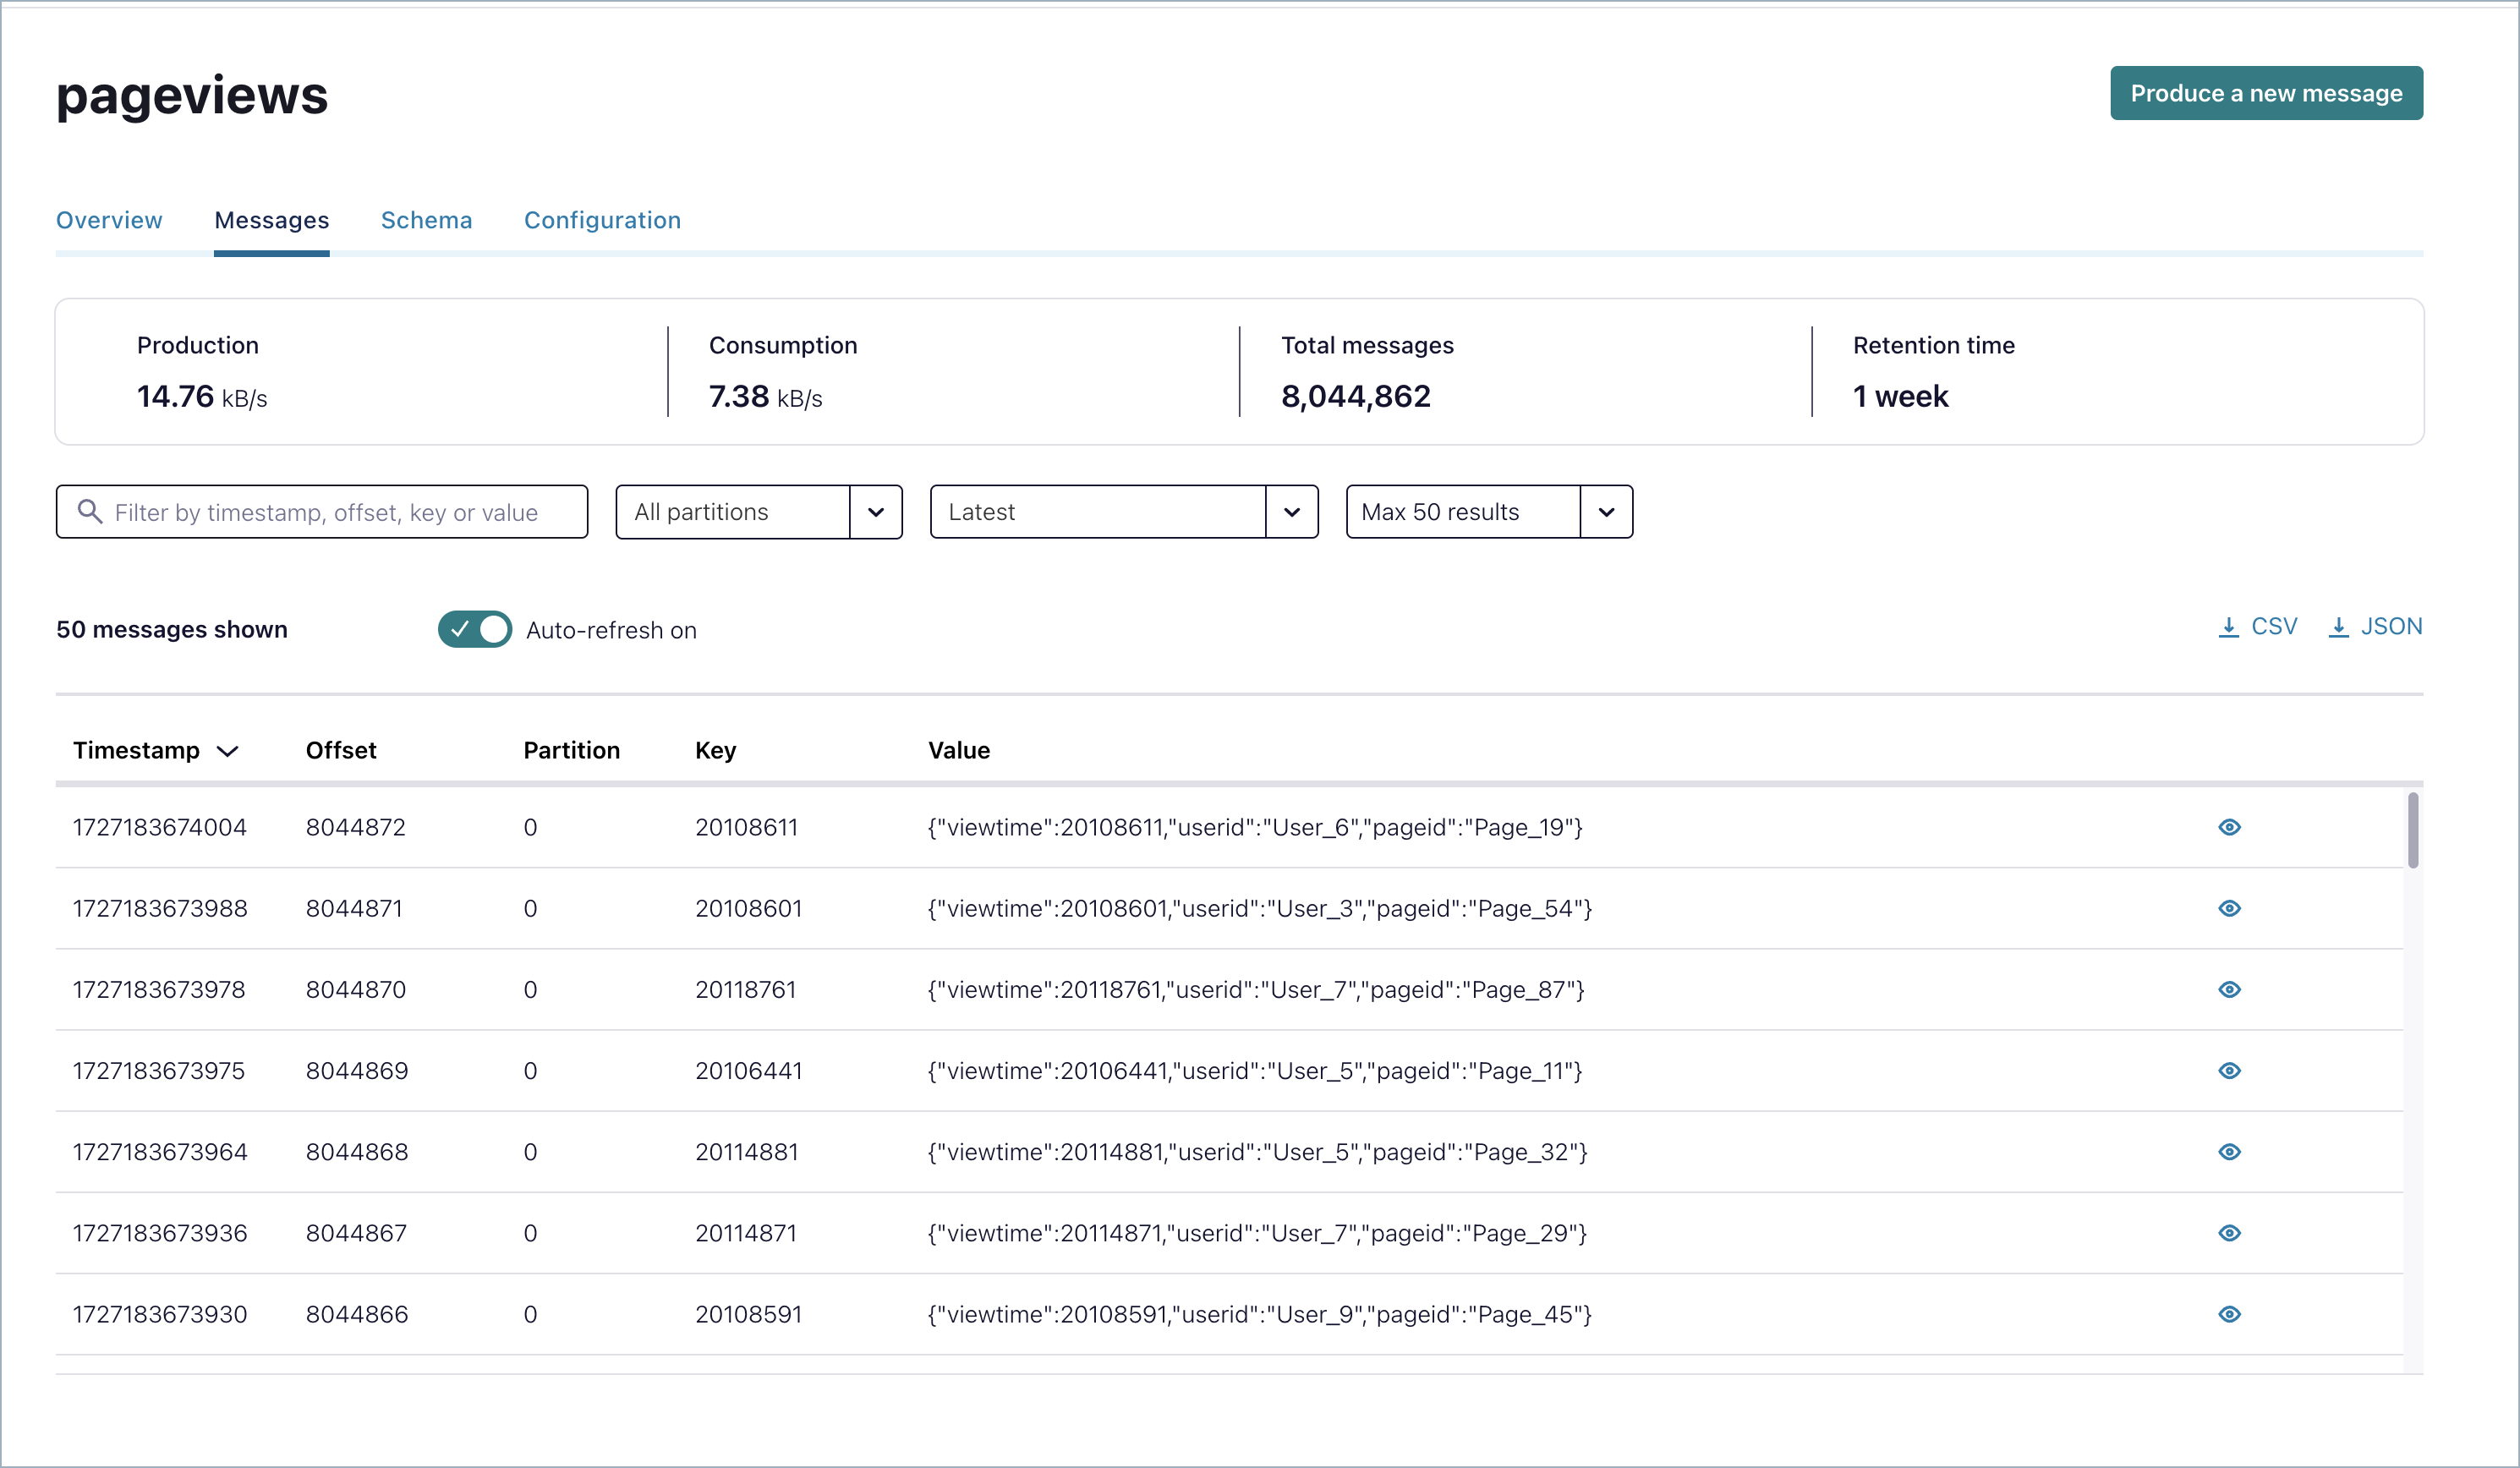
To browse the messages pane use the following features:
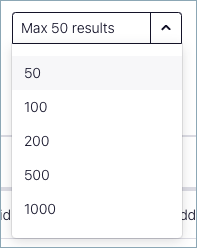
Max results drop down changes the maximum displayed result.
Auto-refresh toggle pauses and resumes message browser updates. The topic continues to receive any messages produced during a pause, but message browser pauses the display.

Filter by timestamp, offset, key or value filter results by the specified criteria. Enter a timestamp in Unix epoch format. Enter an offset, key, or any string value to filter by that value.

Select a row to access the contents of the message. A message detail pane opens. In Message details, select Key, Value, or Headers.

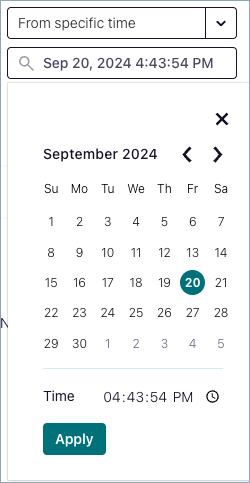
Use Latest, From beginning, From offset, From timestamp, or From specific time to refine message searches.
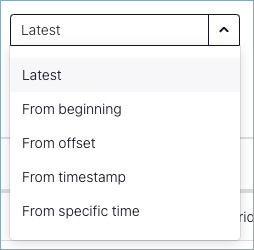
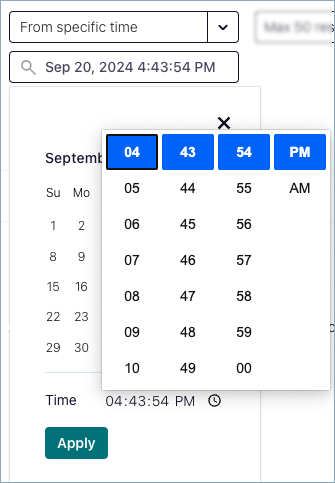
From beginning, From timestamp, or From specific time details
Latest
The latest messages from the topic. By default, the latest messages are displayed upon first entering message browser.
To view the latest messages from the topic, select Latest.
From beginning
View the earliest messages from the topic, up to the selected maximum amount.
To view the earliest messages from the topic, select From beginning.
From offset
View messages from a specific offset, up to the selected maximum amount.
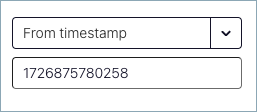
From timestamp
When you seek to a specified time, message browser reads messages from the selected time onwards until the maximum limit of results is reached.
To jump to a message timestamp, select From timestamp and enter the timestamp in milliseconds.
Tip
To convert timestamps between human-readable date and time and milliseconds, use a timestamp converter .
From specific time
Produce new messages to topics
You can produce messages to topics using message browser. All of the following message related tasks are supported:
Produce messages to a topic
Validate messages you create for topics that enforce a schema
Determine if a topic enforces a schema
Add headers to messages
Considerations:
The maximum size of messages produced by message browser is 65 KB.
Message browser schema validation does not respect Schema Registry data contract rules.
Message browser supports all the Schema Registry supported draft versions of JSON Schema.
JSON schemas of one draft type that reference JSON schemas of a different draft type are not fully supported and may cause issues.
While Protocol Buffers (protobuf) supports nested messages, message browser does not. Only top-level messages are validated. This means while you can define another message type inside a protobuf message, message browser only validates (and allows you to select) the top-level message.
Proto3 version of protobuf revokes support for required fields. This limit isn’t unique to message browser but is mentioned here as a reminder that validation ignores optional fields in protobuf messages and only applies to defined messages.
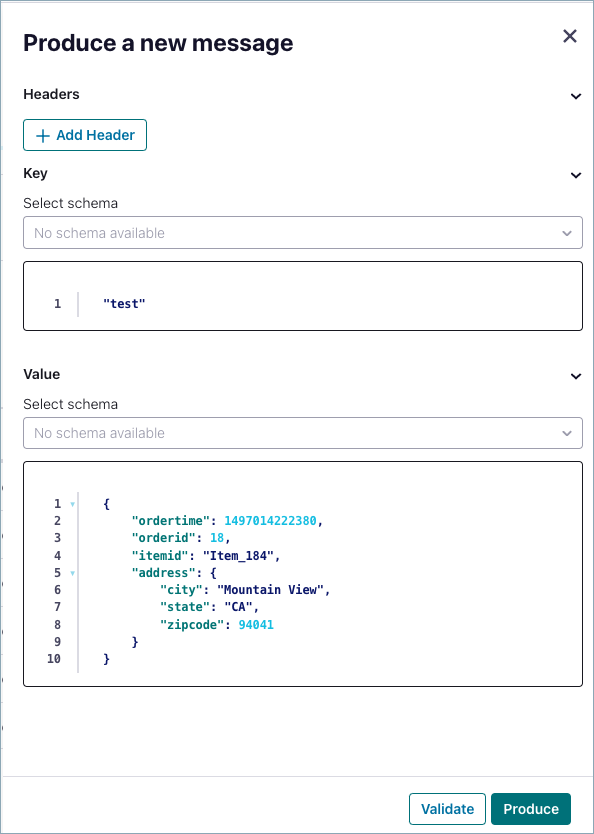
To produce new messages with a schema:
Select Produce new message.
Enter your message.
(Optional) Select Validate.
(Optional) Select Add header.
Enter your header.
(Optional) Add more headers as necessary.
Select Produce.
To produce new messages without a schema:
Select Produce new message.
In Select schema under Key or Value, select Produce without schema and then select Continue to dismiss the prompt.
Enter your message.
(Optional) Select Headers and then select Add header.
Enter your header.
(Optional) Add more headers as necessary.
Select Produce.
To determine if the current topic enforces a schema:
Select Produce new message.
To determine if the topic enforces a schema, review Select schema for Key and Value:
No schema available - no schema is associated with Key or Value
Default - <topic-name>-key|value - the default schema associated with Key or Value
<qualified-subject> - <topic-name>-key|value - additional schemas associated with Key or Value
If multiple schemas are associated with a topic for serialization or deserialization, message browser uses a
TopicNameStrategyto organize them.
Download topic messages
Use the bulk download option to download the currently displayed set of results.
Considerations:
You can download messages as JSON or CSV.
Filter results to limit what you download.
Use the message shown count indicator to determine how many messages of the current set you would download. For example, if limit maximum results is set to 50 (the default) and you filter 25 messages, you see a message that reads 25 of 50 messages shown. This message indicates that only you will only download 25 messages.
To download messages:
Select the download icon for JSON or CSV. A file that contains the selected messages in the selected format is downloaded into your downloads directory.

Example filenames:
Download message as JSON_2024-09-20T22_51_38.775Z.jsonDownload message as CSV_2024-09-20T22_51_36.320Z.csv
Example JSON content:
[
   {
      "partition": 0,
      "offset": 0,
      "timestamp": 1726872675795,
      "timestampType": "CREATE_TIME",
      "key": "test",
      "value": {
         "ordertime": 1497014222380,
         "orderid": 18,
         "itemid": "Item_184",
         "address": {
         "city": "Mountain View",
         "state": "CA",
         "zipcode": 94041
         }
      },
      "headers": []
   }
]
Enable and disable message browsing in Control Center (Legacy)
The topic inspection feature is enabled by default in Control Center (Legacy). The feature can be disabled if an organization does not want any users to access the feature. After disabling the feature, the Messages tab is no longer visible in the Control Center (Legacy) UI.
To disable the topic inspection feature in Control Center (Legacy):
Set the
confluent.controlcenter.topic.inspection.enableoption in yourcontrol-center.propertiesfile tofalse.... confluent.controlcenter.topic.inspection.enable=false ...
Note
Make the change in the appropriate Control Center (Legacy) properties file or files configured for your environments, including
control-center-dev.propertiesorcontrol-center-production.properties. The properties files are located in/path-to-confluent/etc/confluent-control-center/. For more informatin, see Control Center (Legacy) Configuration Examples for Confluent Platform.Restart Control Center (Legacy) and pass in the properties file for the configuration to take effect. For more information about restarting Control Center (Legacy) and passing in its properties files, see Control Center (Legacy) Configuration Examples for Confluent Platform.
./bin/control-center-stop
./bin/control-center-start ../etc/confluent-control-center/control-center.properties
Tip
If you are using a Confluent Platform development environment with a Confluent CLI, stop and start as follows:
confluent local services control-center stop
confluent local services control-center start ../etc/confluent-control-center/control-center-dev.properties
To re-enable the topic feature, set the option back to
trueand restart Control Center (Legacy) with the updated properties file.
Search audit log
When you are searching the audit log for user activity in the message browser, you must use the format User:<username>. To navigate to the audit log, click Cluster > Topics > confluent-audit-log-events > Messages tab.

