重要
このページの日本語コンテンツは古くなっている可能性があります。最新の英語版コンテンツをご覧になるには、こちらをクリックしてください。
PagerDuty Sink Connector for Confluent Cloud
注釈
Confluent Platform 用にコネクターをローカルにインストールする場合は、「PagerDuty Sink Connector for Confluent Platform」を参照してください。
Kafka Connect PagerDuty Sink Connector は、Apache Kafka® トピックからレコードを読み取り、PagerDuty インシデント を作成します。
機能
PagerDuty Sink Connector は、次の機能をサポートしています。
- 少なくとも 1 回のデリバリー: コネクターによって、Kafka のトピックからのレコードが少なくとも 1 回は配信されることが保証されます。
- 複数のタスクのサポート: 1 つまたは複数のタスクの実行をサポートしています。タスクが多いほどパフォーマンスが向上する可能性があります。
- 自動再試行: PagerDuty Sink Connector が PagerDuty エンドポイントへの接続に失敗すると、指数関数的バックオフを使用して接続を自動的に再試行します。
Confluent Cloud API for Connect の詳細と使用例については、「Confluent Cloud API for Connect」セクションを参照してください。
制限
以下の情報を確認してください。
- コネクターの制限事項については、Pagerduty Sink Connector の制限事項を参照してください。
- 1 つ以上の Single Message Transforms(SMT)を使用する場合は、「SMT の制限」を参照してください。
- Confluent Cloud Schema Registry を使用する場合は、「スキーマレジストリ Enabled Environments」を参照してください。
クイックスタート
このクイックスタートを使用して、Confluent Cloud PagerDuty Sink Connector の利用を開始することができます。このクイックスタートでは、コネクターを選択し、PagerDuty ディレクトリにイベントをストリーミングするようにコネクターを構成する基本的な方法について説明します。
- 前提条件
- アマゾンウェブサービス ( AWS )、Microsoft Azure ( Azure )、または Google Cloud Platform ( GCP )上の Confluent Cloud クラスターへのアクセスを許可されていること。
- Confluent CLI がインストールされ、クラスター用に構成されていること。「Confluent CLI のインストール」を参照してください。
- PagerDuty API キー。
- スキーマレジストリ ベースのフォーマット(Avro、JSON_SR(JSON スキーマ)、Protobuf など)を使用するには、Schema Registry を有効にしておく必要があります。
- シンクコネクターを作成する前に、Confluent Cloud クラスター上にソース Kafka トピックが 1 つ以上存在している必要があります。
Confluent Cloud Console の使用
ステップ 1: Confluent Cloud クラスターを起動します。
インストール手順については、「Quick Start for Confluent Cloud」を参照してください。
ステップ 2: コネクターを追加します。
左のナビゲーションメニューの Data integration をクリックし、Connectors をクリックします。クラスター内に既にコネクターがある場合は、+ Add connector をクリックします。
ステップ 4: コネクターの詳細情報を入力します。
注釈
- すべての 前提条件 を満たしていることを確認してください。
- アスタリスク( * )は必須項目であることを示しています。
Add PagerDuty Sink Connector 画面で、以下を実行します。
既に Kafka トピックを用意している場合は、Topics リストから接続するトピックを選択します。
新しいトピックを作成するには、+Add new topic をクリックします。
- Kafka Cluster credentials で Kafka クラスターの認証情報の指定方法を選択します。以下のいずれかのオプションを選択できます。
- Global Access: コネクターは、ユーザーがアクセス権限を持つすべての対象にアクセスできます。グローバルアクセスの場合、コネクターのアクセス権限は、ユーザーのアカウントにリンクされます。このオプションは本稼働環境では推奨されません。
- Granular access: コネクターのアクセスが制限されます。コネクターのアクセス権限は サービスアカウント から制御できます。本稼働環境にはこのオプションをお勧めします。
- Use an existing API key: 保存済みの API キーおよびシークレット部分を入力できます。API キーとシークレットを入力するか Cloud Console でこれらを生成することもできます。
- Continue をクリックします。
- PagerDuty API Key フィールドに、インシデントを作成するための書き込みアクセス許可を持つ PagerDuty API キーを入力します。詳細については、PagerDuty のドキュメント を参照してください。
- Continue をクリックします。
注釈
Cloud Console に表示されない構成プロパティでは、デフォルト値が使用されます。すべてのプロパティの値と定義については、「構成プロパティ」を参照してください。
Input Kafka record value format で、Kafka 入力レコード値のフォーマット(Kafka トピックから送られるデータ)を AVRO、JSON_SR、PROTOBUF から選択します。スキーマベースのメッセージフォーマットを使用するには、有効なスキーマが Schema Registry に存在する必要があります。
Show advanced configurations
Maximum Retry Time (ms): PagerDuty Sink Connector が PagerDuty エンドポイントへの接続に失敗すると、指数関数的バックオフを使用して接続を自動的に再試行します。このプロパティは、コネクターがリクエストを再試行する時間の長さ(ミリ秒)を制御します。デフォルト値は
10000ミリ秒(10 秒)です。この値は、必ず1000ミリ秒(1 秒)以上に設定してください。Behavior on Error: 想定されるフィールドが Kafka レコードに含まれていない場合のコネクターの動作。指定可能なオプションは、
log、fail(デフォルト)、ignoreです。logを選択すると、コネクターはエラーをログに記録し、正しくない形式のレコードをスキップします。failを選択すると、コネクタータスクが失敗します。ignoreを選択すると、エラーがスキップされます。Transforms and Predicates: 詳細については、Single Message Transforms(SMT) のドキュメントを参照してください。
すべてのプロパティの値と定義については、「構成プロパティ」を参照してください。
Continue をクリックします。
選択するトピックのパーティション数に基づいて、推奨タスク数が表示されます。
- 推奨されたタスク数を変更するには、Tasks フィールドに、コネクターで使用する タスク の数を入力します。
- Continue をクリックします。
接続の詳細情報を確認します。
Launch をクリックします。
コネクターのステータスが Provisioning から Running に変わります。
ステップ 5: PagerDuty インシデントを確認します。
インシデントが PagerDuty ホストに生成されていることを確認します。
Confluent Cloud API for Connect の詳細と使用例については、「Confluent Cloud API for Connect」セクションを参照してください。
ちなみに
コネクターを起動すると、デッドレターキューのトピックが自動的に作成されます。詳細については、「Confluent Cloud デッドレターキュー」を参照してください。
Confluent CLI の使用
Confluent CLI でコネクターをセットアップして実行するには、次の手順を実行します。
注釈
すべての 前提条件 を満たしていることを確認してください。
ステップ 2: コネクターの必須の構成プロパティを表示します。
以下のコマンドを実行して、コネクターの必須プロパティを表示します。
confluent connect plugin describe <connector-catalog-name>
例:
confluent connect plugin describe PagerDutySink
出力例:
The following are required configs:
connector.class : PagerDutySink
topics
input.data.format
name
kafka.api.key
kafka.api.secret
pagerduty.api.key
tasks.max
ステップ 3: コネクターの構成ファイルを作成します。
コネクター構成プロパティを含む JSON ファイルを作成します。以下の例は、コネクターの必須プロパティを示しています。
{
  "connector.class": "PagerDutySink",
  "topics": "incidents",
  "input.data.format": "JSON",
  "name": "PagerDutySinkConnector_0",
  "kafka.api.key": "****************",
  "kafka.api.secret": "*********************************",
  "pagerduty.api.key": "a1b2CDe3...",
  "tasks.max": "1",
}
以下のプロパティ定義に注意してください。
"connector.class": コネクターのプラグイン名を指定します。"topics": 特定のトピック名を指定するか、複数のトピック名をコンマ区切りにしたリストを指定します。"input.data.format":(Kafka トピックから送られるデータ)AVRO、PROTOBUF、または JSON_SR を設定します。有効なスキーマが Schema Registry に存在する必要があります。"name": 新しいコネクターの名前を設定します。
"kafka.auth.mode": 使用するコネクターの認証モードを指定します。オプションはSERVICE_ACCOUNTまたはKAFKA_API_KEY(デフォルト)です。API キーとシークレットを使用するには、構成プロパティkafka.api.keyとkafka.api.secretを構成例(前述)のように指定します。サービスアカウント を使用するには、プロパティkafka.service.account.id=<service-account-resource-ID>に リソース ID を指定します。使用できるサービスアカウントのリソース ID のリストを表示するには、次のコマンドを使用します。confluent iam service-account list
例:
confluent iam service-account list

   Id     | Resource ID |       Name        |    Description
+---------+-------------+-------------------+-------------------
   123456 | sa-l1r23m   | sa-1              | Service account 1
   789101 | sa-l4d56p   | sa-2              | Service account 2
"pagerduty.api.key": インシデントを作成するための書き込みアクセス許可を持つ PagerDuty API キー。詳細については、PagerDuty のドキュメント を参照してください。"tasks.max": このコネクターで使用できる タスク の最大数を入力します。タスクが多いほどパフォーマンスが向上する可能性があります。
Single Message Transforms: CLI を使用した SMT の追加の詳細については、Single Message Transforms(SMT) のドキュメントを参照してください。
すべてのプロパティの値と説明については、「構成プロパティ」を参照してください。
ステップ 3: プロパティファイルを読み込み、コネクターを作成します。
以下のコマンドを入力して、構成を読み込み、コネクターを起動します。
confluent connect create --config <file-name>.json
例:
confluent connect create --config pagerduty-sink-config.json
出力例:
Created connector PagerDutySinkConnector_0 lcc-do6vzd
ステップ 4: コネクターのステータスを確認します。
以下のコマンドを入力して、コネクターのステータスを確認します。
confluent connect list
出力例:
ID           |             Name              | Status  | Type | Trace
+------------+-------------------------------+---------+------+-------+
lcc-do6vzd   | PagerDutySinkConnector_0      | RUNNING | sink |       |
ステップ 5: PagerDuty インシデントを確認します。
インシデントが PagerDuty ホストに生成されていることを確認します。
Confluent Cloud API for Connect の詳細と使用例については、「Confluent Cloud API for Connect」セクションを参照してください。
ちなみに
コネクターを起動すると、デッドレターキューのトピックが自動的に作成されます。詳細については、「Confluent Cloud デッドレターキュー」を参照してください。
構成プロパティ
このコネクターでは、以下のコネクター構成プロパティを使用します。
データの取得元とするトピック(Which topics do you want to get data from?)
topics特定のトピック名を指定するか、複数のトピック名をコンマ区切りにしたリストを指定します。
- 型: list
- 重要度: 高
入力メッセージ(Input messages)
input.data.formatKafka 入力レコード値のフォーマットを設定します。指定可能なエントリは、AVRO、JSON_SR、および PROTOBUF です。Confluent Cloud Schema Registry を構成しておく必要があります。
- 型: string
- 重要度: 高
データへの接続方法(How should we connect to your data?)
nameコネクターの名前を設定します。
- 型: string
- 指定可能な値: 最大 64 文字の文字列
- 重要度: 高
Kafka クラスターの認証情報(Kafka Cluster credentials)
kafka.auth.modeKafka の認証モード。KAFKA_API_KEY または SERVICE_ACCOUNT を指定できます。デフォルトは KAFKA_API_KEY モードです。
- 型: string
- デフォルト: KAFKA_API_KEY
- 指定可能な値: KAFKA_API_KEY、SERVICE_ACCOUNT
- 重要度: 高
kafka.api.key- 型: password
- 重要度: 高
kafka.service.account.idKafka クラスターとの通信用の API キーを生成するために使用されるサービスアカウント。
- 型: string
- 重要度: 高
kafka.api.secret- 型: password
- 重要度: 高
PagerDuty の詳細情報(PagerDuty details)
pagerduty.api.keyインシデントを作成するための書き込みアクセス許可を持つ PagerDuty API キー。
- 型: password
- 重要度: 高
pagerduty.max.retry.time.msPOST リクエストの実行中にエラーが発生した場合、この時間(ミリ秒)が経過するまでコネクターにより再試行されます。デフォルト値は 10000(10 秒)です。この値を 1 秒以上に設定することをおすすめします。
- 型: int
- デフォルト: 10000(10 秒)
- 指定可能な値: [1000,...]
- 重要度: 低
behavior.on.error想定されるフィールドが kafka レコードに含まれていない場合のコネクターの動作。指定可能なオプションは、「log」、「fail」、「ignore」です。「log」を指定すると、正しくない形式のレコードはログに記録され、スキップされます。「fail」を指定すると、コネクターがエラーになります。「ignore」を指定すると、エラーは無視されます。
- 型: string
- デフォルト: fail
- 重要度: 低
このコネクターのタスク数(Number of tasks for this connector)
tasks.max- 型: int
- 指定可能な値: [1,...]
- 重要度: 高
次のステップ
参考
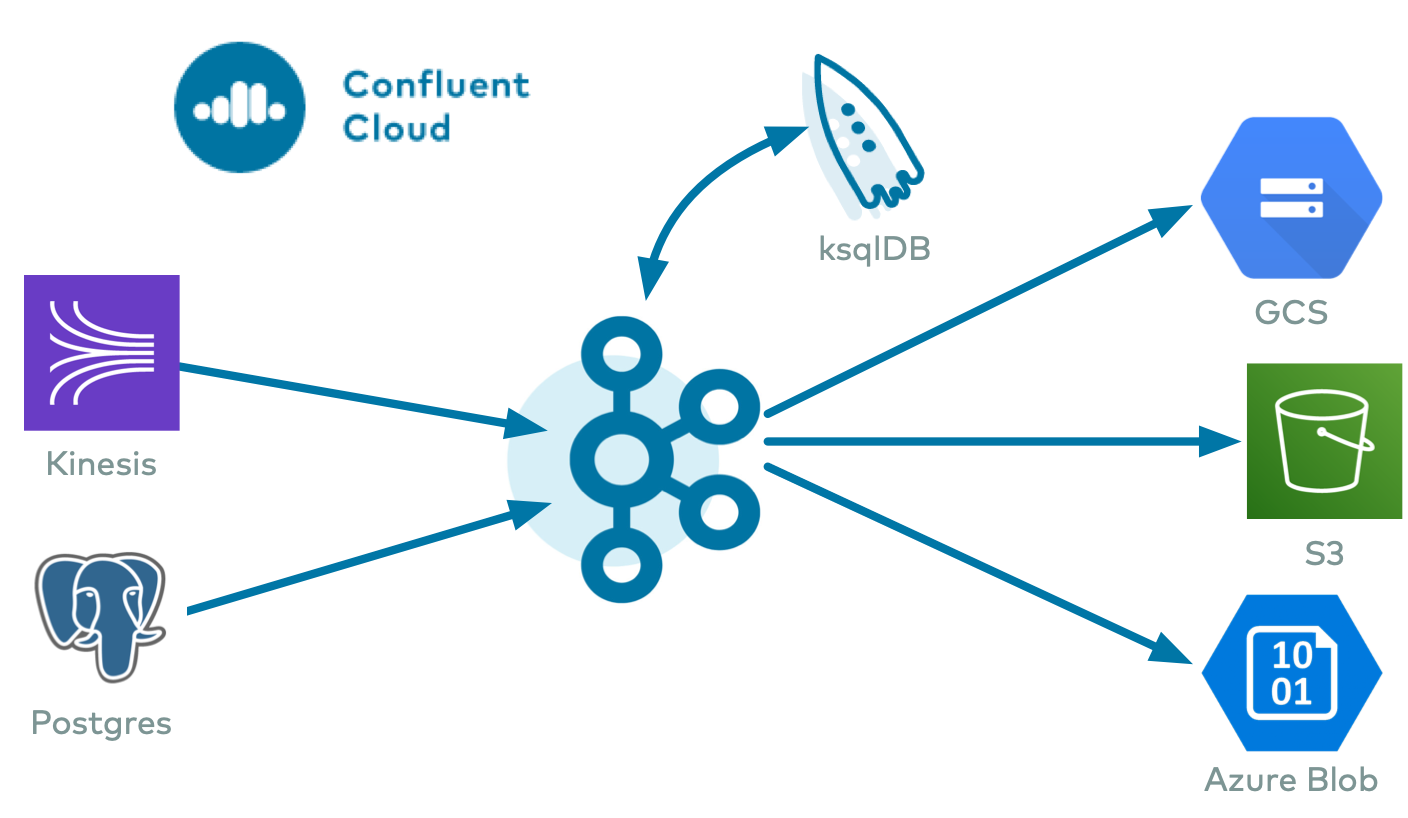
フルマネージド型の Confluent Cloud コネクターが Confluent Cloud ksqlDB でどのように動作するかを示す例については、「Cloud ETL のデモ」を参照してください。この例では、Confluent CLI を使用して Confluent Cloud のリソースを管理する方法についても説明しています。


