Google Cloud Pub/Sub Source Connector for Confluent Cloud
The fully-managed Google Cloud Pub/Sub Source connector for Confluent Cloud can obtain a snapshot of the existing data in a Pub/Sub database and then monitor and record all subsequent row-level changes to that data. All of the events for each table are recorded in a separate Apache Kafka® topic. The events can then be easily consumed by applications and services. Note that deleted records are not captured.
Note
This is a Quick Start for the fully-managed cloud connector. If you are installing the connector locally for Confluent Platform, see Google Cloud Pub/Sub Source Connector for Confluent Platform.
Features
The Google Cloud Pub/Sub Source connector provides the following features:
- Topics created automatically: The connector can automatically create Kafka topics.
- Fetches records from a Pub/Sub topic through a subscription.
- Select configuration properties:
gcp.pubsub.max.retry.time=5gcp.pubsub.message.max.count=10000
For more information and examples to use with the Confluent Cloud API for Connect, see the Confluent Cloud API for Managed and Custom Connectors section.
Limitations
Be sure to review the following information.
- For connector limitations, see Google Pub/Sub Source Connector limitations.
- If you plan to use one or more Single Message Transforms (SMTs), see SMT Limitations.
- If you plan to use Confluent Cloud Schema Registry, see Schema Registry Enabled Environments.
Quick Start
Use this quick start to get up and running with the Google Cloud Pub/Sub source connector. The quick start provides the basics of selecting the connector and configuring it to obtain a snapshot of the existing data in a Pub/Sub database and then monitoring and recording all subsequent row-level changes.
- Prerequisites
- Authorized access to a Confluent Cloud cluster on Amazon Web Services (AWS), Microsoft Azure (Azure), or Google Cloud (Google Cloud).
- A Google Cloud Pub/Sub subscription and topic.
- A Google Cloud service account. You download service account credentials as a JSON file. These credentials are used when setting up the connector configuration.
- The Google Cloud Pub/Sub Source connector must be granted
roles/pubsub.subscriberandroles/pubsub.viewerin Google Cloud for it to start. See the list of Pub/Sub IAM roles for more information. - For networking considerations, see Networking, DNS, and service endpoints. To use a set of public egress IP addresses, see Public Egress IP Addresses for Confluent Cloud Connectors.
- The Confluent CLI installed and configured for the cluster. See Install and Configure the Confluent CLI.
- Kafka cluster credentials. The following lists the different ways you can provide credentials.
- Enter an existing service account resource ID.
- Create a Confluent Cloud service account for the connector. Make sure to review the ACL entries required in the service account documentation. Some connectors have specific ACL requirements.
- Create a Confluent Cloud API key and secret. To create a key and secret, you can use confluent api-key create or you can autogenerate the API key and secret directly in the Cloud Console when setting up the connector.
Using the Confluent Cloud Console
Step 1: Launch your Confluent Cloud cluster
See the Quick Start for Confluent Cloud for installation instructions.
Step 2: Add a connector
In the left navigation menu, click Connectors. If you already have connectors in your cluster, click + Add connector.
Step 4: Enter the connector details
Note
- Make sure you have all your prerequisites completed.
- An asterisk ( * ) designates a required entry.
At the Add Google Cloud Pub/Sub Source Connector screen, complete the following:
- Select the way you want to provide Kafka Cluster credentials. You can
choose one of the following options:
- Global Access: Allows your connector to access everything you have access to. With global access, connector access will be linked to your account. This option is not recommended for production.
- Granular access: Limits the access for your connector. You will be able to manage connector access through a service account. This option is recommended for production.
- Use an existing API key: Allows you to enter an API key and secret part you have stored. You can enter an API key and secret (or generate these in the Cloud Console).
- Click Continue.
- Enter the following authentication details:
- GCP credentials file: Upload your GCP credentials JSON file.
- Pub/Sub Project ID: ID for the GCP project where the Pub/Sub is located.
- Pub/Sub Topic ID: The Pub/Sub topic containing messages that have to be polled.
- Pub/Sub Subscription ID: The subscription ID for the Pub/Sub topic.
- Click Continue.
Configure the following properties:
- Maximum number of messages to be polled in a request: Maximum number of messages to be polled in a single Pub/Sub pull request.
- Maximum time in seconds to retry on errors: The maximum time in seconds that the Pub/Sub client will try polling records from thr Pub/Sub topic.
- Pub/Sub Message Data Format: Sets the initial format for
message data the connector gets from GCP Pub/Sub. The option
utf_8converts message data (bytes) into UTF-8 based string format. Thebytesoption keeps the incoming data unchanged. Defaults toutf_8. - Output Data format: Sets the output data format for values.
Valid entries are AVRO and JSON. Defaults to
JSON. Set this toAVROwhen Pub/Sub Message Data Format is set tobytes.
Show advanced configurations
Schema context: Select a schema context to use for this connector, if using a schema-based data format. This property defaults to the Default context, which configures the connector to use the default schema set up for Schema Registry in your Confluent Cloud environment. A schema context allows you to use separate schemas (like schema sub-registries) tied to topics in different Kafka clusters that share the same Schema Registry environment. For example, if you select a non-default context, a Source connector uses only that schema context to register a schema and a Sink connector uses only that schema context to read from. For more information about setting up a schema context, see What are schema contexts and when should you use them?.
For Transforms and Predicates, see the Single Message Transforms (SMT) documentation for details.
Click Continue
Based on the number of topic partitions you select, you will be provided with a recommended number of tasks.
- To change the number of tasks, use the Range Slider to select the desired number of tasks.
- Click Continue.
Verify the connection details by previewing the running configuration.
Tip
For information about previewing your connector output, see Confluent Cloud Connector Data Previews.
Once you’ve validated that the properties are configured to your satisfaction, click Launch.
The status for the connector should go from Provisioning to Running.

Step 5: Check the Kafka topic
After the connector is running, verify that messages are populating your Kafka topic.
For more information and examples to use with the Confluent Cloud API for Connect, see the Confluent Cloud API for Managed and Custom Connectors section.
Using the Confluent CLI
Complete the following steps to set up and run the connector using the Confluent CLI.
Note
Make sure you have all your prerequisites completed.
Step 1: List the available connectors
Enter the following command to list available connectors:
confluent connect plugin list
Step 2: List the connector configuration properties
Enter the following command to show the connector configuration properties:
confluent connect plugin describe <connector-plugin-name>
The command output shows the required and optional configuration properties.
Step 3: Create the connector configuration file
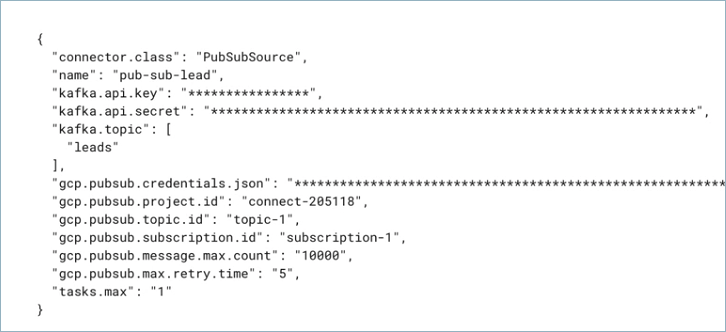
Create a JSON file that contains the connector configuration properties. The following example shows the required connector properties.
{
    "name" : "confluent-pubsub-source",
    "connector.class": "PubSubSource",
    "kafka.auth.mode": "KAFKA_API_KEY",
    "kafka.api.key": "<my-kafka-api-key>",
    "kafka.api.secret" : "<my-kafka-api-secret>",
    "kafka.topic" : "customers",
    "gcp.pubsub.credentials.json" : "omitted",
    "gcp.pubsub.project.id": "<gcp-project-ID>",
    "gcp.pubsub.topic.id":"<pubsub-topic-ID>",
    "gcp.pubsub.subscription.id": "<pubsub-subscription-ID>",
    "tasks.max" : "1"
}
Note the following property definitions:
"name": Sets a name for your new connector."connector.class": Identifies the connector plugin name.
"kafka.auth.mode": Identifies the connector authentication mode you want to use. There are two options:SERVICE_ACCOUNTorKAFKA_API_KEY(the default). To use an API key and secret, specify the configuration propertieskafka.api.keyandkafka.api.secret, as shown in the example configuration (above). To use a service account, specify the Resource ID in the propertykafka.service.account.id=<service-account-resource-ID>. To list the available service account resource IDs, use the following command:confluent iam service-account list
For example:
confluent iam service-account list

   Id     | Resource ID |       Name        |    Description
+---------+-------------+-------------------+-------------------
   123456 | sa-l1r23m   | sa-1              | Service account 1
   789101 | sa-l4d56p   | sa-2              | Service account 2
"gcp.pubsub.credentials.json": This contains the contents of the downloaded JSON file. See Formatting credentials for details about how to format and use the contents of the downloaded credentials file.
Single Message Transforms: See the Single Message Transforms (SMT) documentation for details about adding SMTs using the CLI.
See Configuration Properties for all property values and definitions.
Formatting credentials
The contents of the downloaded credentials file must be converted to string format before it can be used in the connector configuration.
Convert the JSON file contents into string format. You can use an online converter tool to do this. For example: JSON to String Online Converter.
Add an escape character (
\) before all\nentries in the Private Key section so that each section begins with\\n(see the highlighted lines below). The example below has been formatted so that the\\nentries are easier to see. Most of the credentials key has been omitted.Tip
A script is available that converts the credentials to a string and also adds the additional
\escape character where needed. See Stringify GCP Credentials.{ "name" : "confluent-pubsub-source", "connector.class" : "PubSubSource", "kafka.api.key" : "<my-kafka-api-key>", "kafka.api.secret" : "<my-kafka-api-secret>", "gcp.pubsub.credentials.json" : "{\"type\":\"service_account\",\"project_id\":\"connect- 1234567\",\"private_key_id\":\"omitted\", \"private_key\":\"-----BEGIN PRIVATE KEY----- \\nMIIEvAIBADANBgkqhkiG9w0BA \\n6MhBA9TIXB4dPiYYNOYwbfy0Lki8zGn7T6wovGS5pzsIh \\nOAQ8oRolFp\rdwc2cC5wyZ2+E+bhwn \\nPdCTW+oZoodY\\nOGB18cCKn5mJRzpiYsb5eGv2fN\/J \\n...rest of key omitted... \\n-----END PRIVATE KEY-----\\n\", \"client_email\":\"pub-sub@connect-123456789.iam.gserviceaccount.com\", \"client_id\":\"123456789\",\"auth_uri\":\"https:\/\/accounts.google.com\/o\/oauth2\/ auth\",\"token_uri\":\"https:\/\/oauth2.googleapis.com\/ token\",\"auth_provider_x509_cert_url\":\"https:\/\/ www.googleapis.com\/oauth2\/v1\/ certs\",\"client_x509_cert_url\":\"https:\/\/www.googleapis.com\/ robot\/v1\/metadata\/x509\/pub-sub%40connect- 123456789.iam.gserviceaccount.com\"}", "gcp.pubsub.project.id": "<gcp-project-ID>", "gcp.pubsub.topic.id":"<pubsub-topic-ID>", "gcp.pubsub.subscription.id": "<pubsub-subscription-ID>", "tasks.max" : "1" }
Add all the converted string content to the
"keyfile"credentials section of your configuration file as shown in the example above.
Step 4: Load the configuration file and create the connector
Enter the following command to load the configuration and start the connector:
confluent connect cluster create --config-file <file-name>.json
For example:
confluent connect cluster create --config-file pubsub-source-config.json
Example output:
Created connector confluent-pubsub-source lcc-ix4dl
Step 5: Check the connector status
Enter the following command to check the connector status:
confluent connect cluster list
Example output:
ID          |       Name              | Status  | Type
+-----------+-------------------------+---------+-------+
lcc-ix4dl   | confluent-pubsub-source | RUNNING | source
Step 6: Check the Kafka topic.
After the connector is running, verify that messages are populating your Kafka topic.
For more information and examples to use with the Confluent Cloud API for Connect, see the Confluent Cloud API for Managed and Custom Connectors section.
Configuration Properties
Use the following configuration properties with the fully-managed connector. For self-managed connector property definitions and other details, see the connector docs in Self-managed connectors for Confluent Platform.
How should we connect to your data?
nameSets a name for your connector.
- Type: string
- Valid Values: A string at most 64 characters long
- Importance: high
Kafka Cluster credentials
kafka.auth.modeKafka Authentication mode. It can be one of KAFKA_API_KEY or SERVICE_ACCOUNT. It defaults to KAFKA_API_KEY mode.
- Type: string
- Default: KAFKA_API_KEY
- Valid Values: KAFKA_API_KEY, SERVICE_ACCOUNT
- Importance: high
kafka.api.keyKafka API Key. Required when kafka.auth.mode==KAFKA_API_KEY.
- Type: password
- Importance: high
kafka.service.account.idThe Service Account that will be used to generate the API keys to communicate with Kafka Cluster.
- Type: string
- Importance: high
kafka.api.secretSecret associated with Kafka API key. Required when kafka.auth.mode==KAFKA_API_KEY.
- Type: password
- Importance: high
Which topic do you want to send data to?
kafka.topicIdentifies the topic name to write the data to.
- Type: list
- Importance: high
GCP credentials
gcp.pubsub.credentials.jsonGCP service account JSON file with read permissions for Pub/Sub.
- Type: password
- Importance: high
GCP Pub/Sub details
gcp.pubsub.project.idID for the GCP project where the Pub/Sub is located.
- Type: string
- Importance: high
gcp.pubsub.topic.idThe Pub/Sub topic containing messages that have to be polled.
- Type: string
- Importance: high
gcp.pubsub.subscription.idThe subscription ID for the Pub/Sub topic.
- Type: string
- Importance: high
Connection details
gcp.pubsub.message.max.countThe maximum number of messages to be polled in a single Pub/Sub pull request.
- Type: int
- Default: 10000
- Valid Values: [1000,…]
- Importance: low
gcp.pubsub.max.retry.timeThe maximum time in seconds that the Pub/Sub client will try polling records from Pub/Sub topic.
- Type: int
- Default: 5
- Valid Values: [5,…]
- Importance: low
gcp.pubsub.data.formatPub/Sub Message Data format. This property defines the initial format of message data obtained from the GCP Pub/Sub.
utf_8 will convert pub/sub message data (bytes) into utf-8 based string format.
bytes will keep the pub/sub message data (bytes) without any conversion.
- Type: string
- Default: utf_8
- Valid Values: bytes, utf_8
- Importance: low
output.data.formatSet the output data format for values. Valid entries are AVRO, PROTOBUF and JSON. Recommended to use AVRO or PROTOBUF format when setting gcp.pubsub.data.format as BYTES
- Type: string
- Default: JSON
- Valid Values: AVRO, JSON, PROTOBUF
- Importance: low
Output Messages
value.converter.reference.subject.name.strategySet the subject reference name strategy for value. Valid entries are DefaultReferenceSubjectNameStrategy or QualifiedReferenceSubjectNameStrategy. Note that the subject reference name strategy can be selected only for PROTOBUF format with the default strategy being DefaultReferenceSubjectNameStrategy.
- Type: string
- Default: DefaultReferenceSubjectNameStrategy
- Importance: high
Number of tasks for this connector
tasks.maxMaximum number of tasks for the connector.
- Type: int
- Valid Values: [1,…]
- Importance: high
Next Steps
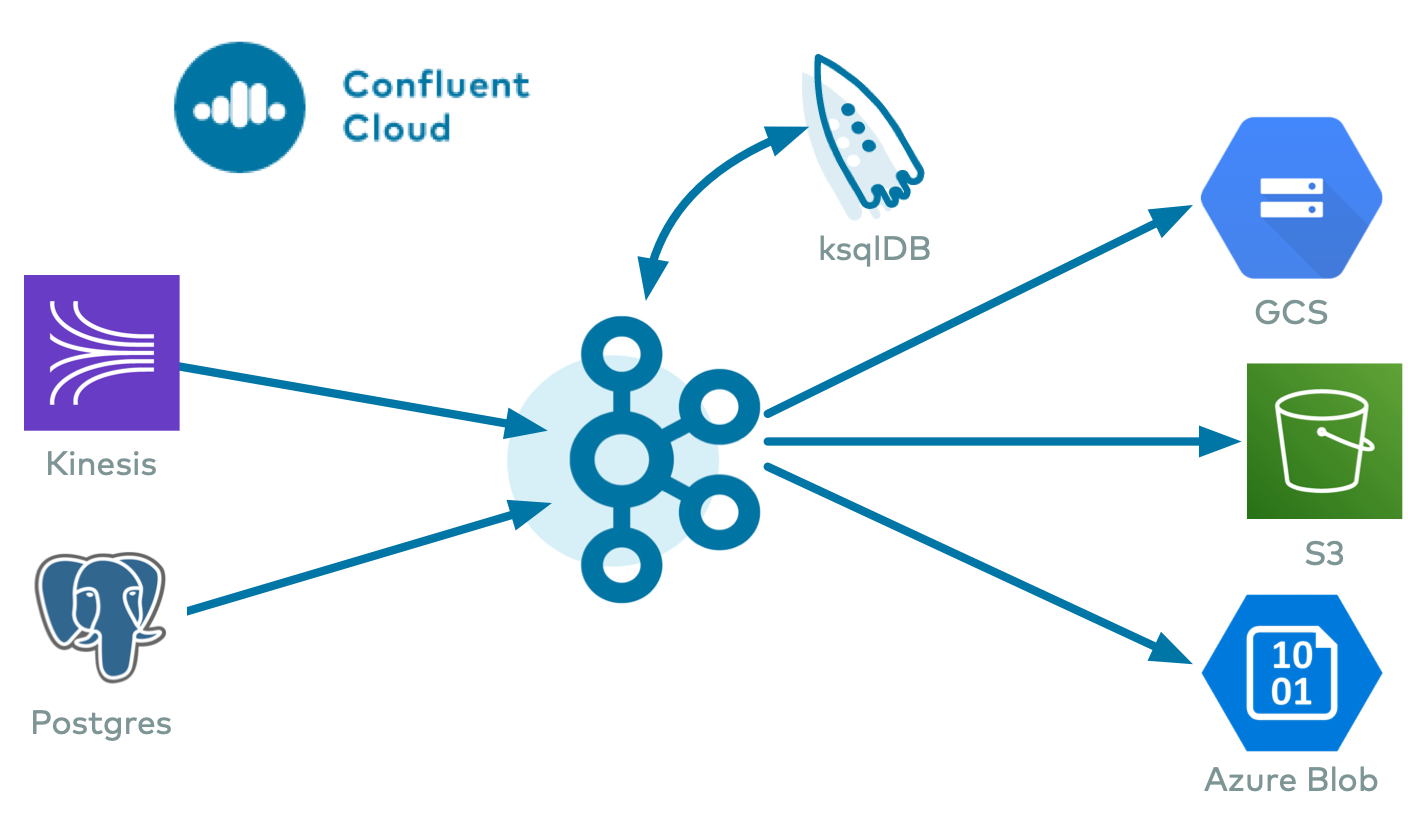
For an example that shows fully-managed Confluent Cloud connectors in action with Confluent Cloud ksqlDB, see the Cloud ETL Demo. This example also shows how to use Confluent CLI to manage your resources in Confluent Cloud.