
Use Azure Private Link for Serverless Products on Confluent Cloud
From your Azure virtual network (VNet), you can use Azure Private Link to privately access serverless Confluent Cloud products. These products include Enterprise Kafka clusters, Schema Registry clusters, and Confluent Cloud for Apache Flink®. When you use Azure Private Link, your Confluent resources are only accessible from private endpoints in Azure that connect to your Confluent Cloud environment. To enable Private Link connectivity, you create the following private networking resources in your Confluent Cloud environment:
- Ingress PrivateLink Gateway
A reservation to establish a Private Link connection from your VNet to regional services in a Confluent Cloud environment.
- Ingress PrivateLink Access Point
A registration of a VNet private endpoint that’s allowed to connect to a Confluent Cloud environment. A PrivateLink Access Point belongs to a specific PrivateLink Gateway.
These resources are regional and can be accessed from any availability zones.
Note
As of May 4th, 2026, the PrivateLink Attachment (PLATT) resource is replaced by the ingress PrivateLink Gateway resource. A gateway provides the same functionality as a PLATT, but it provides unique fully qualified domain names (FQDNs) for each Private Link connection. With these FQDNs, your applications can more granularly route traffic from your Azure VNet to the services in your Confluent Cloud environment.
Existing PLATT resources will continue to function, but you won’t be able to provision new ones following a future release. We recommend that you update your applications to use gateways.
You can use the Confluent Cloud Console, the Confluent REST API, the Confluent CLI, or Terraform to establish Private Link connectivity with the serverless products in your Confluent Cloud environment.
Requirements and considerations
For the supported regions, see Confluent Cloud Regions and Availability by Cloud Provider.
Ingress PrivateLink Gateway resources don’t support Private Link connections to:
Different cloud regions.
Confluent Cloud resources in different environments.
Each ingress PrivateLink Gateway supports up to 10 private endpoints.
Confluent Cloud Console components, such as topic management and Flink workspaces, might require additional configuration because they use private endpoints that aren’t accessible from the public internet. For information about using Flink with Azure Private Link, see Private Networking with Confluent Cloud for Apache Flink. To use all features of the Confluent Cloud Console with Azure Private Link, see Use the Confluent Cloud Console with Private Networking.
Step 1: Create an ingress PrivateLink Gateway
Create an ingress PrivateLink Gateway to enable Private Link connections to the Enterprise Kafka clusters, Schema Registry clusters, and the Flink service in an environment for a specific cloud region.
In the Confluent Cloud Console, click Environments in the navigation menu.
On the Environments page, do one of the following:
If you already have the environment where you want to create the gateway, select it.
If you need to create a new environment for the gateway, click Add cloud environment, and create one. For more information about creating Environments, see Environments on Confluent Cloud.
On the page for your environment, click Network management in the navigation menu.
On the Network management page, under the For serverless products tab, click +Add gateway configuration.
On the Create gateway configuration page, under Choose type of networking gateway, select PrivateLink.
Under Set up connections to/from Confluent Cloud, for From your VPC or VNet to Confluent Cloud, click +Create configuration.
The console opens the Configure gateway pane.
Under the 1. Gateway tab, configure the following settings:
For Gateway name, enter a custom name for the gateway.
For Cloud provider, select Microsoft Azure.
For Set provider region, select the Azure region where your VNet is located.
Click Submit. The Configure gateway pane shows the next set of steps under the 2. Access point tab.
Take note of the Private Link Service ID or Private Link Service Alias that the pane provides. You use this value next, when you create an Azure private endpoint.
At this point, your gateway is provisioned and has the CREATED state.
A gateway can have one of the following states:
CREATED: You provisioned the gateway and can now add an access point.READY: You created the access point, and it can accept connections.EXPIRED: You didn’t provision a valid access point in the allotted time. Create a new gateway to continue.
Send a request to create a PrivateLink Gateway resource:
REST request
POST https://api.confluent.cloud/networking/v1/gateways
REST request body
{
  "spec": {
    "display_name": "<A custom name for the gateway>",
    "config": {
      "kind": "AzureIngressPrivateLinkGatewaySpec",
      "region": "<Azure region of the gateway>"
    },
    "environment": {
      "id": "<The ID of the environment to add the gateway to>"
    }
  }
}
For more information, see Gateways in the Confluent REST API reference.
Use the following command to create a PrivateLink Gateway:
confluent network gateway create <gateway-name> <flags>
The following command-specific flags are supported:
--cloud: Required. The cloud provider. Set toazure.--region: Required. The Azure region of the gateway.--type: Required. The type of gateway configuration. Set toingress-privatelink.
For more information, see confluent network gateway create.
The following is an example Confluent CLI command to create a PrivateLink gateway:
confluent network gateway create my-ingress-gateway \
  --cloud azure \
  --region centralus \
  --type ingress-privatelink
Use the confluent_gateway Confluent Terraform Provider resource to create a PrivateLink Gateway. For more information, see confluent_gateway.
The following is an example of a Terraform configuration:
resource "confluent_gateway" "azure_ingress" {
   display_name = "my-gateway"
   environment {
      id = "env-123abc"
   }
   azure_ingress_private_link_gateway {
      region = "centralus"
   }
}
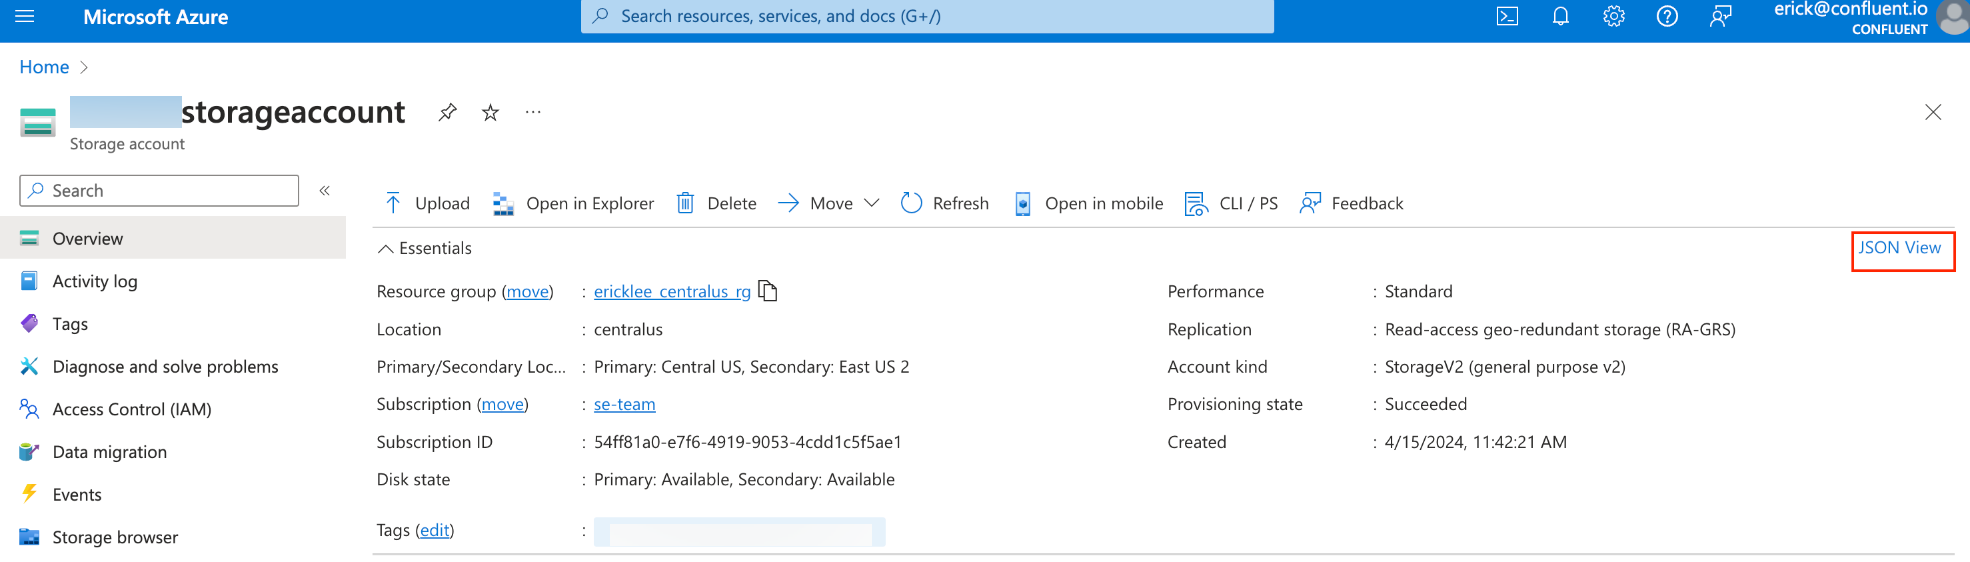
Step 2: Create an Azure private endpoint
In Azure, create a private endpoint that is associated with the Private Link Service ID or Private Link Service Alias of the ingress PrivateLink Gateway that you created.
For details on creating a private endpoint in Azure, see Create a Private Endpoint.
On the Private Endpoint page in Azure portal, click + Create.
In the Basics pane, specify the following:
Subscription: The subscription name that you selected when you created the VNet.
Resource group: The same resource group that you selected when you created the VNet.
Name: The name for the private endpoint.
Network interface name: A network interface name.
Region: The region for the private endpoint.
Click Next: Resource.
In the Resource pane, specify the following:
Connection method: Select Connect to an Azure resource by resource ID or alias.
Resource ID or alias: Paste in the Confluent Cloud Resource ID or Service Alias from the ingress PrivateLink Gateway you created in Step 1: Create an ingress PrivateLink Gateway.
You can also use the value of the Private Link Service ID from your Network overview of the gateway in the Confluent Cloud Console.
Click Next: Virtual Network.
In the Virtual Network pane, specify the following:
Virtual network: Select the VNet where the private endpoint is to be created.
Subnet: Select the subnet where the private endpoint is to be created.
Network policy for private endpoints: Select the organization-approved or mandated policy. The default is Disabled.
Private IP configuration: Select Dynamically allocate IP address.
Click Next: DNS and accept the default values.
Click Next: Tags and, optionally, add tags.
Click Next: Review + create. Review the details and click Create to create the private endpoint.
Wait for the Azure deployment to complete.
Note the private endpoint resource ID. You use this value next, when you create an ingress PrivateLink Access Point.
Create an endpoint using the following Azure CLI:
az network private-endpoint create \
  --connection-name <connection name> \
  --name <endpoint name> \
  --private-connection-resource-id <resource id> \
  --resource-group <resource group name> \
  --subnet <subnet for the endpoint>
Note the private endpoint resource ID. You use this value next, when you create an ingress PrivateLink Access Point.
Step 3: Create an ingress PrivateLink Access Point
An ingress PrivateLink Access Point registers a specific private endpoint with your ingress PrivateLink Gateway.
To create an access point, navigate to either of the following locations in the Confluent Cloud console:
The Configure gateway pane where you created your gateway. You configure the access point under the 2. Access point tab.
The Create access point pane for your gateway. To open this pane, do the following:
On the page for your environment, click Network management in the navigation menu.
In the For serverless products tab, click your gateway name. Make sure the gateway is in the same region as your Azure private endpoint.
Click the Access points tab, and click Create access point.
Specify the Private Endpoint ID.
The private endpoint ID is the Azure resource ID of the private endpoint that was created in Step 2: Create an Azure private endpoint.
Specify the access point name.
Click Create access point.
The PrivateLink Gateway and PrivateLink Access Point enter the
READYstate after the private endpoint connection is accepted.
Send a request to create a PrivateLink Access Point resource:
REST request
POST https://api.confluent.cloud/networking/v1/access-points
REST request body
{
  "spec": {
    "display_name": "<A custom name for the access point>",
    "config": {
      "kind": "AzureIngressPrivateLinkEndpoint",
      "private_endpoint_resource_id":
        "<The Azure resource ID of your private endpoint>"
    },
    "environment": {
      "id": "<The ID of the environment for this access point>"
    },
    "gateway": {
      "id": "<The ID of the gateway to add the access point to>"
    }
  }
}
For more information, see Access Points in the Confluent REST API reference.
Use the following command to create a PrivateLink Access Point:
confluent network access-point private-link ingress-endpoint create \
  <access-point-name> <flags>
The following command-specific flags are supported:
--cloud: Required. The cloud provider. Set toazure.--gateway: Required. The ID of the gateway to add the access point to.--private-endpoint-resource-id: Required. The Azure resource ID of your private endpoint.
For more information, see confluent network access-point private-link ingress-endpoint create.
The following is an example Confluent CLI command to create a PrivateLink access point:
confluent network access-point private-link ingress-endpoint create \
  my-ingress-access-point \
  --cloud azure \
  --gateway gw-123abc \
  --private-endpoint-resource-id \
  /subscriptions/00000000-0000-0000-0000-000000000000/resourceGroups/my-rg/providers/Microsoft.Network/privateEndpoints/my-endpoint
Use the confluent_access_point Confluent Terraform Provider resource to create a PrivateLink Access Point. For more information, see confluent_access_point.
The following is an example of a Terraform configuration:
resource "confluent_access_point" "azure_ingress_1" {
   display_name = "my_access_point"
   environment {
      id = "env-123abc"
   }
   gateway {
      id = "gw-123abc"
   }
   azure_ingress_private_link_endpoint {
      private_endpoint_resource_id = "/subscriptions/00000000-0000-0000-0000-000000000000/resourceGroups/my-rg/providers/Microsoft.Network/privateEndpoints/my-endpoint"
   }
   depends_on = [
      confluent_gateway.azure_ingress
   ]
}
Go to the private endpoint resource in Azure Portal and verify that the private endpoint connection status is Approved.
Step 4: Configure DNS
Confluent Cloud requires that you set up private DNS records for each access point pointing its DNS domain to the private endpoint you created.
When connecting to Confluent Cloud using access-point-specific hostnames, you must allow public DNS resolution from your network or VNet. Confluent Cloud advertises these hostnames in the public DNS resolver. These hostnames will then redirect to match the domains that you input to your private DNS resolver.
The resolution performs the following two-step process:
The Confluent Cloud Global DNS Resolver returns a CNAME for all of your hostnames removing the
glbsubdomain and converting your access point ID to be a subdomain.For example, with the given hostname:
$lkc-id-$accesspointId.$region.azure.accesspoint.glb.confluent.cloud
The CNAME returned will be:
$lkc-id.$accesspointId.$region.azure.accesspoint.confluent.cloud
The CNAME then resolves to your private endpoints based on the private DNS configuration.
If you are using Azure Private DNS Zones as your private DNS resolver, you can use the following steps to configure DNS.
Set up an Azure Private DNS Zone for DNS resolution
In Confluent Cloud, verify that the status of the gateway is
READY.Open the newly created gateway to get the DNS domain value for your access point.
In Private DNS Zones in the Azure portal, create a Private DNS Zone:
Click + Create.
In the Basics pane, enter or select the following values:
Subscription: Pre-filled with the subscription name that you selected when you created the VNet.
Resource group: Select the resource group that you selected when you created the VNet.
Name: Specify the DNS domain value from Confluent Cloud.
Click Next: Tags and, optionally, add tags.
Click Next: Review + create. Review the details and click Create to create the DNS zone.
Wait for the Azure deployment to complete.
Create a DNS record for the Private DNS Zone you created in the previous step.
Go to the Private DNS Zone resource you created in the previous step, and click + Record Set.
Note
In Confluent Cloud, Kafka broker names you retrieve from the metadata are not static. Do not hardcode the broker names in DNS records.
Specify the following values:
Name:
*Type:
ATTL and TTL unit:
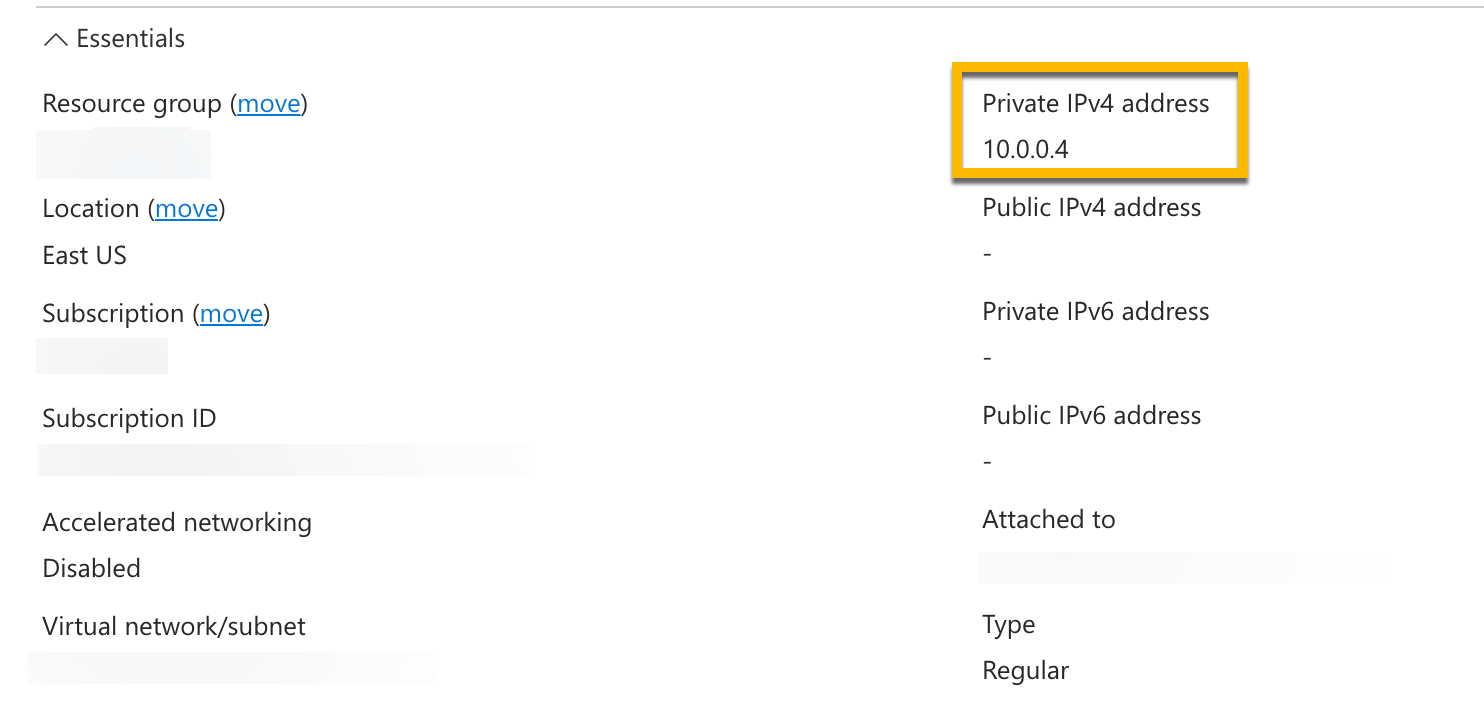
1MinuteIP address: The IP address of the private endpoint can be found under its associated network interface under Settings for the private endpoint.
Note
The DNS records you create for an access point differ from the records required for Dedicated clusters. Dedicated clusters require zonal alignment, so they use a separate zonal private endpoint and DNS record (
*.az1,*.az2, and*.az3) for each availability zone. An access point requires no zonal alignment. It routes traffic for all zones through a single private endpoint. By setting the record name to*, you create one wildcard record that resolves every hostname under the access point’s DNS domain. This includes the zonal broker hostname variants that containaz1,az2, andaz3.Click OK.
Attach the private DNS zone to the VNets where clients or applications are present.
Go to the Private DNS Zone resource and click Virtual network links under Settings.
Click + Add.
Specify the required values and click OK to create a virtual network link.