Get Started with Confluent Cloud on the Azure Marketplace with Pay As You Go
This topic shows you how to get up and running using Confluent Cloud on the Azure Marketplace with the Pay As You Go billing model. You can sign up and set up your own Kafka clusters in Confluent Cloud, and pay only for what you use.
Get Started for Free
Sign up for a Confluent Cloud trial and get $400 of free credit.
When you set this up on the Azure Marketplace, you have the option of creating a new Confluent organization or linking to an existing account on Confluent Cloud.
Tip
To pay for Confluent Cloud, Confluent Consumption Units (CCUs) are enabled in the cloud Marketplace. Pricing in Marketplace is the same as direct purchase pricing. For more information, see Consumption Metrics for Marketplace Deployments in Confluent Cloud.
Prerequisites
An Azure Marketplace account. With Azure Marketplace, you can use Confluent Cloud and get billed directly through Azure.
Important
You cannot sign up for Confluent Cloud through a Microsoft Solutions Provider.
Confluent Cloud currently requires your email address to be unique across all organizations. If your Azure AD email address has already been used for signup on Confluent Cloud, you must first remove yourself as a user from the Confluent Cloud organization where you signed up previously, so your Azure AD email can be used for single sign-on (SSO). One option is to invite an alternate email that you own as a user to the old organization, and then delete your “Azure AD related email user” from the old organization. This way, you can sign up using SSO. Alternatively, another user in the old organization can delete your Azure AD user ID. To find the email address associated with your your Azure AD account, follow these steps:
Go to the Azure Active Directory portal.
Click the More Info link in the Tenant Information section.
Click View profile under My feed. Your Azure AD email address appears in the Identity section under User Principle Name. Also check the Alternate email entry in the Contact info section.
To purchase, you must be logged in to the Azure Marketplace and you must have permission to purchase, which means you must be the subscription owner or you must have contributor permissions. For more information, see Azure Marketplace purchasing in the Azure documentation.
Your Azure policy should allow you to provision resources in the region where you choose to set up the Confluent resource.
If you are using Azure AD (the default SSO), and you want to enable Confluent SSO, you must have been allowed user consent by an Azure AD Global Admin for the tenant. For more information, see Configure how end-users consent to applications in the Azure documentation.
Procedure
Navigate to the Azure Marketplace and search for “Apache Kafka® on Confluent Cloud.”
Find the Confluent Cloud tile and click it.
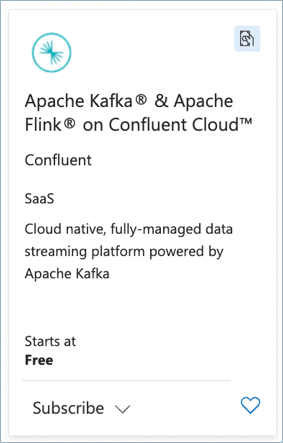
Select the Pay as you Go plan (you might have multiple plans available) and click Subscribe.

Choose the correct subscription and either choose an existing resource group or create a new one.
In the Instance Details section, enter the Region where you want to launch your Azure resource, and choose your Plan (Confluent Cloud - Pay as you Go).
Note
The specified region is used to store metadata for this resource group, and does not need to be the same region where your Confluent Cloud clusters are located. You are not charged for this usage.
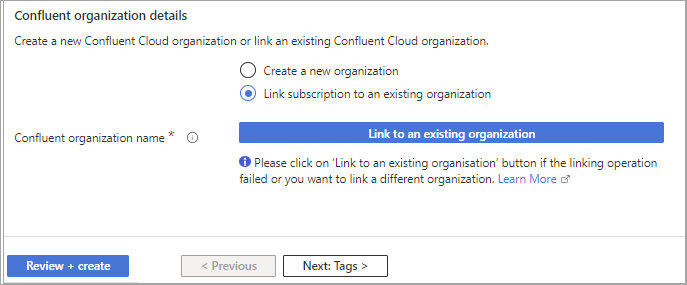
For the Confluent Organization details, choose to either Create a new Confluent organization or Link to an existing organization. If you link to an existing organization, you will be prompted for your Confluent Cloud account credentials.
Click the Link to an existing organization button to navigate to the Confluent Cloud log in page.
Sign in with your existing Confluent Cloud credentials.
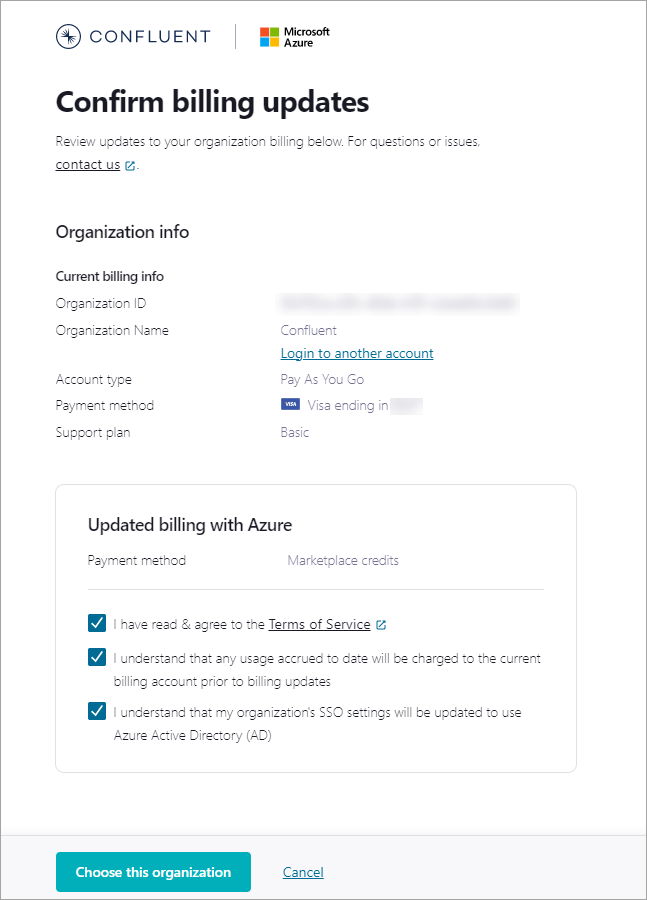
The Confirm billing updates page displays. This page has two sections:
Click Choose this organization. Once confirmed, the linked organization name will appear next to the Confluent Organization Name field in the Azure Portal.
Important
When you link to an existing organization, the existing organization should not be associated with an active commit subscription. If an active subscription exists at the time of linking, then the existing subscription will be automatically cancelled.
Optionally enter Tags for your project.
Click Review and create.
After organization validation occurs, you are ready to create the resource. Review the terms of your plan and click Create.
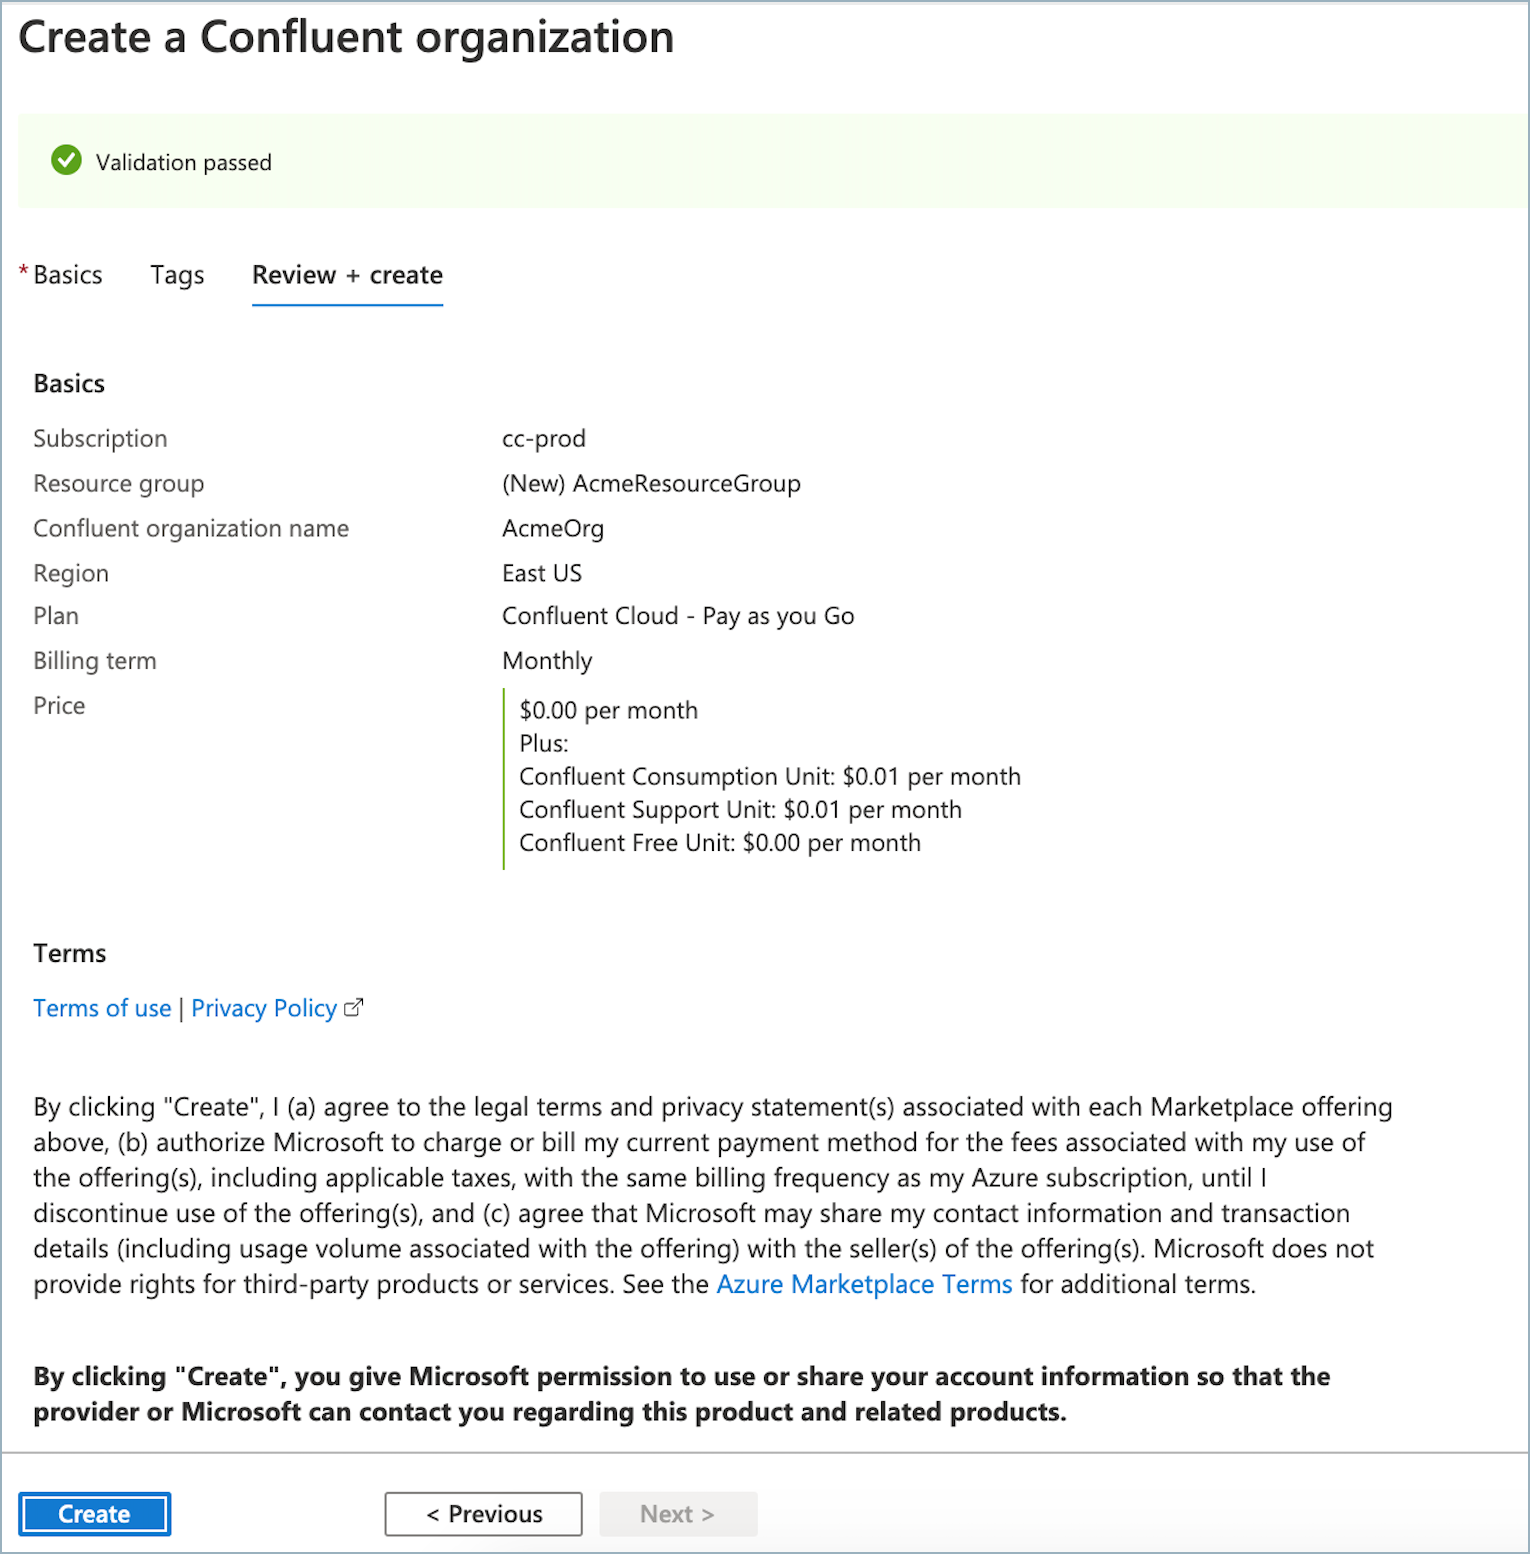
Your deployment will start. This could take up to a minute.
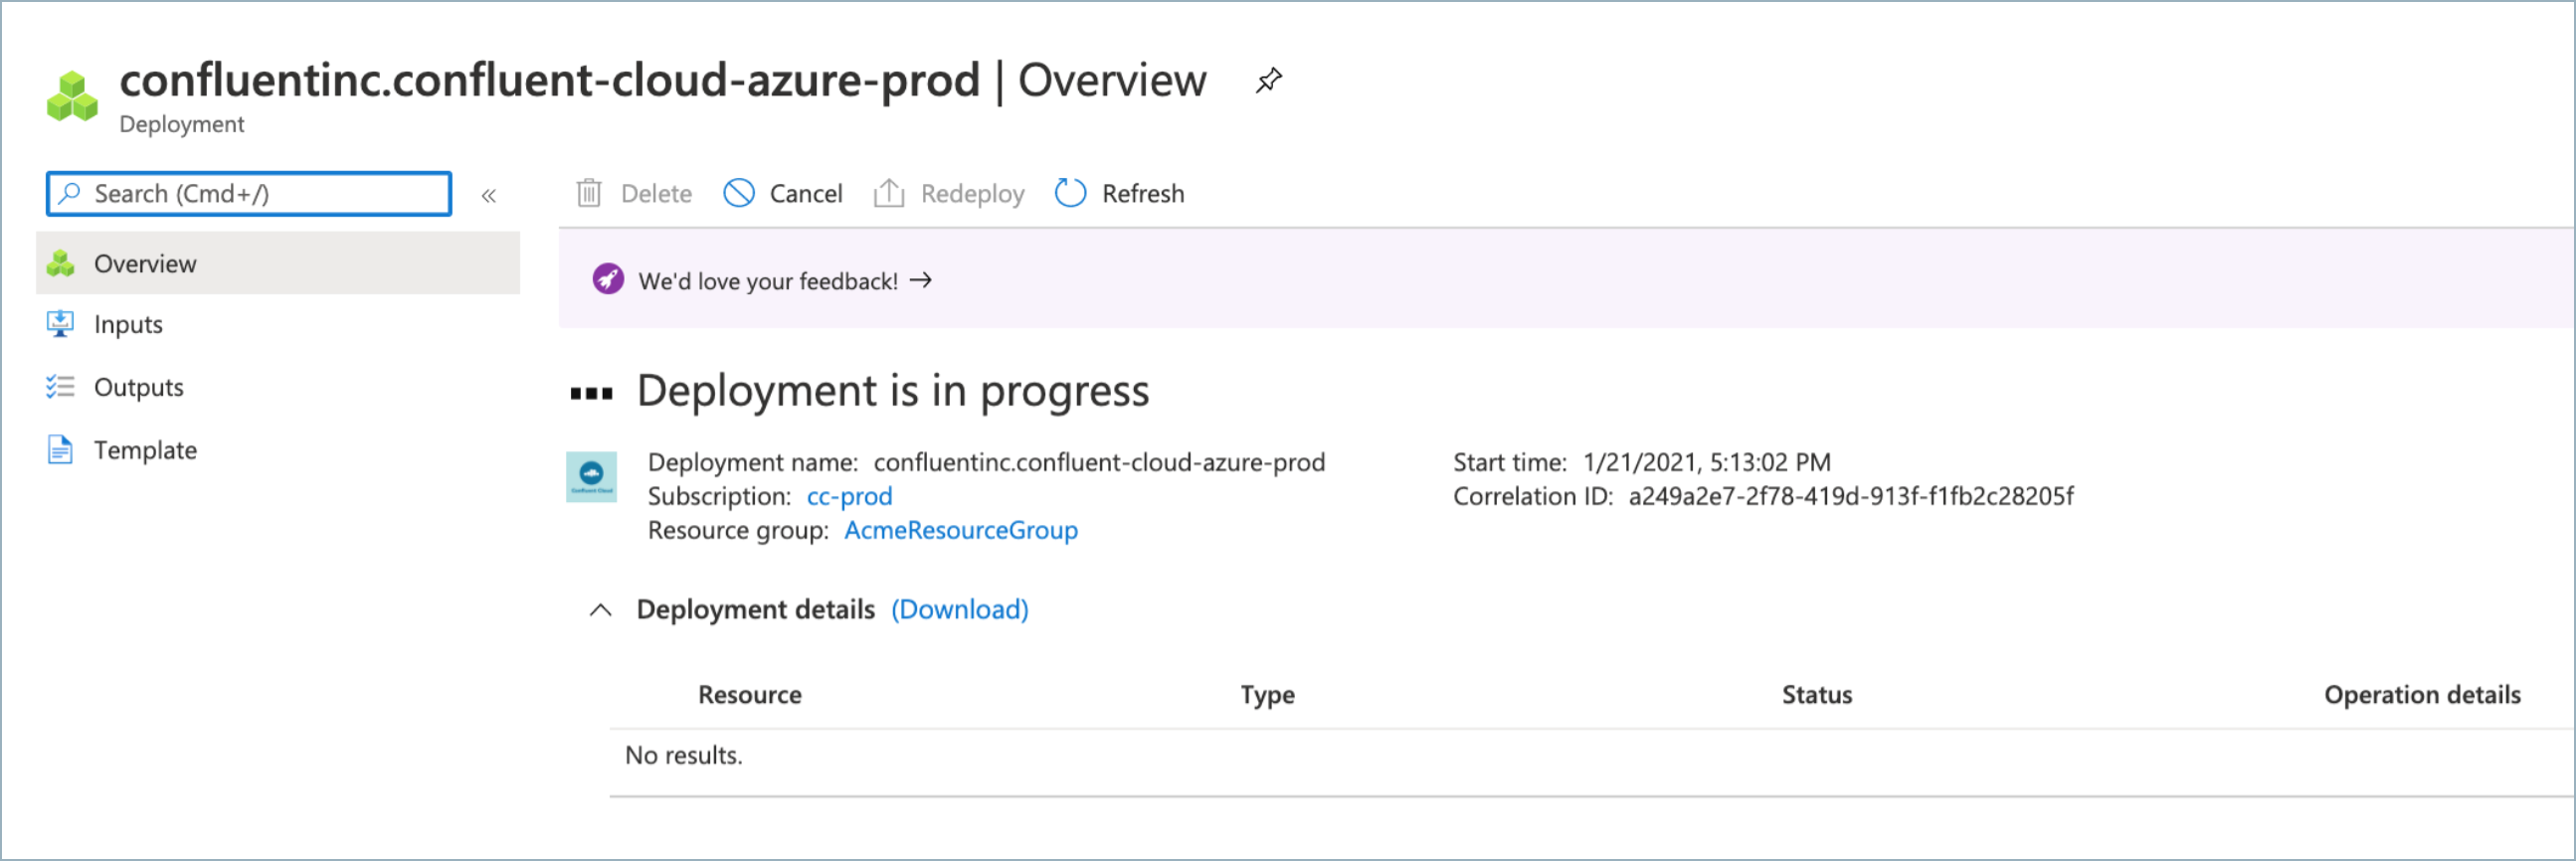
After your resources are deployed, you will receive a confirmation message. Click Go to resource to view the deployed resource on the Azure portal.

Click the Confluent SSO URL link or the Launch button to sign in to Confluent Cloud using your Azure AD account. You may be asked to choose an account for SSO.
If you are using Azure AD (the default SSO), and you want to enable Confluent SSO, you must have been allowed user consent by an Azure AD Global Admin for the tenant.
If you are using Azure AD (the default SSO), click Accept to grant permission for Confluent Cloud. You will be signed in.
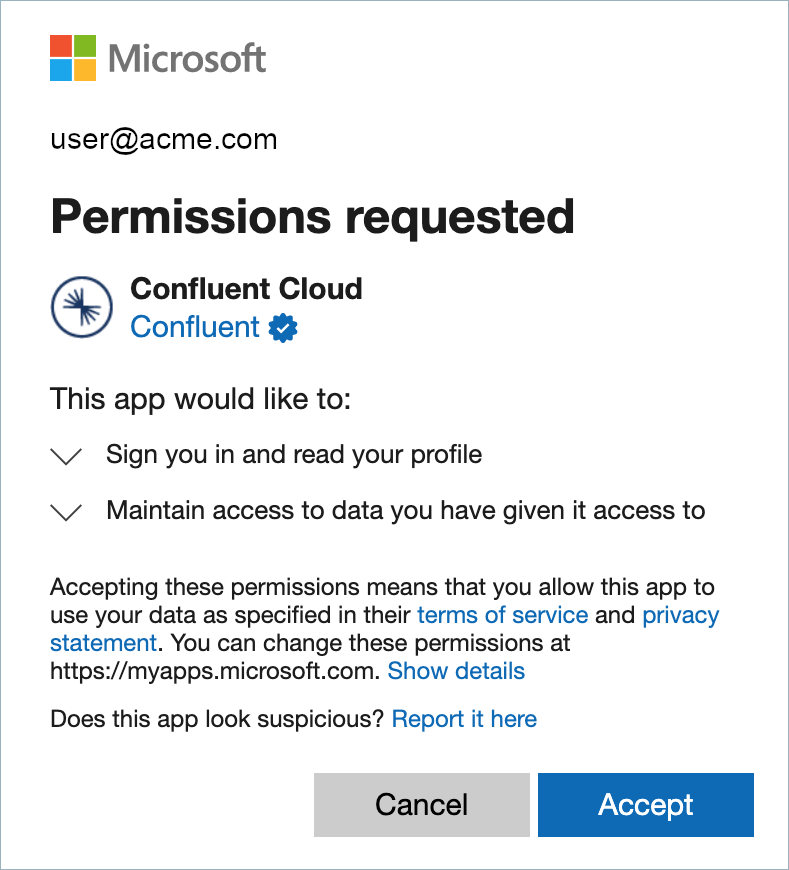
From here, you can manage your resources on Confluent Cloud.
You can invite additional users to your organization by creating a Confluent Cloud account. Use an Azure AD user, or a non-SSO user with an email address and password. For more information, see Add a local user account and Add an SSO user.
Important
Azure AD is the default SSO identity provider when you are subscribed to Confluent Cloud through the Azure Marketplace. To change your SSO identity provider, see Use Single Sign-on with Azure Marketplace on Confluent Cloud and Edit Azure Marketplace SSO settings.
Next steps
After successfully creating or linking a Confluent Cloud organization, you can start managing access and resources:
Enable single sign-on (SSO) for your organization. For more information, see Single sign-on in the Azure documentation.
Add users and assign permissions to your Confluent Cloud organization from within Azure. For more information, see How to manage user permissions in a Confluent organization in the Azure documentation.
To automatically enable Confluent Cloud user account provisioning in Azure, you must enable Just-in-time (JIT) user provisioning. For more information, see Support for Azure Marketplace organizations.
Manage Kafka clusters in Confluent Cloud. For more information, see Manage Kafka Clusters on Confluent Cloud in the Confluent Cloud documentation.
Use Azure Functions and Azure Cosmos DB connectors. For more information, see Azure services and Confluent Cloud integrations in the Azure documentation.
Manage Confluent connectors from Azure Portal. For more information, see Use Confluent Connectors in Azure (preview) in the Azure documentation.
Use the Azure CLI to manage your Confluent Cloud organization. For more information, see az confluent in the Azure documentation.
For more information on managing and using Confluent Cloud resources with Azure, see Apache Kafka on Confluent Cloud - An Azure Native ISV Service in the Azure documentation.
Tip
To manage Confluent Cloud users from within Azure, your Azure user account must be a member of at least the Azure RBAC Contributor role, in the Confluent Cloud organization linked to the Azure account, and using the same email address on Confluent Cloud as in Azure. For more information, see the Azure documentation.
Troubleshoot
Email already in use
- Symptoms
When you try to sign up the Azure portal, you get a “Conflict” error.
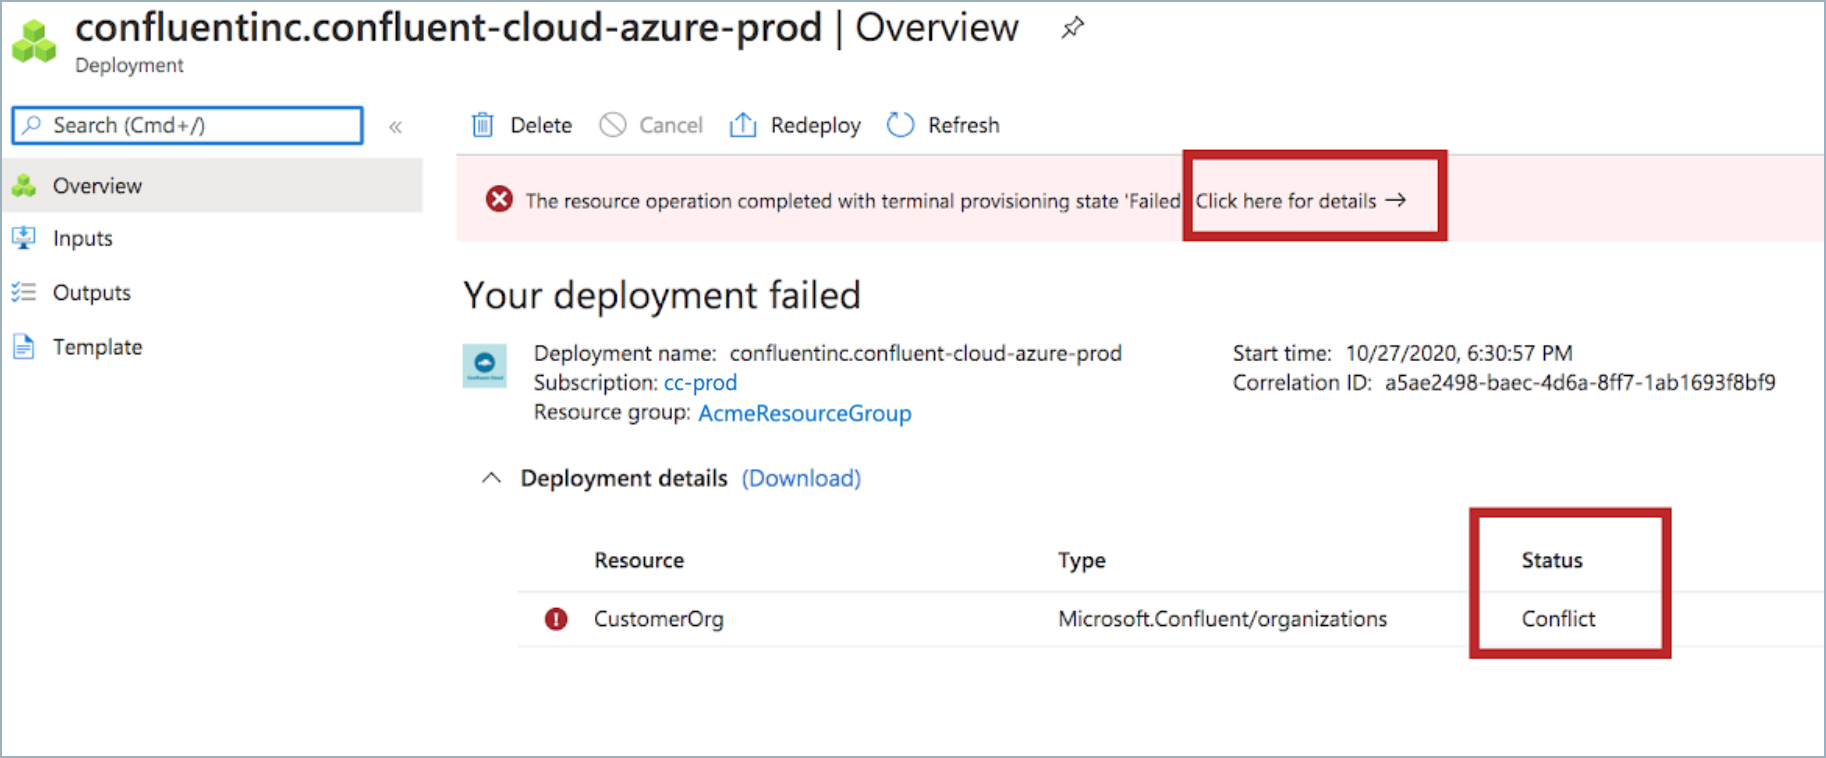
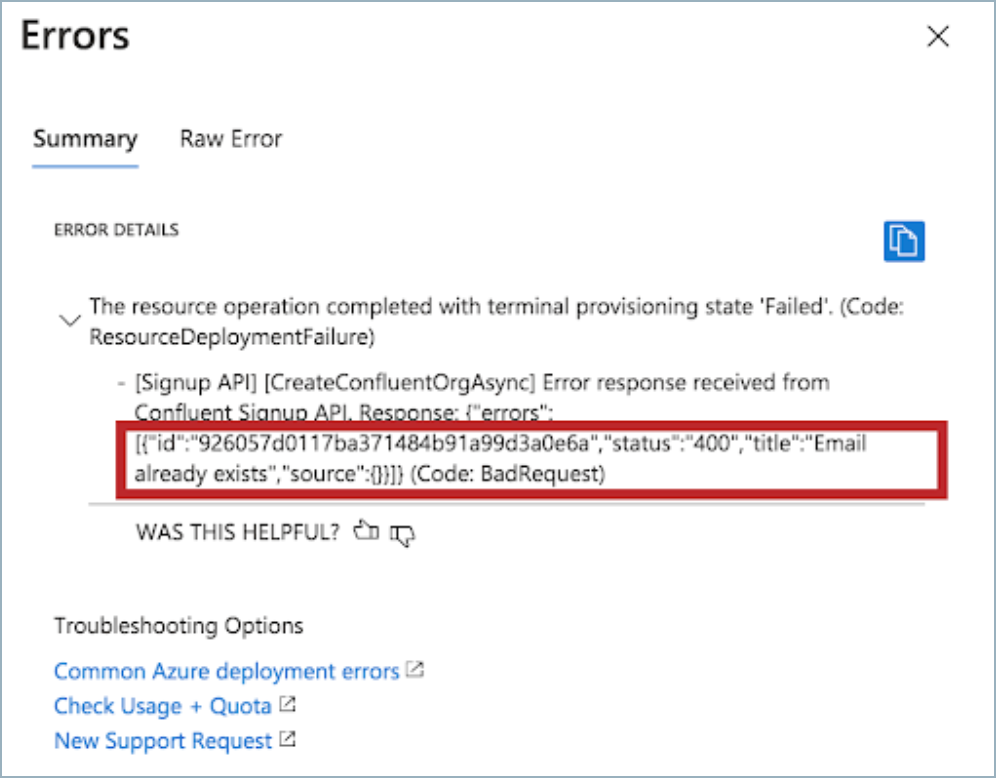
Click the “Click here for details” link in the warning message. “Email already exists” is shown as the reason for signup failure.
- Solution
See the Prerequisites section. If your Azure AD email is already in use for another organization on Confluent Cloud, you need to remove yourself as a user from that organization before you can register for Confluent Cloud through the Azure marketplace.
SSO Login failure - Invalid Username
- Symptoms
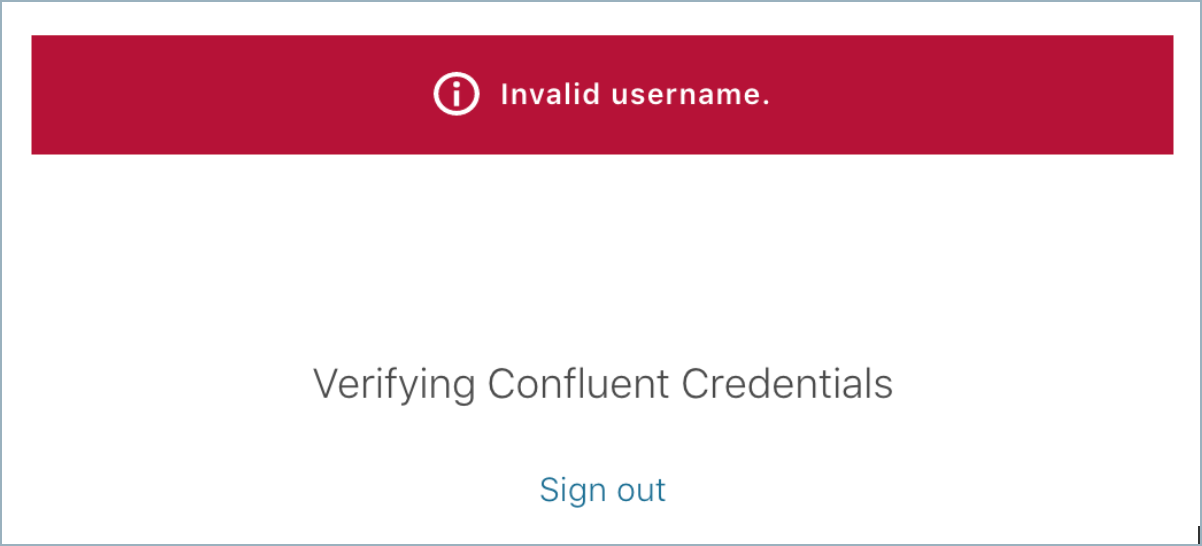
Your SSO login to Confluent Cloud shows an error after login.
- Solution
The user is authenticated successfully, but the email/UPN (user principal name) from the Azure AD token is not registered with any Confluent Cloud Organization. Contact your Confluent Cloud administrator to invite the user to the Confluent Cloud organization.
SSO Login failure - Tenant Mismatch
- Symptoms
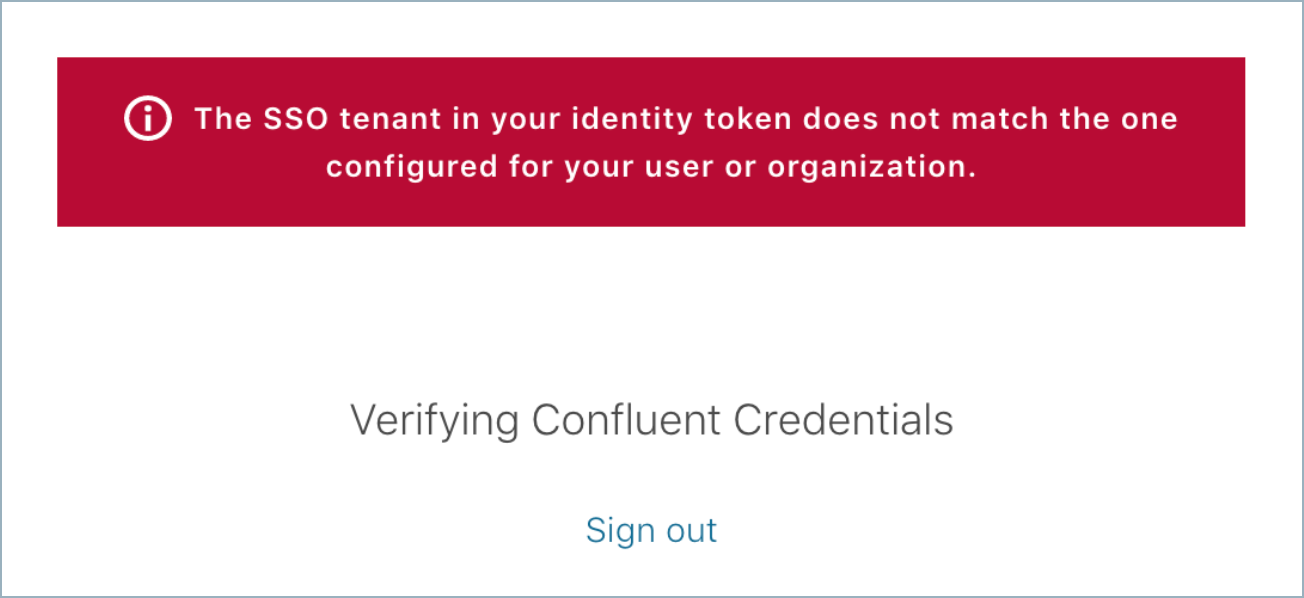
The user is authenticated successfully and is registered with Confluent Cloud but does not belong to the Azure AD Tenant that was used during Confluent Cloud sign-up.
- Solution
Contact your Confluent Cloud administrator to add the user to Azure AD tenant that was used during Confluent Cloud organization signup.
Not able to launch Azure resource in a region
- Symptoms
A message on the Azure portal UI states that you cannot launch resources in a specific Azure region.
- Solution
Make sure your policies are set to allow you to provision resources in the region you want to use with the Azure portal.
Account cannot be linked
- Symptoms
Your attempt to link a Pay As You Go account fails with the message “Account cannot be linked, code 9201”
- Solution
Make sure you are linking a Confluent Cloud Pay as You Go account to an Azure Marketplace usage-based commitment account. Linking a Confluent Pay As You Go account to an Azure Marketplace Pay As You Go account is not supported.

