
Confluent Cloud API and Confluent CLI for Custom Connectors
See the following sections for information about using the Custom Connector API and CLI.
Custom Connector API
The Confluent Cloud API allows you to interact with your custom connectors using the Confluent Cloud API. For more information, see the following resources:
Confluent Cloud API for Connect Usage Examples provides examples for common custom connector API requests.
Confluent Cloud Connect API specification provides the Confluent Cloud API specification for connectors.
Custom Connector CLI
Custom Connector CLI commands allow you to manage your custom connectors using the Confluent CLI. The following examples show commands for common custom connector tasks.
For the full Confluent CLI Command Reference, see confluent connect.
For Confluent CLI installation instructions, see Install the Confluent CLI.
Create or update a custom connector
The following examples show how to create a connector and update a connector configuration using the Confluent CLI.
Custom connector configuration payload
There are a few configuration properties for custom connectors that are not required for fully-managed connector configurations. Note the following configuration property differences in the configuration payload when creating or updating custom connectors using the Confluent Cloud API.
confluent.connector.type(required): Accepts a string value. This property defines the type of connector. The property accepts two values:CUSTOMorMANAGED. The default isMANAGED. If creating a custom connector, this property is required to be set toCUSTOM.confluent.custom.plugin.id(required): Accepts a string value. This property provides the plugin ID for the custom connector. This is a unique ID assigned to the custom connector plugin uploaded to Confluent Cloud. This property is required for custom connectors. To get the plugin ID for a custom connector, see View a custom connector plugin ID.confluent.custom.plugin.version(optional): Accepts a string value. This property specifies the version of the custom plugin being used for the custom connector. For example,v1.2.3. If the plugin version is not defined, the latest version for that plugin would be used to create the connector. It is only applicable for the plugins created via the CCPM API. To create a plugin version, see Create a custom connector plugin version.confluent.custom.connection.endpoints(optional): Accepts a string value. This property provides an allowed static endpoint (or endpoints) for the custom connector to use when securely attaching to a sink or source data system. This is optional for a custom connector configuration. For more information and endpoint requirements, see egress endpoints.confluent.custom.schema.registry.auto(optional): Accepts a string value. When set toTRUE, this property automatically adds the required Schema Registry properties to the custom connector configuration, if Schema Registry is enabled for the Confluent Cloud cluster. Defaults toFALSE. For more information about Schema Registry integration with custom connectors, see Schema Registry integration.confluent.custom.connect.plugin.runtime(optional): Accepts a string value. This property specifies the Kafka Connect runtime version that your custom connector uses. You can configure this setting during connector creation or updates. For example,3.6or3.9. You can upgrade or downgrade the Kafka version independently of the Java runtime version. If not specified, the connector defaults to the latest Kafka Connect runtime version available in your environment.Note
The
confluent.custom.connect.plugin.runtimeproperty accepts the exact version specified in thecustom_connect_plugin_runtime_nameproperty. This is usually amajor.minorversion (for example,3.6,3.7). Confluent handles patch version and updates internally, and these updates are applied to the specified minor version.Existing connectors provisioned before September 12, 2025 use the runtime version of 3.6. To retrieve your connector’s runtime version, fetch its configuration. If no runtime information is specified in the configuration, the connector is using the 3.6 runtime.
confluent.custom.connect.java.version(optional): Accepts a string value. This property specifies the Java runtime version that your custom connector’s plugin uses. You can upgrade or downgrade the Java version independently of the Kafka Connect runtime version. For example,11or17. If not specified, the connector defaults to the latest Java runtime version associated with the chosen Kafka Connect runtime in your environment.
Note
kafka.auth.mode: The current mode for authentication defaults to API key and secret. You do not need to set this configuration property.
List Java and Kafka Connect runtimes
While creating a custom connector, you can specify the Kafka and Java runtime versions by defining the confluent.custom.connect.plugin.runtime and confluent.custom.connect.java.version properties respectively. Use the CLI command to list all the currently available Kafka and Java runtime versions in descending order of priority.
confluent connect custom-connector-runtime list
Example output:
        ID       | Runtime Name | Runtime AK Version | Supported Java Versions | Product Maturity |        End of Life At         |          Description
-----------------+--------------+--------------------+-------------------------+------------------+-------------------------------+---------------------------------
  ccpp-123456789 | 3.9          | 3.9.0              | 17                      | GA               | 9999-01-24 00:00:00 +0000 UTC | Custom connector runtime based
                 |              |                    |                         |                  |                               | on AK 3.9
  ccpp-ghijkl567 | 3.6          | 3.6.0              | 17                      | GA               | 2880-01-24 00:00:00 +0000 UTC | Custom connector runtime based
                 |              |                    |                         |                  |                               | on AK 3.6
Use the Kafka Connect runtime versions obtained from the list operation to define the Kafka Connect and Java runtime version for your custom connector.
The confluent.custom.connect.plugin.runtime configured in the connector should match the custom_connect_plugin_runtime_name from the runtime name list output.
Important
When a custom connector runtime version reaches End of Life (EOL), it automatically upgrades to the next supported version (for example, 3.9). This upgrade may introduce changes that could cause the connector to fail. Therefore, Confluent recommends testing the compatibility by manually upgrading to a higher version prior to the EOL date.
Confluent sends a notification about an upcoming runtime version’s End of Life (EOL) at least 60 days before the EOL date.
The table below shows the supported JDK versions and the End of Life of the available Kafka runtime versions:
Runtime Name | Runtime AK Version | Supported Java Versions | Product Maturity | End of Life (EOL) |
|---|---|---|---|---|
3.9 | 3.9.0 | 17 | GA | NA |
3.6 | 3.6.0 | 17 | GA | April 1, 2026 |
Create a custom connector
Use the following command to create a custom connector.
Command syntax:
confluent connect cluster create [flags]
For example:
confluent connect cluster create --config-file connector-config.json --cluster lkc-abcd123 --environment env-a12b34
Example output:
+------+---------------------+
| ID   | clcc-wzxp69         |
| Name | my-custom-connector |
+------+---------------------+
Note that the ID of a Custom Connector starts with a prefix of clcc and the ID of a Managed Connector starts with a prefix of lcc.
The JSON payload file consists of the following configuration properties. Note that the connector name used in both instances of "name" in the payload must be consistent.
{
   "name": "my-custom-connector",
   "config": {
         "name": "my-custom-connector",
         "kafka.api.key": "********",
         "kafka.api.secret": "********",
         "confluent.connector.type": "CUSTOM",
         "confluent.custom.plugin.id": "custom-plugin-l65664",
         "tasks.max": "1",
         "interval.ms": "10000",
         "kafka.topic": "my-kafka-topic"
         }
}
Update a custom connector configuration
Use the following command to update a custom connector configuration. You use a JSON payload file that contains all the configuration properties used to create the original connector, with any changes needed for the update. In the example JSON used in this example, the tasks.max is updated from 1 to 2.
Command syntax:
confluent connect cluster update <id> [flags]
For example:
confluent connect cluster clcc-wzxp69 --config-file connector-config.json --cluster lkc-abcd123 --environment env-a12b34
Example output:
Updated connector "clcc-wzxp69"
The JSON payload file consists of the following configuration properties. Note that the connector name used in both instances of "name" in the payload must be consistent.
{
   "name": "my-custom-connector",
   "config": {
         "name": "my-custom-connector",
         "kafka.api.key": "********",
         "kafka.api.secret": "********",
         "confluent.connector.type": "CUSTOM",
         "confluent.custom.plugin.id": "custom-plugin-l65664",
         "tasks.max": "2",
         "interval.ms": "10000",
         "kafka.topic": "my-kafka-topic"
         }
}
Delete a custom connector
Use the following command to delete a connector.
Command syntax:
confluent connect cluster delete <id> [flags]
For example:
confluent connect cluster delete clcc-wzxp69 --cluster lkc-abcd123
Example output:
Are you sure you want to delete connector "clcc-wzxp69"?
To confirm, type "my-custom-connector". To cancel, press Ctrl-C: my-custom-connector
Deleted connector "clcc-wzxp69".
Describe a custom connector
Use the following command to get connector details.
Command syntax:
confluent connect cluster describe <id> [flags]
For example:
confluent connect cluster describe clcc-wzxp69 --cluster lkc-abcd123
Example output:
  Connector Details
+--------+---------------------+
| ID     | clcc-wzxp69         |
| Name   | my-custom-connector |
| Status | RUNNING             |
| Type   | source              |
+--------+---------------------+


Task Level Details
  Task ID |  State
----------+----------
        0 | RUNNING


Configuration Details
              Config             |                          Value
---------------------------------+----------------------------------------------------------
  cloud.environment              | prod
  cloud.provider                 | aws
  confluent.custom.plugin.id     | custom-plugin-epp0ye
  connector.class                | io.confluent.kafka.connect.datagen.DatagenConnector
  iterations                     |                                                10000000
  kafka.api.key                  | ****************
  kafka.api.secret               | ****************
  kafka.auth.mode                | KAFKA_API_KEY
  kafka.endpoint                 | SASL_SSL://pkc-abcd5.us-west-2.aws.confluent.cloud:9092
  kafka.region                   | us-west-2
  kafka.topic                    | pageviews
  key.converter                  | org.apache.kafka.connect.storage.StringConverter
  max.interval                   |                                                     100
  name                           | custom-datagen_0
  quickstart                     | pageviews
  tasks.max                      |                                                       1
  value.converter                | org.apache.kafka.connect.json.JsonConverter
  value.converter.schemas.enable | false
Get a list of custom connectors
Use the following command to get a list of connectors.
Command syntax:
confluent connect cluster list [flags]
For example:
confluent connect cluster list --cluster lkc-abcd123
Example output:
      ID      |       Name          | Status  |  Type  | Trace
--------------+---------------------+---------+--------+--------
  clcc-wzxp69 | my-custom-connector | RUNNING | source |
Note that the ID of a Custom Connector starts with a prefix of clcc and the ID of a Managed Connector starts with a prefix of lcc.
Pause a custom connector
Use the following command to pause a connector.
Command syntax:
confluent connect cluster pause <id1> <id2> ...<idN> [flags]
For example:
confluent connect cluster pause clcc-wzxp69 --cluster lkc-abcd123
Example output:
Paused connector "clcc-wzxp69".
Resume a paused custom connector
Use the following command to resume a paused connector.
Command syntax:
confluent connect cluster resume <id1> <id2> ...<idN> [flags]
For example:
confluent connect cluster resume clcc-wzxp69 --cluster lkc-abcd123
Example output:
Resumed connector "clcc-wzxp69".
Custom Connector Plugin CLI
Note
The Custom Connect Plugin Management (CCPM) APIs operate at the environment level, that means the resources are scoped and managed within individual Confluent Cloud environments, making plugin management more flexible and secure.
The CCPM APIs support plugin versioning, allowing you to:
Upload new versions of existing connector plugins.
Update running connectors to use these new versions.
This process ensures message offset continuity, leading to seamless version transitions where connectors resume exactly from the previous version’s last point. The CCPM APIs do not allow Cluster Admins to create plugins. For more information, see RBAC role mappings for custom connectors.
Confluent recommends you to use the CCPM APIs for future plugin management activities.
The Custom Connector plugin CLI commands allow you to manage your custom connector plugins using the Confluent CLI. The following examples show commands for common custom connector plugin tasks.
For the full Confluent CLI Command Reference, see confluent connect.
For Confluent CLI installation instructions, see Install the Confluent CLI.
Important
Viewing or editing settings of custom connectors created with CCPM APIs via Confluent Cloud Console leads to the following error.
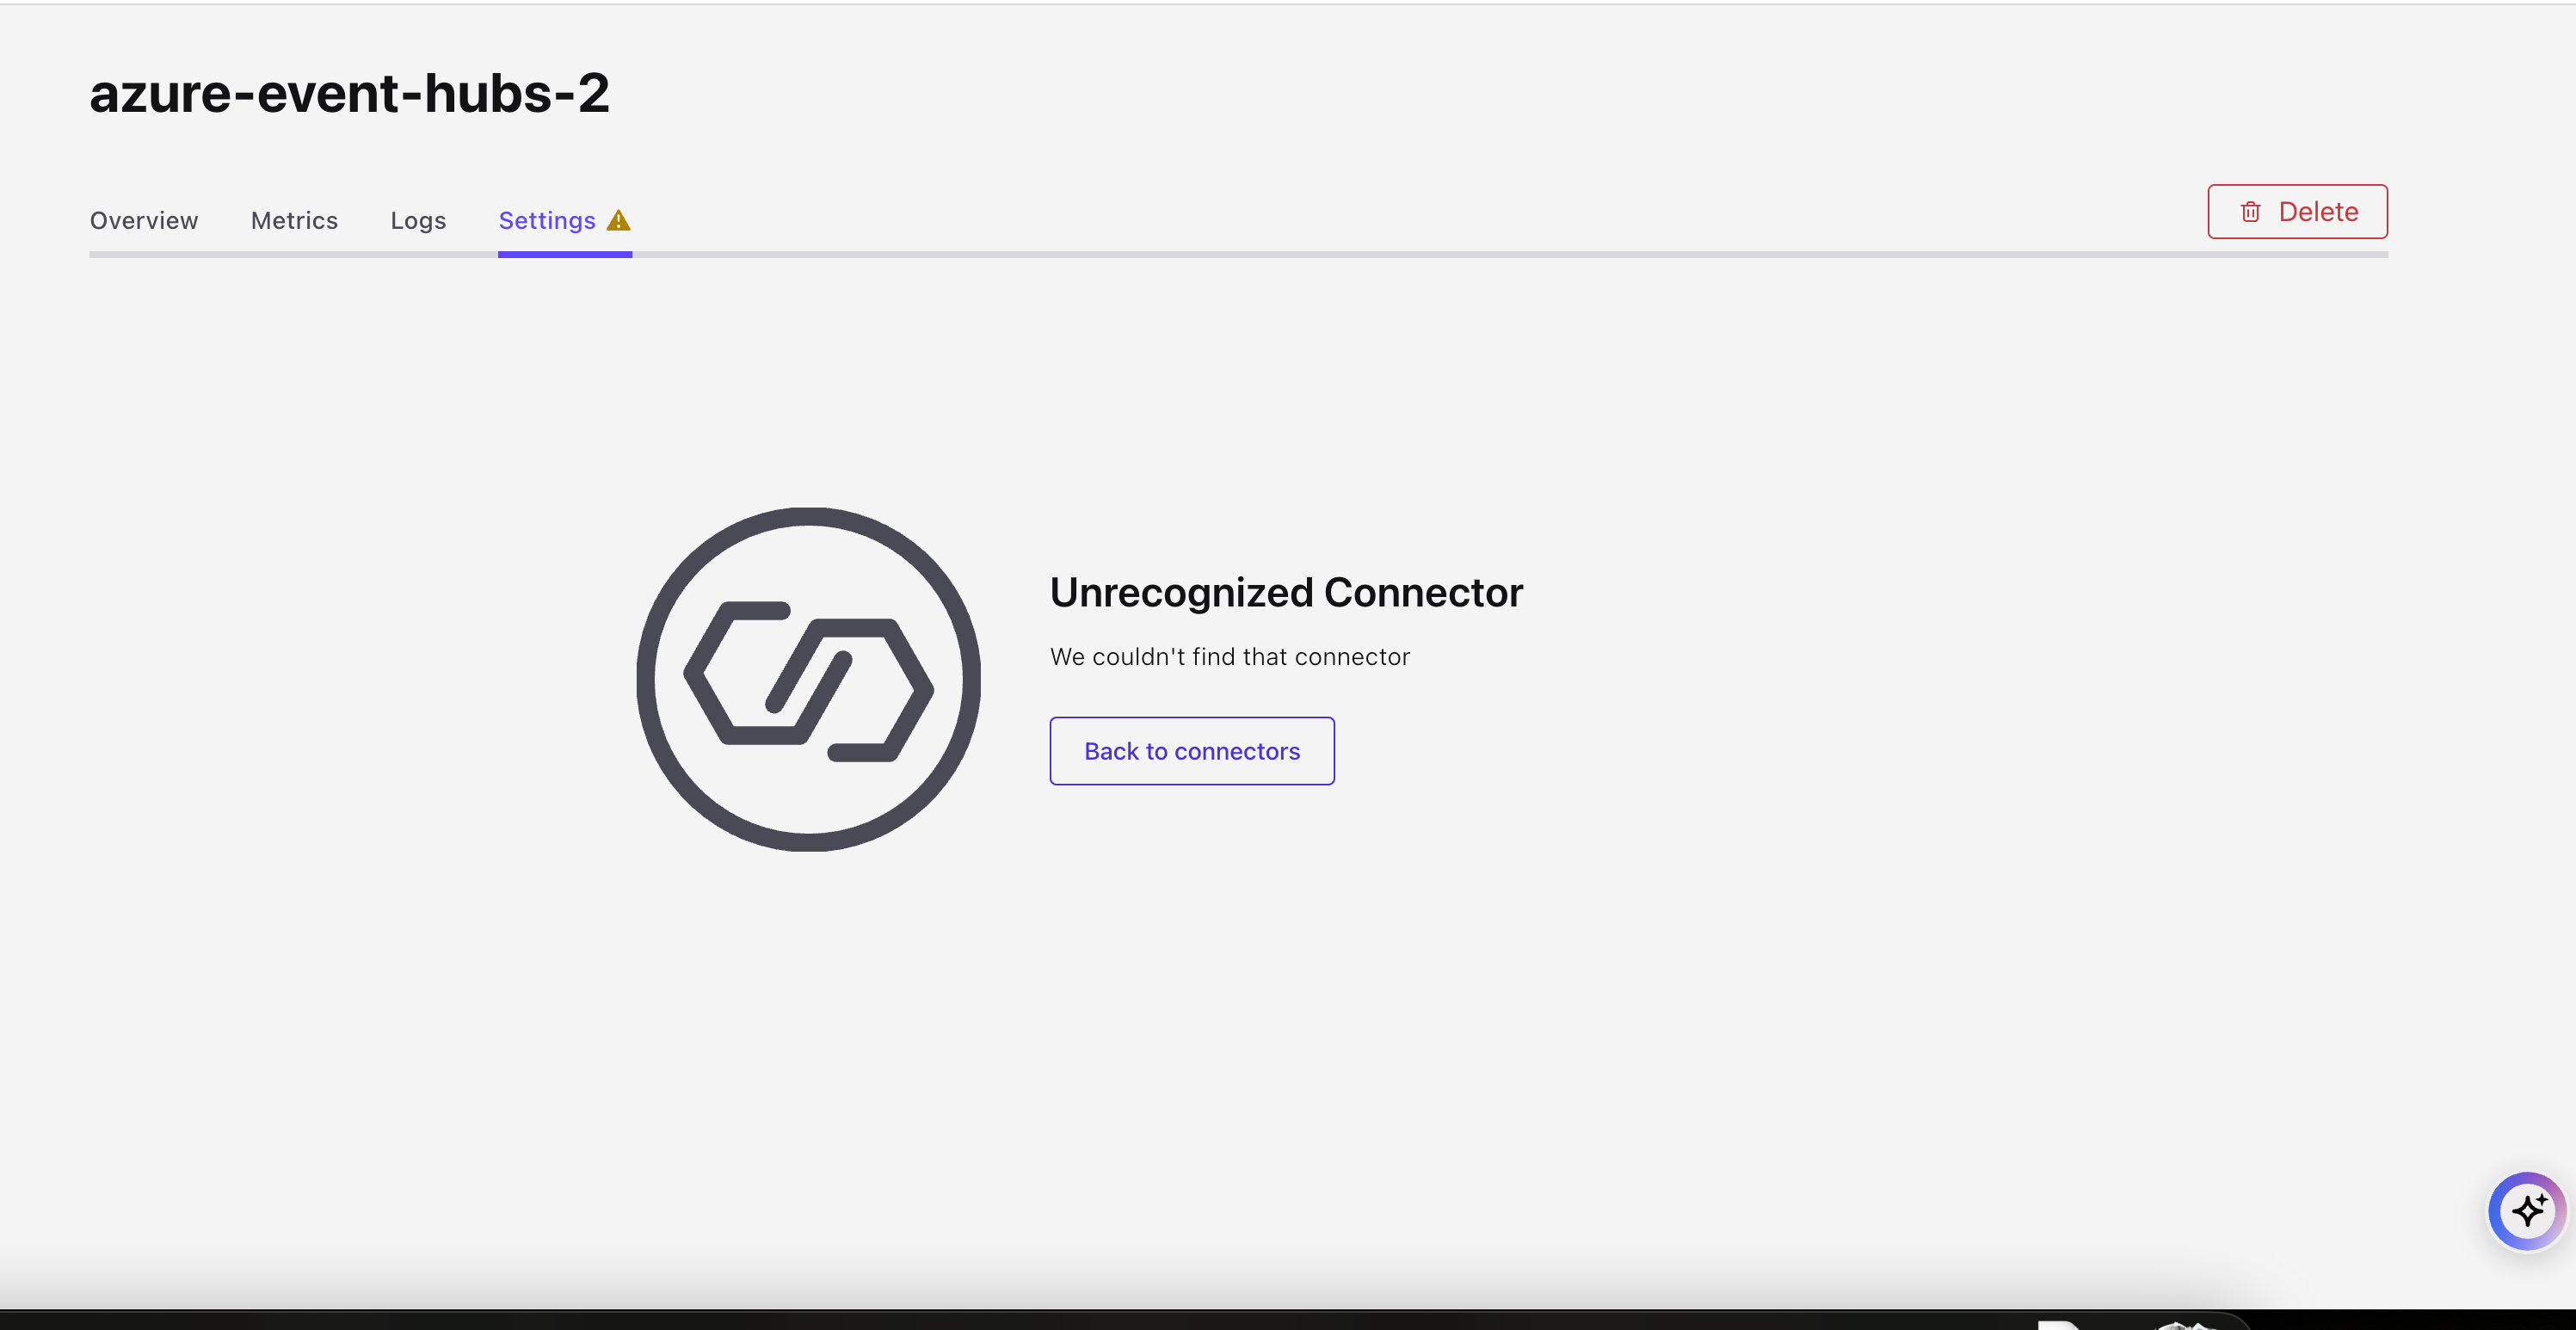
You can edit or view the settings through the Confluent CLI or Confluent Cloud APIs.
List custom plugins
The following example shows how to list custom plugins using the CLI.
confluent connect custom-plugin list
Example output:
ID     |       Name
-------------+-------------------
ccp-abcdef | custom-datagen-1
Use the following CLI command to list all the custom connector plugins. The following are required configuration properties:
environment(required): The ID of the environment to list the custom connector plugins.cloud(optional): Filter plugins by cloud provider. Valid values areAWS,GCP,AZURE.output: Output format (json, yaml, table).
confluent ccpm plugin list --environment <environment_id>
Example: List all the plugins in an environment.
confluent ccpm custom-plugin list --environment env-123
Example Response:
ID             | Name                    | Description                 | Cloud | Runtime Language | Environment
---------------+-------------------------+-----------------------------+-------+------------------+-------------
ccp-abcd123456 | test-plugin-1           | First Plugin                | AWS   | JAVA             | env-123
ccp-efgh345678 | test-plugin-3           | Testing Plugin              | AWS   | JAVA             | env-123
ccp-ijklmo5678 | test-plugin-2           |                             | AWS   | JAVA             | env-123
ccp-mnopo78905 | test-plugin-4           |                             | AWS   | JAVA             | env-123
ccp-qrstuv8902 | test-plugin-5           |                             | AWS   | JAVA             | env-123
Describe a custom plugin
Use the following command to describe a custom plugin using the CLI.
confluent connect custom-plugin describe <plugin-ID> [flags]
Example:
confluent connect custom-plugin describe ccp-abcdef
Example output:
+----------------------+-----------------------------------------------------+
| ID                   | ccp-abcdef                                          |
| Name                 | custom-datagen-2                                    |
| Description          |                                                     |
| Documentation Link   |                                                     |
| Connector Class      | io.confluent.kafka.connect.datagen.DatagenConnector |
| Connector Type       | SOURCE                                              |
| Sensitive Properties | foo,bar                                             |
+----------------------+-----------------------------------------------------+
Use the following CLI command to describe a custom plugin. The following are required configuration properties:
environment(required): The ID of the environment where the plugin details should be retrieved.id(required): The ID of the custom connector plugin to describe.output(optional): Output format (json, yaml, table).
confluent ccpm plugin describe <id> --environment <environment_id>
Example:
confluent ccpm plugin describe plugin-123456 --environment env-123
Example Response:
+------------------+----------------------+
| ID               | plugin-123456        |
| Name             | test-plugin          |
| Description      |                      |
| Cloud            | GCP                  |
| Runtime Language | JAVA                 |
| Environment      | env-123              |
+------------------+----------------------+
Create a custom plugin
Use the following command to create a custom plugin using the CLI. The following are required command option:
--plugin-file: The path to the locally stored ZIP or JAR file to be uploaded.--connector-class: Java class or alias for connector. You can get connector class from connector documentation provided by developer.--connector-type:SOURCEorSINK.
Optional command options include the following:
--description: A meaningful description for the plugin. Note that if adding a description with more than one word, add quotes to the start and end. For example--description "A test connector for creating mock source data."--documentation-link: You can include a URL for documentation users need to reference for the connector. This URL is displayed for users configuring a connector using the plugin.--sensitive_properties: A sensitive property is a connector configuration property that must be hidden after a user enters the property value when setting up connector. For more information about sensitive properties, see Uploading and launching the connector.
confluent connect custom-plugin create <plugin-name> [flags]
Example:
confluent connect custom-plugin create custom-datagen-2 --plugin-file /Users/<username>/Downloads/confluentinc-kafka-connect-datagen-0.6.0.zip --connector-class io.confluent.kafka.connect.datagen.DatagenConnector --connector-type SOURCE --sensitive-properties foo,bar
Example output:
+------+------------------+
| ID   | ccp-ghijkl       |
| Name | custom-datagen-2 |
+------+------------------+
Use the following CLI command to describe a custom plugin. The following are required configuration properties:
environment(required): The ID of the environment where the plugin should be created.name(required): The display name of the plugin.cloud(required): The cloud provider the plugin targets. Valid values areAWS,GCP,AZURE.description(optional): Description of the custom connect plugin.output(optional): Output format (json, yaml, table).
confluent ccpm plugin create --name <display_name> --description <description> --cloud <cloud> --environment <environment_id>
Example:
confluent ccpm plugin create --name "My Kafka Connect Plugin" --description "A new custom Kafka Connect plugin" --cloud AWS --environment env-123
Example Response:
+------------------+-----------------------------------+
| ID               | ccp-1234567890                    |
| Name             | My Kafka Connect Plugin           |
| Description      | A new custom Kafka Connect plugin |
| Cloud            | AWS                               |
| Runtime Language | JAVA                              |
| Environment      | env-123                           |
+------------------+-----------------------------------+
Note
In the Connect API, JAR/ZIP file are a part of the plugin resource, but in the CCPM API, these files have been moved to plugin version resource. To use the JAR/ZIP file via CCPM API, you have to create a plugin version. To create a plugin version, see Create a custom connector plugin version.
Update a custom plugin
Use the following command to update a custom plugin using the CLI.
confluent connect custom-plugin update <plugin-ID> [flags]
Example: Update the plugin name
confluent connect custom-plugin update ccp-4xqy7x --name custom-datagen-0
Example output:
Updated custom connector plugin "ccp-ghijkl"
Use the following CLI command to update a custom plugin. The following are required configuration properties:
environment(required): The ID of the environment where the plugin should be updated.id(required): The ID of the plugin to update.name(optional): Updated display name of the plugin.description(optional): Description of the custom connect plugin.
confluent ccpm plugin update <id> --environment <environment_id>
Example: Update the name and description of the plugin.
confluent ccpm plugin update plugin-123456 --name "Updated Kafka Connect Plugin" --description "This is an updated description" --environment env-456
Example Response:
+------------------+-----------------------------------+
| ID               | plugin-123456                     |
| Name             | Updated Kafka Connect Plugin      |
| Description      | This is an updated description    |
| Cloud            | AWS                               |
| Runtime Language | JAVA                              |
| Environment      | env-456                           |
+------------------+-----------------------------------+
Delete a custom plugin
Use the following command to delete a custom plugin using the CLI.
confluent connect custom-plugin delete <id-1> [id-2] ... [id-n] [flags]
Example:
confluent connect custom-plugin delete ccp-ghijkl
Example output:
Are you sure you want to delete custom connector plugin "ccp-ghijkl"?
To confirm, type "custom-datagen-0". To cancel, press Ctrl-C: custom-datagen-0
Deleted custom connector plugin "ccp-ghijkl".
Use the following CLI command to delete a custom plugin. The following are required configuration properties:
environment(required): The ID of the environment where the plugin exists.id(required): The ID of the custom connector plugin to be deleted.force: Force delete without confirmation.
confluent ccpm plugin delete <id> --environment <environment_id>
Example:
confluent ccpm plugin delete plugin-123456 --environment env-123
Example Response:
Are you sure you want to delete CCPM custom connector plugin "plugin-123456"? (y/n): y
Deleted CCPM custom connector plugin "plugin-123456"
Custom Connector Plugin Version CLI
Custom Connector plugin version CLI commands allow you to manage your custom connector plugin versions using the Confluent CLI.
For the full Confluent CLI Command Reference, see confluent connect.
For Confluent CLI installation instructions, see Install the Confluent CLI.
You can perform the following actions:
Create a custom connector plugin version
Use the following CLI command to create a custom connector plugin version. The following are required configuration properties:
environment(required): The ID of the environment where the plugin version should be created.plugin(required): The ID of the custom connector plugin for which the version is being created.version(required): The version identifier for the custom connector plugin (e.g.,1.2.3).connector-classes(required): A comma-separated list of connector classes in format -class_name:typeclasss_name: Name of the connector class.type: The connector type -SOURCEorSINK.
sensitive-config-properties(optional): Comma-separated list of sensitive property names.plugin-file(required): Path to the file containing version-specific settings.documentation-link(optional): Link to external documentation.output(optional): Output format (json, yaml, table).
confluent ccpm plugin version create --plugin <plugin_id> --version <version> --environment <environment_id> --plugin-file <plugin_version_file> --connector-classes `<class_name>:<type>`
Example:
confluent ccpm plugin version create --plugin ccp-456 --version 1.0.0 --environment env-123 --plugin-file datagen.zip --connector-classes 'com.example.MyConnectorClass:SOURCE' --sensitive-config-properties "password,key" --documentation-link "http://example.com/doc"
Example response:
+-----------------------------+-------------------------------------+
| Plugin ID                   | ccp-456                             |
| Plugin Name                 | test-plugin                         |
| ID                          | ver-abcd123456                      |
| Version                     | v1.0.0                              |
| Content Format              | ZIP                                 |
| Documentation Link          | http://example.com/doc              |
| Sensitive Config Properties | password,key                        |
| Connector Classes           | com.example.MyConnectorClass:SOURCE |
| Phase                       | READY                               |
| Environment                 | env-123                             |
+-----------------------------+-------------------------------------+
List custom connector plugin version
Use the following CLI command to list a custom connector plugin versions in your environment. The following are required configuration properties:
environment(required): The ID of the environment to list plugin versions.plugin(required): The ID of the custom connector plugin whose versions are being listed.page-size(optional, default=10): Number of plugin versions to return per page.page-token(optional): Token to fetch the next page of results.output(optional): Output format (json, yaml, table).
confluent ccpm plugin version list --plugin <plugin_id> --environment <environment_id>
Example:
confluent ccpm plugin version list --plugin ccp-456 --environment env-123
Example response:
Plugin ID  | Plugin Name  |    ID   | Version | Content Format | Documentation Link | Sensitive Config Properties | Connector Classes                   | Phase | Error Message | Environment
-----------+--------------+---------+---------+----------------+--------------------+-----------------------------+-------------------------------------+-------+---------------+-------------
ccp-abc123 | GCP-plugin-1 | ver-123 | v0.6.7  | ZIP            |                    | passwords, keys, tokens     | com.example.MyConnectorClass:SOURCE | READY |               | env-123
Describe custom connector plugin version
Use the following CLI command to describe a custom connector plugin version in your environment. The following are required configuration properties:
environment(required): The ID of the environment where the plugin version details should be retrieved.plugin(required): The ID of the custom connector plugin for which the version details are being described.version-id(required): The ID of the plugin version to describe.
confluent ccpm plugin version describe <version_id> --plugin <plugin_id> --environment <environment_id>
Example Request:
confluent ccpm plugin version describe ver-stgcw5okmg --plugin ccp-456 --environment env-123
Example response:
+-----------------------------+-------------------------------------+
| Plugin ID                   | ccp-456                             |
| Plugin Name                 | test-plugin-stag                    |
| ID                          | ver-abcd1234ef                      |
| Version                     | v1.0.0                              |
| Content Format              | ZIP                                 |
| Documentation Link          |                                     |
| Sensitive Config Properties |                                     |
| Connector Classes           | com.example.MyConnectorClass:SOURCE |
| Phase                       | READY                               |
| Environment                 | env-123                             |
+-----------------------------+-------------------------------------+
Delete custom connector plugin version
Use the following CLI command to delete a custom connector plugin version in your environment. The following are required configuration properties:
environment(required): The ID of the environment where the plugin version is located.plugin(required): The ID of the custom connector plugin for which the version is being deleted.version-id(required): The ID of the plugin version to be deleted.force: Force delete without confirmation.
confluent ccpm plugin version delete <version_id> --plugin <plugin_id> --environment <environment_id>
Example: To delete multiple plugin versions -
confluent ccpm plugin version delete ver-abcd1234 ver-efgh4567 --plugin ccp-456 --environment env-123
Example response:
Are you sure you want to delete CCPM custom connector plugin versions "ver-abcd1234" and "ver-efgh4567"? (y/n): y
Deleted CCPM custom connector plugin versions "ver-abcd1234" and "ver-efgh4567".
Unsupported connector CLI commands
The following commands are not supported by Custom Connectors. These CLI commands are applicable only to fully-managed connectors.
Command reference
For the full Confluent CLI Command Reference for fully-managed and custom connectors, see confluent connect.