
Get Started with Confluent Cloud on the Azure Marketplace with Commitments
A usage-based billing commitment lets you pre-commit to a minimum spend on Confluent Cloud through the Azure Marketplace in exchange for a discount on your committed usage. This topic shows you how to sign up.
Tip
You can pay for Confluent Cloud through your cloud provider’s Marketplace using Confluent Consumption Units (CCUs), the billing units used in cloud marketplace deployments. Pricing in the Marketplace is the same as direct purchase pricing. For more information, see Manage Billing in Confluent Cloud.
Prerequisites
An Azure Marketplace account. You can use Confluent Cloud and get billed directly through Azure.
Important
You cannot sign up for Confluent Cloud through a Microsoft Solutions Provider.
Confluent Cloud currently requires your email address to be unique across all organizations. If you already used your Azure AD email address to sign up for Confluent Cloud, you must first remove yourself as a user from the Confluent Cloud organization where you signed up earlier, so you can use your Azure AD email for single sign-on (SSO). One option is to invite an alternate email that you own as a user to the old organization, and then delete the user associated with your Azure AD email from the old organization. This way, you can sign up using SSO. As another option, a different user in the old organization can delete your Azure AD user ID. To find the email address associated with your Azure AD account, follow these steps:
Go to the Azure Active Directory portal.
Click the More Info link in the Tenant Information section.
Click Profile under Manage in the navigation menu. Your Azure AD email address appears in the Identity section under User Principal Name.
To accept an offer, you must sign in to the Azure Marketplace and you must have Owner access to the billing account.
To subscribe to an offer, you must sign in to the Azure Marketplace and you must have Owner access to the subscription you are using to sign up (the one linked to the billing account).
Your Azure policy must allow you to provision resources in the region where you choose to set up the Confluent resource.
Subscribe to a Confluent Cloud private offer on the Azure Marketplace
To subscribe to a Confluent Cloud private offer on the Azure Marketplace, you must accept the offer and then subscribe to it. The purchase takes place only after you complete both steps.
Step 1: Accept the offer
Accepting an Azure private offer creates a contractual agreement between you and Confluent. You must accept the offer before you can subscribe to it. The agreement includes the following components:
Your name or the name of the legal entity to which the offer applies.
Public plans included in the offer.
Private offer price.
Custom legal terms for the offer, if applicable.
Start and end dates when the discount applies to the offer.
Expiration date for the offer. You must accept the offer before this date.
Confluent creates the offer and sends you an email. Use the following procedure to accept the offer:
Click the link in the email to go to the offer.
Note
If you don’t see the email, check your spam filter.
Review the offer and select Accept Private Offer.
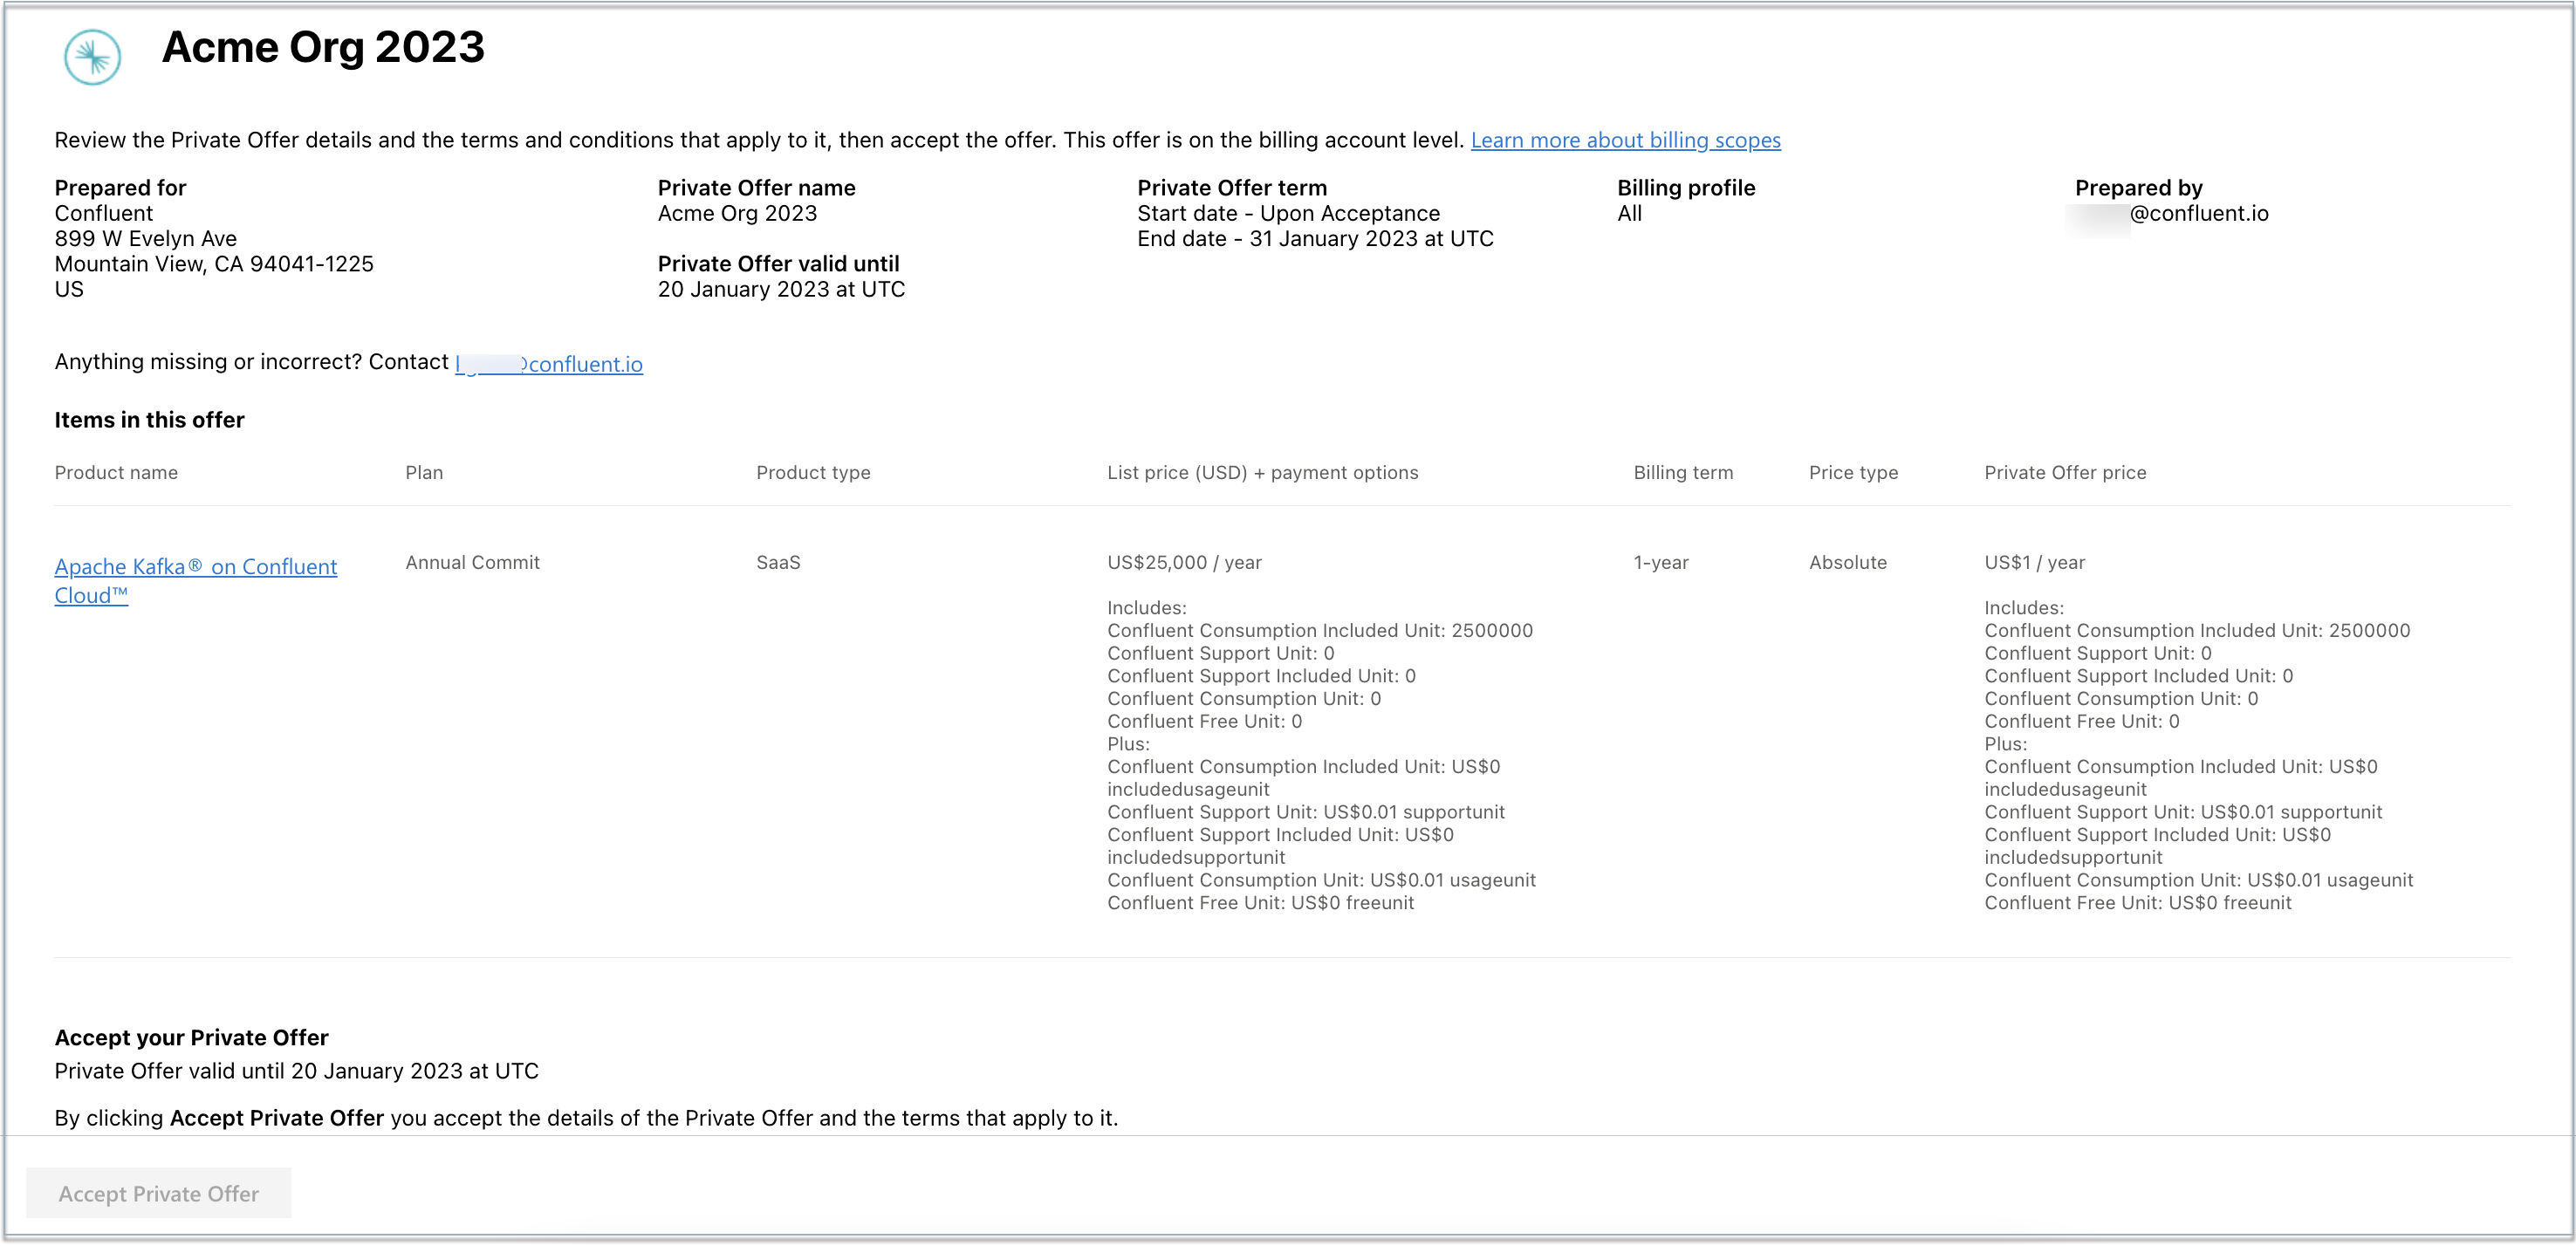
Accepting the offer does not complete the purchase. You must also subscribe to the offer to provision your Confluent Cloud resource and finish the transaction. By accepting the offer, you agree to the terms and prices that Confluent listed.
Step 2: Subscribe to the offer
After you or someone in your organization accepts the private offer from Confluent, subscribe to the offer to provision your Confluent Cloud resource:
Sign in to the Azure portal and under Azure services, select Marketplace.
In the navigation menu, under My Marketplace, select Private products.
Tip
You can also click You have private products available. View private products.
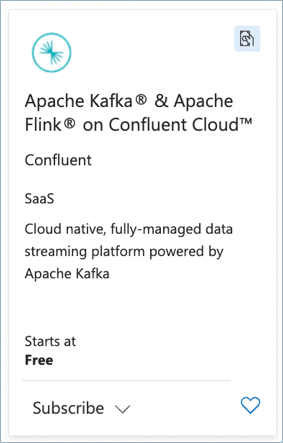
Select the Confluent Cloud tile.
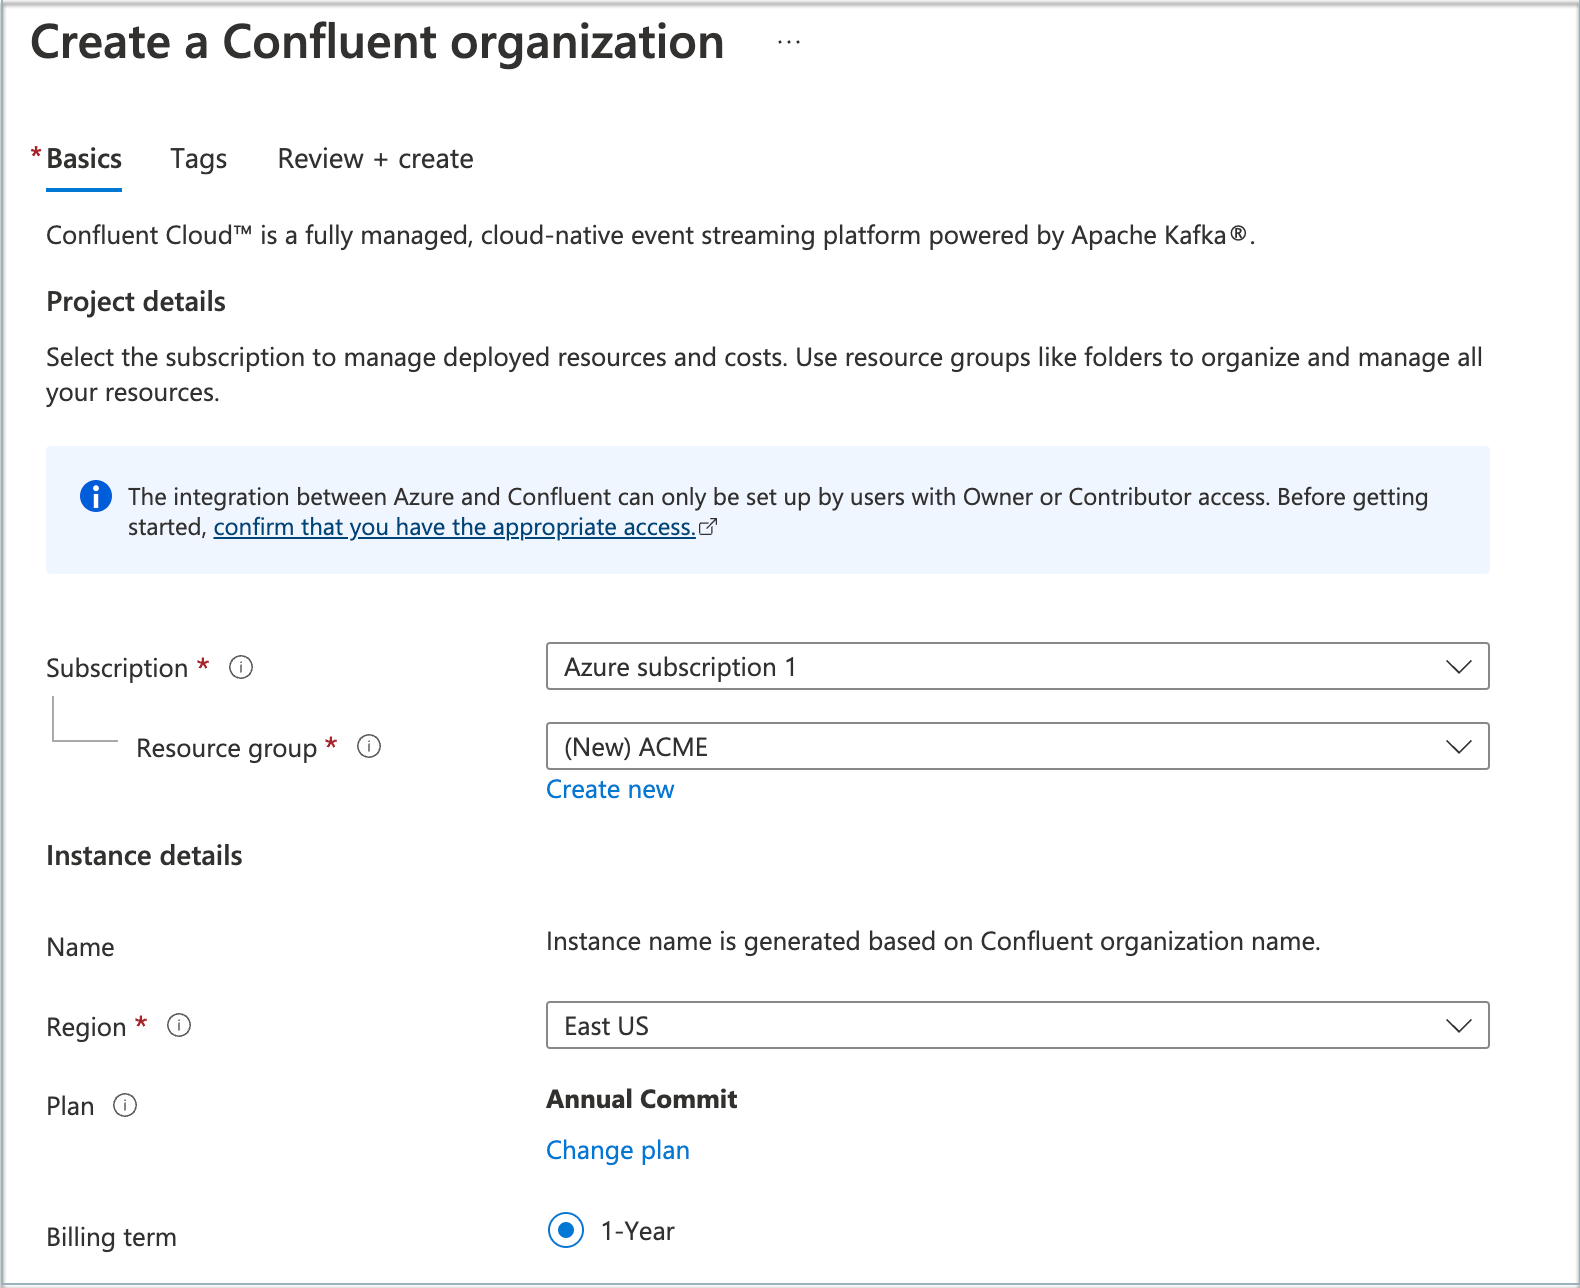
From Plan, select Annual Commit and click Subscribe. You might have multiple plans available. To see a list of available plans and plan details, select Plans+Pricing.
Tip
If you have multiple plans, some plans might not be eligible for a private offer. When you select a subscription eligible for a private offer, Azure prompts you with a success message.
For Resource group, choose Create new and enter a Name.
Tip
To change your plan, select Change plan. A list of all available plans appears. Choose the plan you want and select Change plan.
In Region, under Instance details, select a region for the resource.
Note
The region you select does not need to match the region where you run your Confluent Cloud clusters. Confluent Cloud uses the selected region to store metadata for this resource group, and you are not charged for this metadata storage.
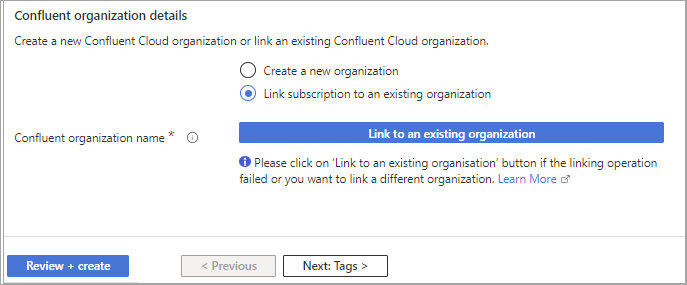
Under Confluent Organization details, choose Create a new Confluent organization or Link to an existing organization. If you link to your existing Azure Marketplace subscription, Confluent Cloud prompts you for your account credentials.
Enter the name for your new Confluent organization.

After you complete the Azure deployment, Confluent creates the new organization and links it to your Azure subscription.
Click Link to an existing organization to navigate to the Confluent Cloud login page.
Sign in with your existing Confluent Cloud credentials.
On the Confirm billing updates page, check each box to confirm that you understand the terms of service, billing terms, and SSO settings for both sections:
Current billing info shows the billing information before account linking.
Updated billing with Azure shows the new payment method for the account after linking.
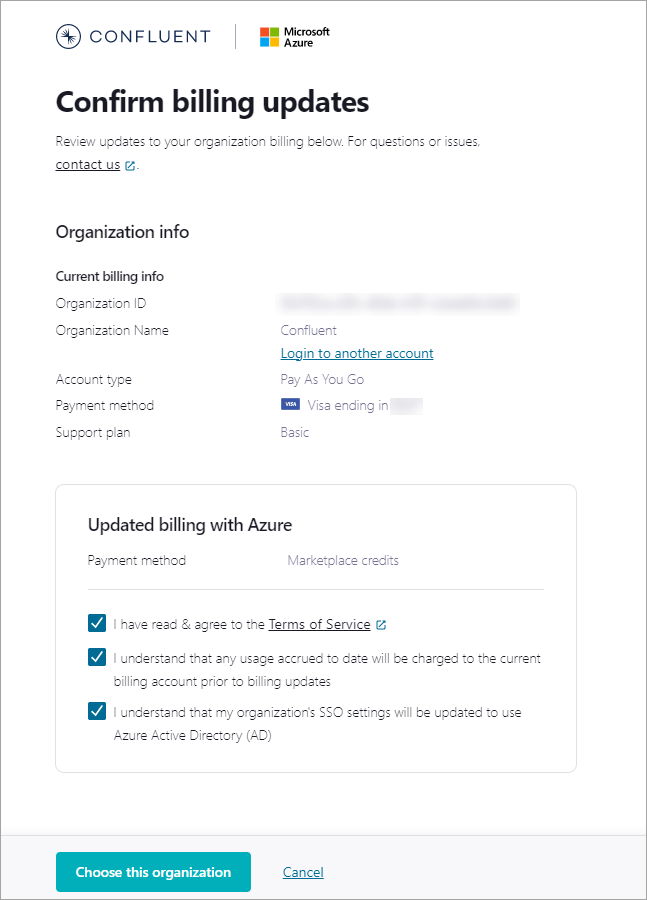
Click Choose this organization. After confirmation, the linked organization name appears next to Confluent Organization Name in the Azure portal.
Important
Linking to an existing organization automatically cancels any active commit subscription on that organization. Before you link, verify that the target organization has no active commit subscription.
Watch the following video for a walkthrough of linking an existing Confluent Cloud organization from the Azure Marketplace.
(Optional) Click the Tags tab to create tags for your project.
Click Review and create.
After validation completes, you can create the resource. Review the terms of your plan and click Create. Your deployment starts. This can take up to a minute.
After Azure deploys your resources, a confirmation message appears. Click Go to resource to view the deployed resource on the Azure portal.

Click the Confluent SSO URL Manage on Confluent Cloud to sign in to Confluent Cloud using your Azure AD account. You might be asked to choose an account for SSO. Grant permission to the Confluent app on the Consent screen by clicking Accept. You are now signed in and can manage your resources on Confluent Cloud.
You can invite more users to your organization by creating a Confluent Cloud account. Use an Azure AD user, or a non-SSO user with an email address and password. For more information, see Add a local user account and Add an SSO user.
Important
Azure AD is the only supported SSO identity provider when you subscribe to Confluent Cloud through the Azure Marketplace.
Manage Confluent Cloud from Azure
After you create or link a Confluent Cloud organization, you can manage access and resources:
Manage Kafka clusters in Confluent Cloud. For more information, see Create a Kafka Cluster in Confluent Cloud in the Confluent Cloud documentation.
Enable single sign-on (SSO) for your organization. For more information, see Single sign-on in the Azure documentation.
Enable just-in-time (JIT) user provisioning to automatically create Confluent Cloud user accounts in Azure. For more information, see Support for Azure Marketplace organizations.
Add users and assign permissions to your Confluent Cloud organization from within Azure. For more information, see Use Confluent Access Management in the Azure Portal in the Azure documentation.
Use Azure Functions and Azure Cosmos DB connectors. For more information, see Connect a Confluent Organization to Azure Compute Services in the Azure documentation.
Manage Confluent connectors from the Azure portal. For more information, see Use Confluent Connectors in Azure (preview) in the Azure documentation.
Use the Azure CLI to manage your Confluent Cloud organization. For more information, see az confluent command reference in the Azure documentation.
For more information about managing and using Confluent Cloud resources with Azure, see Apache Kafka & Apache Flink on Confluent Cloud, an Azure Native Integrations service in the Azure documentation.
Important
To manage Confluent Cloud users from within Azure, your Azure user account must be a member of at least the Azure RBAC Contributor role, in the Confluent Cloud organization linked to the Azure account, and using the same email address on Confluent Cloud as in Azure. For more information, see the Azure documentation.
Next steps
To create a Kafka cluster and start producing and consuming messages, see the Quick Start for Confluent Cloud.
For help with sign-up, linking, and subscription issues, see Troubleshoot Confluent Cloud Billing.