
Quick Start for Schema Management on Confluent Cloud
You can use Confluent Cloud Schema Registry to manage schemas in Confluent Cloud. You enable a single Schema Registry per Confluent Cloud environment. You access Schema Registry over port 443.
You can create and edit schemas in a schema editor and associate them with Apache Kafka® topics.
Get Started for Free
Sign up for a Confluent Cloud trial and get $400 of free credit.
This quick start introduces Schema Registry rather than covering all its capabilities. For a complete guide, see Manage Schemas and Data Contracts in Confluent Cloud.
Important
Your VPC must be able to communicate with the Confluent Cloud Schema Registry public internet endpoint. For more information, see Use Confluent Cloud Schema Registry to Connect to a Public Endpoint in a Private Networking Environment.
This quick start assumes that you have completed Quick Start for Confluent Cloud, including installing and using the Confluent CLI.
This quick start requires that you use both the Confluent Cloud Console and the Confluent CLI.
Sign in to the Cloud Console
Sign in to Confluent Cloud at https://confluent.cloud.
Add a cloud environment
Select Environments in the navigation menu, choose Add cloud environment, provide an environment name in the dialog, and click Create.
Choose a Stream Governance package to enable Schema Registry, Stream Catalog, and Stream Lineage, either upgrade to Advanced or accept the Essentials package:
Upgrade to Stream Governance Advanced starting at $1/hour
Now, continue with Stream Governance Essentials for free
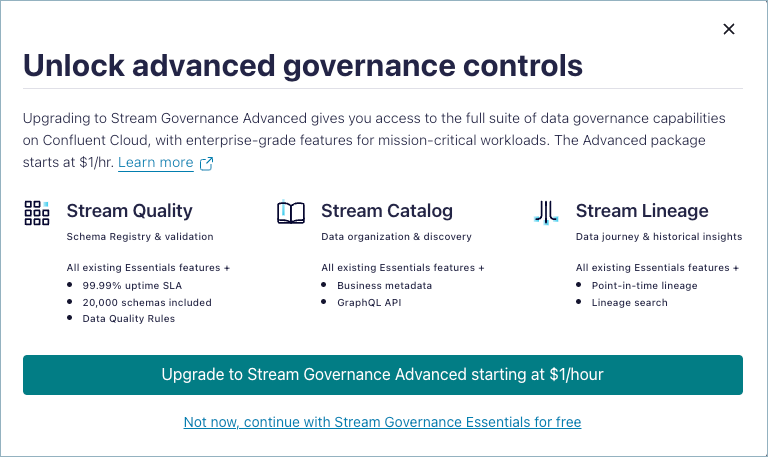
When you add a new environment, Confluent Cloud offers Stream Governance package options. Stream Governance Essentials and Advanced packages are available in all Confluent Cloud regions.
Essentials: Starting at $0 cost per hour, provides the fundamentals for getting started, including Schema Registry with 100 free schemas, stream catalog with auto-technical metadata ingestion, tags metadata, UI, REST API, and most features in stream lineage. (After the first 100 free schemas, pricing is $0.002 per schema per hour on Essentials.)
Advanced: Starting at $1 per hour, provides features for production workloads, including Schema Registry with 20,000 included schemas and a 99.99% uptime service-level agreement (SLA), stream catalog with everything in Essentials plus business metadata and GraphQL API, and stream lineage with everything in Essentials plus point in time lineage and searchable lineage graph. The Advanced package also includes support for Data Contracts.
Note
Only single-zone Dedicated Kafka clusters are available in Jio Cloud regions. Stream Governance packages purchased in Jio Cloud regions support a maximum SLA of 99.95%. For more information, see Jio Cloud.
Create a cluster.
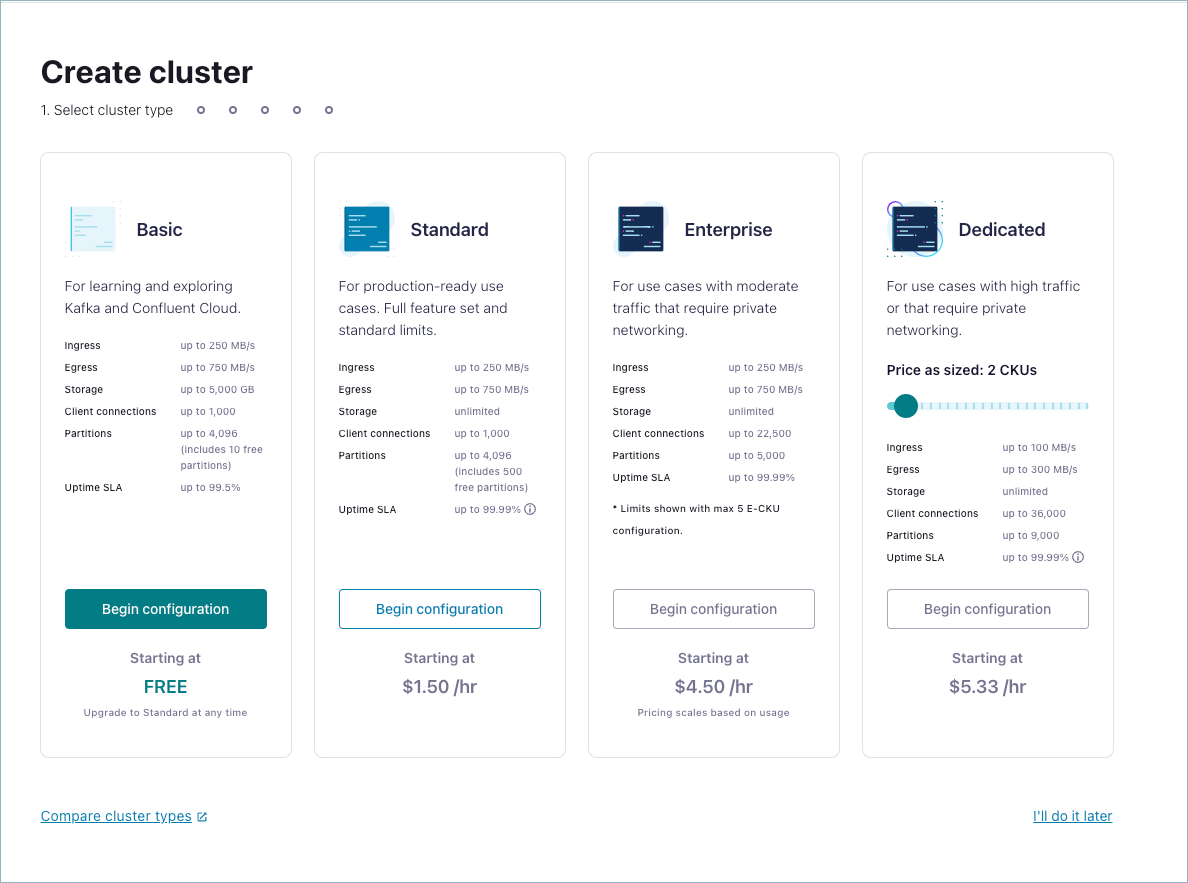
The Schema Registry cluster is automatically assigned to the same region as this first Kafka cluster deployed in an environment. This Schema Registry region does not change. It persists regardless of clusters created or deleted in other regions. The Schema Registry region determines where Schema Registry and Stream Catalog services run and where Confluent Cloud stores the corresponding metadata.
Create an API key for Confluent Cloud Schema Registry
To use Confluent Cloud Schema Registry for managing Kafka clusters, you need an API key specific to Schema Registry.
Note
The API key for Confluent Cloud Schema Registry is distinct from the API key you created for Kafka clusters in the same environment, per the Quick Start for Confluent Cloud.
Confluent Cloud provides one Schema Registry per environment, and each environment can contain multiple Kafka clusters. You need an API key/secret pair for each Kafka cluster and another for the Schema Registry cluster.
Important
For application credentials, choose Service account when prompted. Removing a user account also deletes any API keys associated with it, which can cause an outage for any application still using the key. To learn more, see Best Practices for Using API Keys on Confluent Cloud.
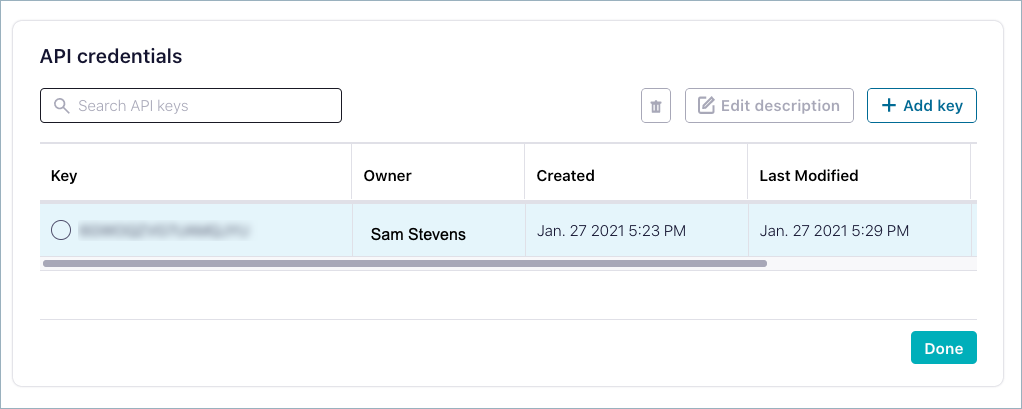
In the environment for which you want to set up Schema Registry, select API Keys in the navigation menu.
Click either Create key (if this is your first key in the environment) or Add key
Choose either My account (to associate the key with a user account) or Service account (to associate the key with a service account), then follow the prompts. Service accounts use access control lists (ACLs) for finer-grained control.
Your new Schema Registry key is shown on the Schema Registry API access key list.
Schema Registry API keys for multi-tenant clusters
Confluent Cloud supports one Schema Registry per environment. In multi-tenant deployments, one physical Schema Registry per cloud and geographic region hosts many logical schema registries. In these cases, the registries for different Kafka clusters in different environments have the same URL as the Confluent Cloud Schema Registry. Confluent Cloud uses API keys that are resource scoped for Schema Registry clusters to store schemas and route requests to the appropriate logical clusters.
Tip
To learn more about other environment-level schema management options available on the Environment settings page, see Configure and manage schemas for an environment.
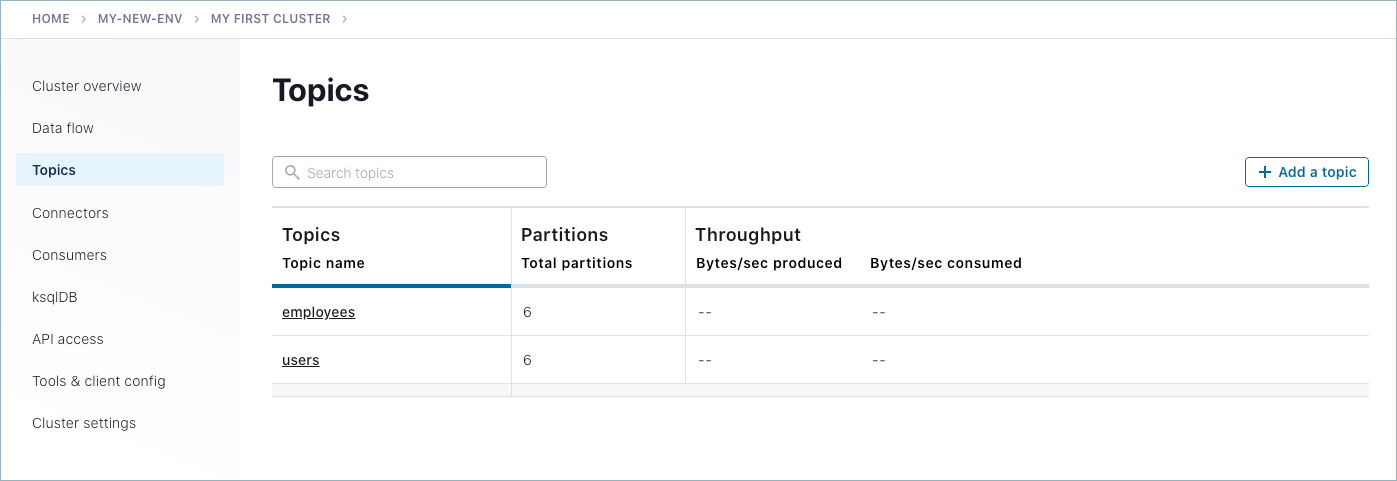
Create a topic in Confluent Cloud
You might already have topics on this cluster from the prerequisite Quick Start for Confluent Cloud. Even so, create a new topic to test Schema Registry.
Select the environment.
Tip
If you have only one environment, default, it is already selected.
Select the cluster.
Click Topics in the navigation menu, then click Create topic.
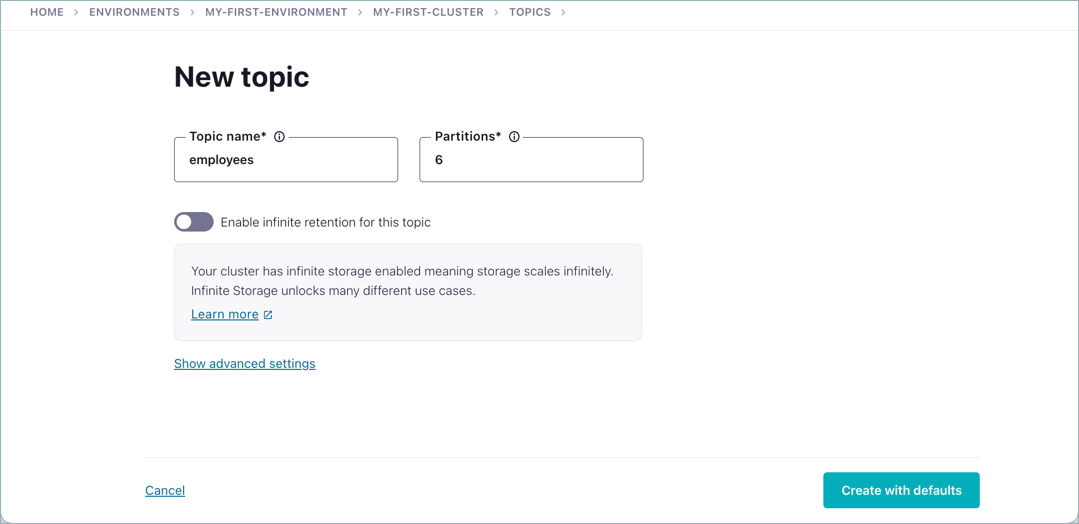
Name the new topic
employees, and click Create with defaults to add it.
Create a schema
You can create schemas for topics in the following ways:
From the Cloud Console.
From the Confluent CLI.
Through the Schema Registry API, using the POST /subjects/(string: subject)/versions endpoint.
Through the Schema Registry Maven Plugin, using the schema-registry:register goal.
This section shows you how to create a schema from the Confluent CLI, giving you a complete view of cloud tools and how the Cloud Console and Confluent CLI interact with the same entities, such as environments, clusters, topics, and schemas.
If you need more help with the basic Confluent CLI commands, type confluent --help, confluent schema-registry --help to drill down, or see Quick Start for Confluent Cloud and the Confluent CLI command reference.
Sign in to the Confluent CLI.
confluent loginFollow the prompts to enter your credentials (email and password).
After you log in, Confluent Cloud shows your current organization.
Select the environment where you created the
employeestopic. This environment might already be selected upon sign-in.To verify this, use
confluent environment listto get the environment IDs, followed byconfluent environment use <id>to select the environment you want, if not already the current environment.For example:
confluent environment list
Your output should resemble:
  Current |     ID     |        Name
----------+------------+---------------------
  *       | env-250o2r | default
          | env-abc123 | ccloud-demo
          | env-xyz123 | data-lineage-demo
          | env-def12g | my-new-environment
To use “ccloud-demo”:
confluent environment use env-abc123
Tip
To list environments:
confluent environment listTo select an environment:
confluent environment use <id>To list clusters:
confluent kafka cluster listTo select a cluster:
confluent kafka cluster use <id>For the full list of
confluentcommands see Confluent CLI command reference.
Create a file containing the following JSON and name it
employees.json.{ "type" : "record", "namespace" : "Example", "name" : "Employee", "fields" : [ { "name" : "Name" , "type" : "string" }, { "name" : "Age" , "type" : "int" } ] }
Create a schema that uses
employees.json.confluent schema-registry schema create --subject employees-value --schema employees.json --type avro
Your output should resemble:
Successfully registered schema with ID: 100001
Tip
You have the option to create schemas that reference other schemas by using the
--refs <ref-file>flag withconfluent schema-registry schema create. To learn more about schema references, see Schema references. You can also create schema references from the Cloud Console.You must specify a schema format type as one of
avro,json, orprotobuf, and then supply a schema that conforms to the syntax for that type. To learn more about development using these schema formats, see Schema Formats, Serializers, and Deserializers in the Confluent Platform documentation, the JSON Schema project documentation, the Apache Avro® specification, and the Google Developer documentation on Protocol Buffers.You can also create a schema from the Cloud Console. To do so, select an environment and cluster, select a topic, then click the Data contracts tab for that topic. Select a schema format type (for this example, Avro), paste the schema (such as the
employees.jsoncontent), and click Save.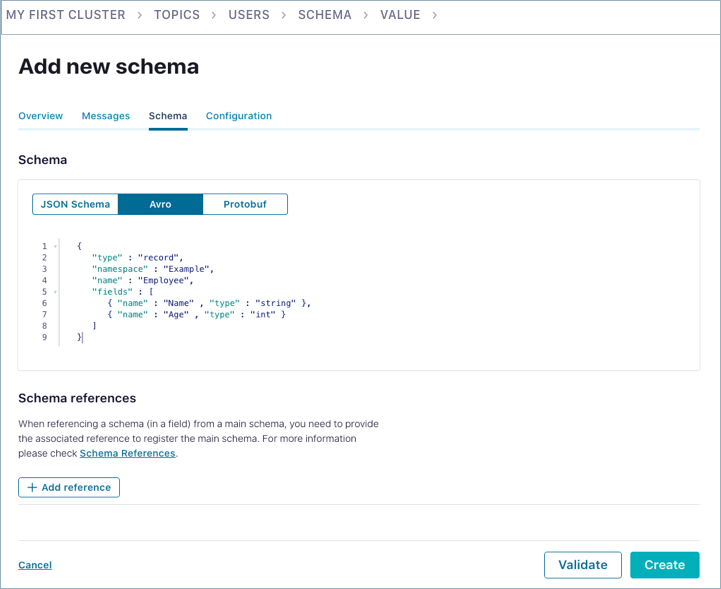
View the topic and associated schema
Return to the Cloud Console to view the new schema for the employees topic.
Navigate to the topics list for your cluster.
Click the employees topic you created in a previous step.
Click the Data contracts tab.
The schema is shown in raw or code view:
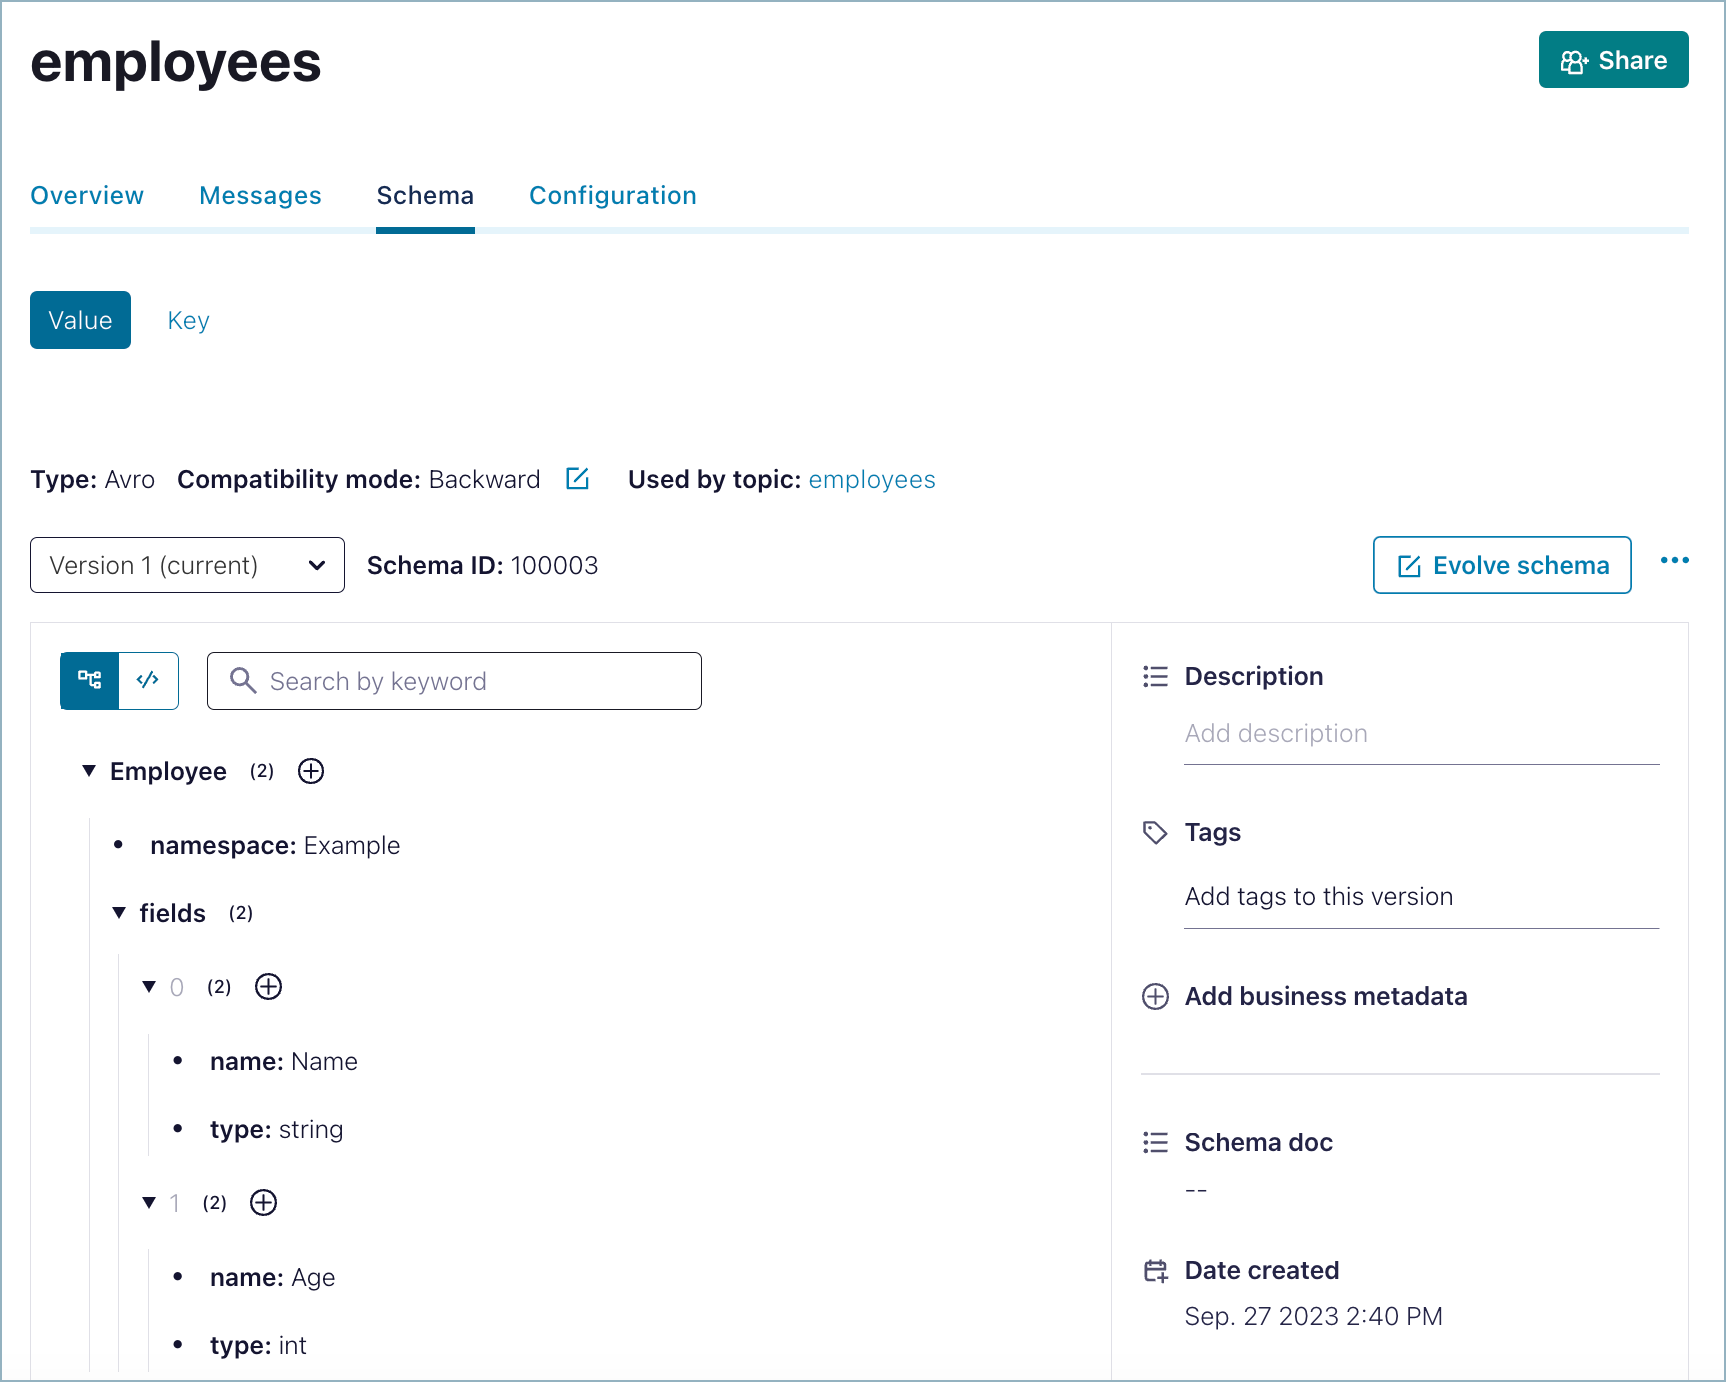
Click the tree view icon above the schema to switch to the tree view. Click the arrows next to fields to expand the elements in the tree view.
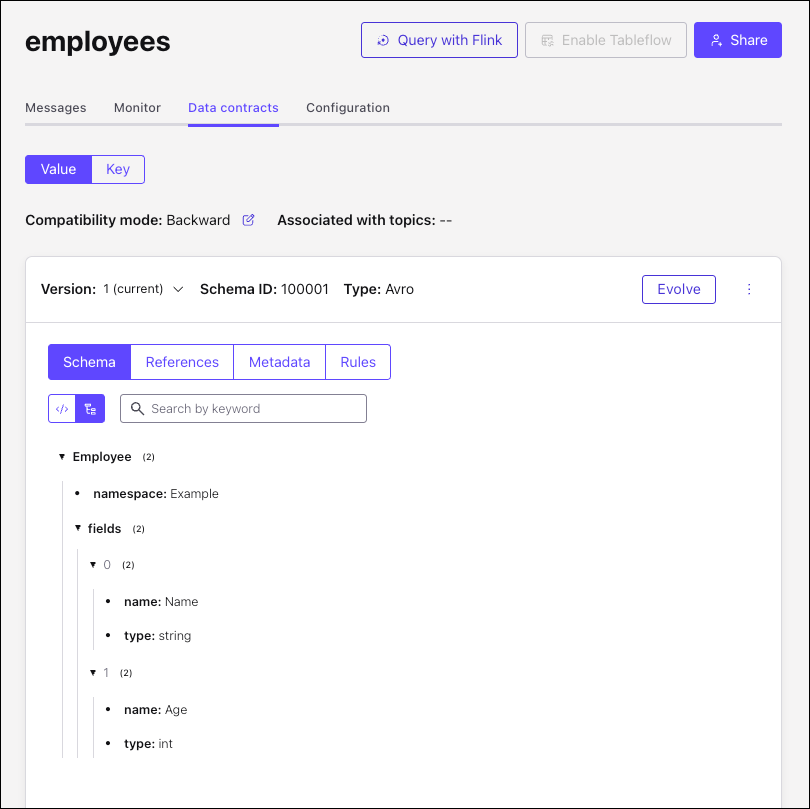
You now have a new schema (employees-value) for the employees topic in Confluent Cloud Schema Registry.
Configure and manage schemas for an environment
Several tasks related to schemas on Confluent Cloud are managed at the environment level. This includes creating and managing Schema Registry API keys along with options, as described below, to view and search schemas, monitor usage, and set a compatibility mode for schemas.
View and search all schemas in an environment
To view a searchable list of all schemas available in a Confluent Cloud environment:
Select an environment.
Select Schema Registry in the navigation menu.
The schemas list is shown.
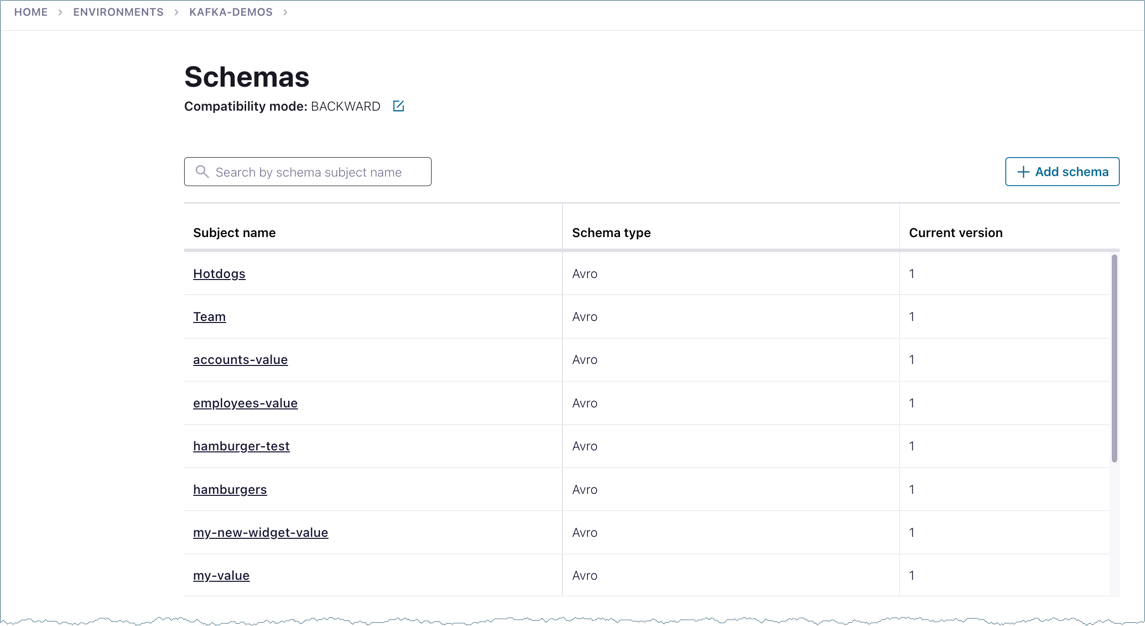
You can use search to find schemas in longer lists.
Click a schema to drill down for more options. You can view, download, duplicate, or delete a schema. You can also navigate to compatibility settings and traverse the schema version history to view each version and compare versions.
View and edit global compatibility settings on schemas
The default compatibility mode is Backward. From the environment-level Schema Registry settings, you can change the mode, which applies globally to all schemas in an environment. You can also change compatibility settings at the subject level. Subject-level compatibility settings override the global settings.
Caution
If you change the compatibility mode of existing schemas already in production use, watch for breaking changes to your applications.
Select an environment.
Select Schema Registry in the navigation menu.
Click Edit next to Compatibility mode.

The Compatibility settings are shown.
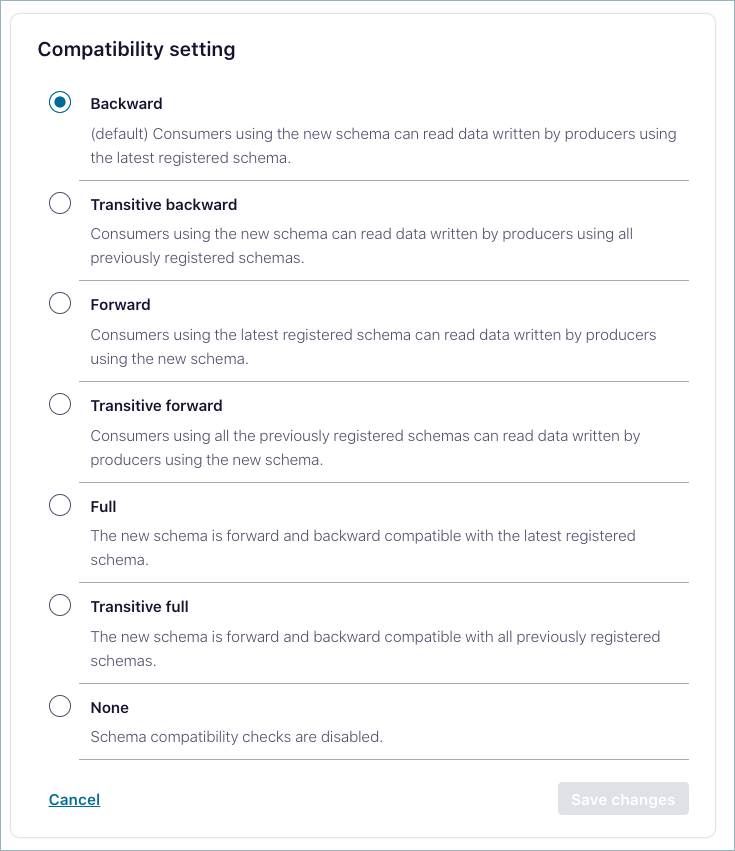
Select a mode option:
Descriptions indicate the compatibility behavior for each option. For more information, including the changes allowed for each option, see Schema Evolution and Compatibility.
Click Save.
Use curl to view and manage schemas
You can also use curl commands to view and manage schemas on Confluent Cloud.
Schema Registry on Confluent Cloud requires that you pass the API key and secret with the --user (or -u) flag. For example, to view all subjects in the registry:
curl --user <schema-registry-api-key>:<schema-registry-api-secret> \
<schema-registry-endpoint>/subjects
For more information about using curl commands with Schema Registry, see Schema Registry API Usage Examples. Except for this one example, the examples are for on-premises Schema Registry but many of the commands are relevant to Confluent Cloud, after you know how to pass your API key and secret as shown here.